
Last updated October 31, 2026
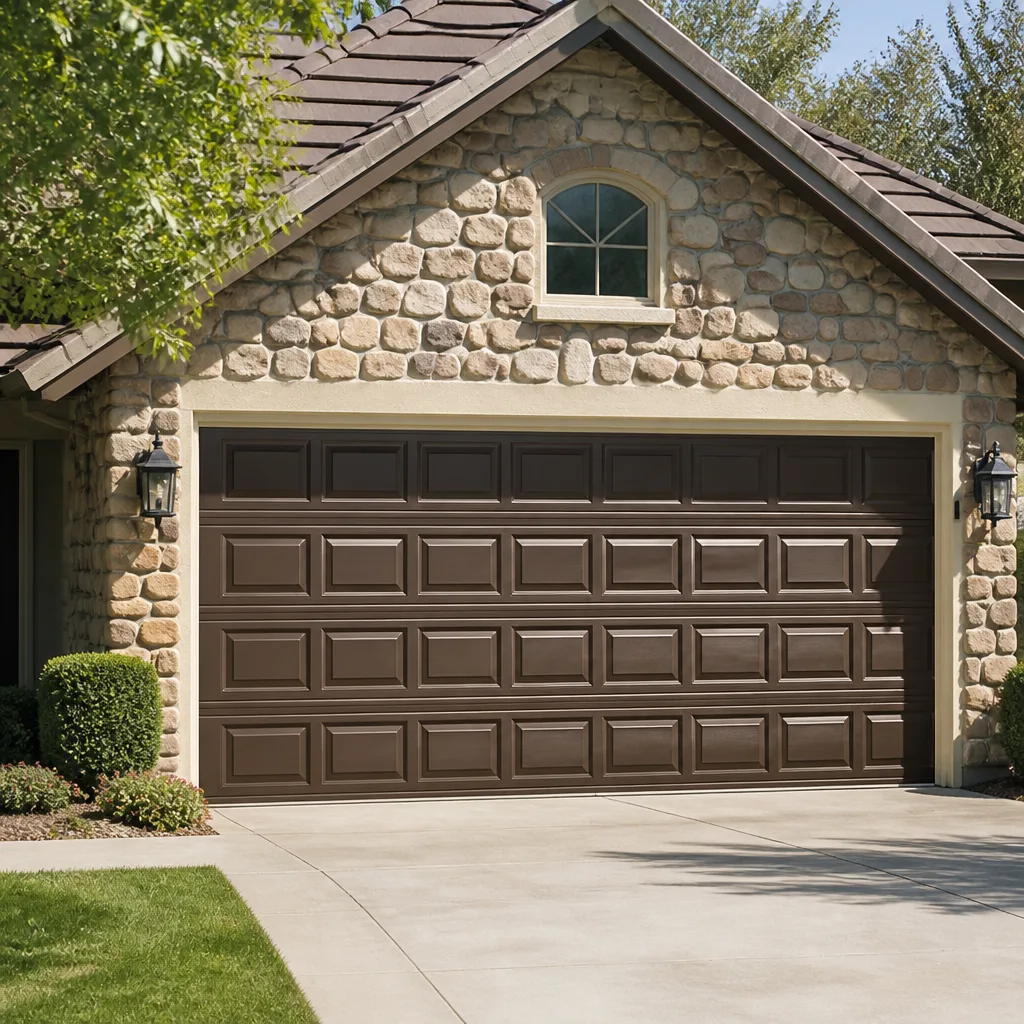 Raised-panel steel
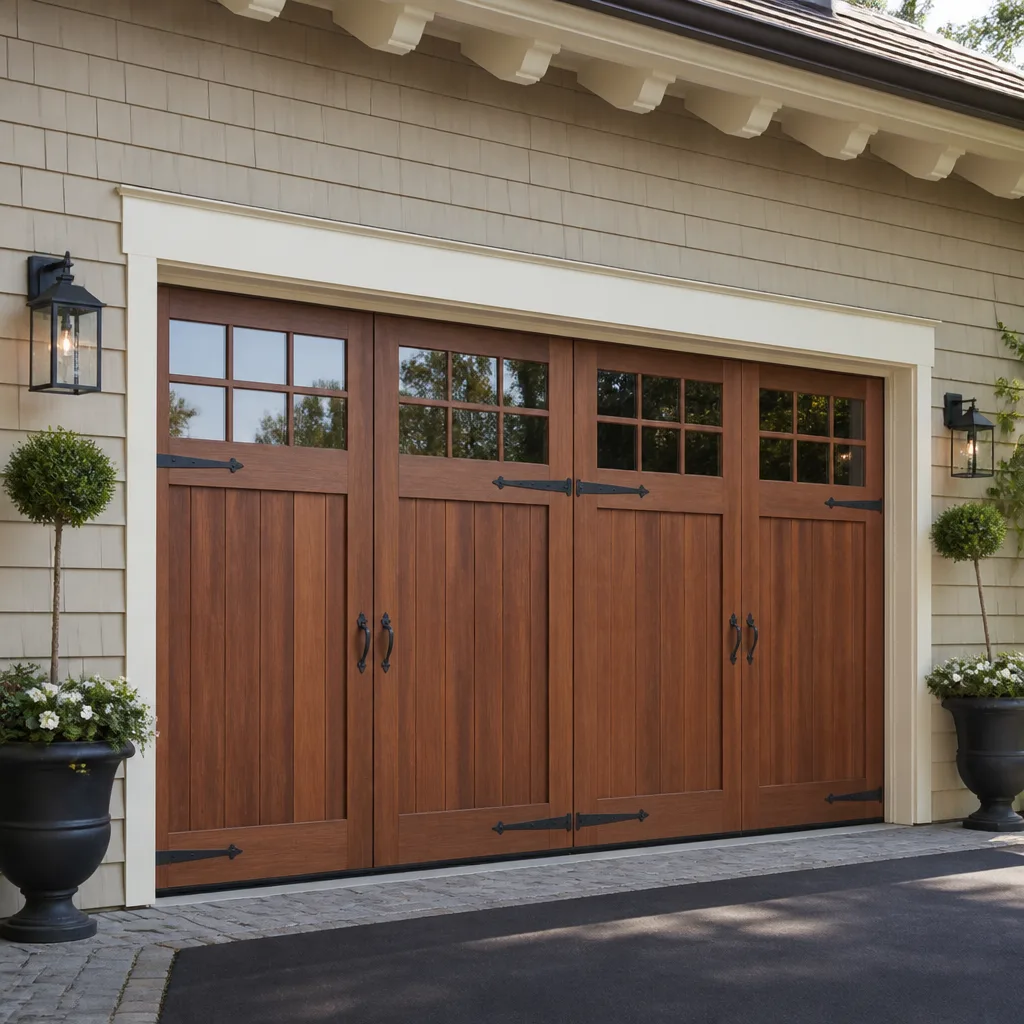 Carriage house
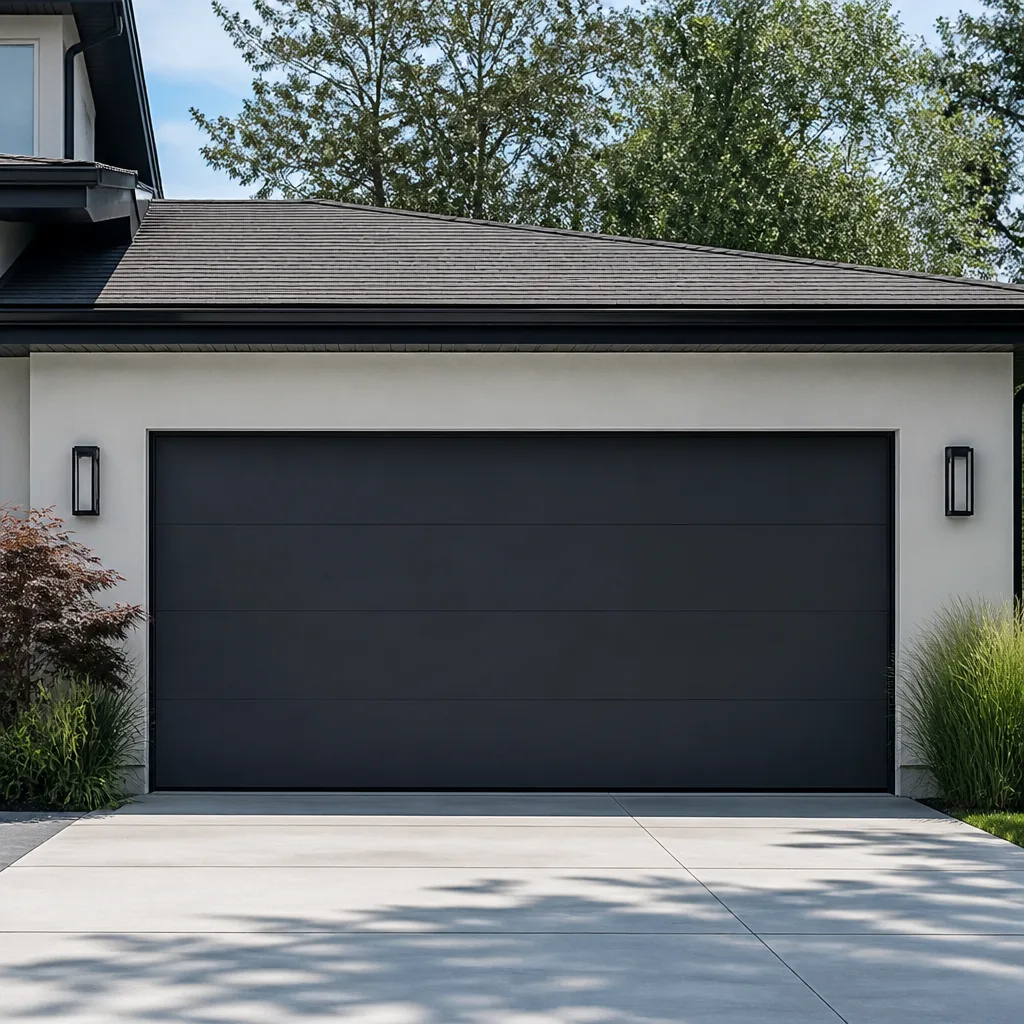 Modern flush
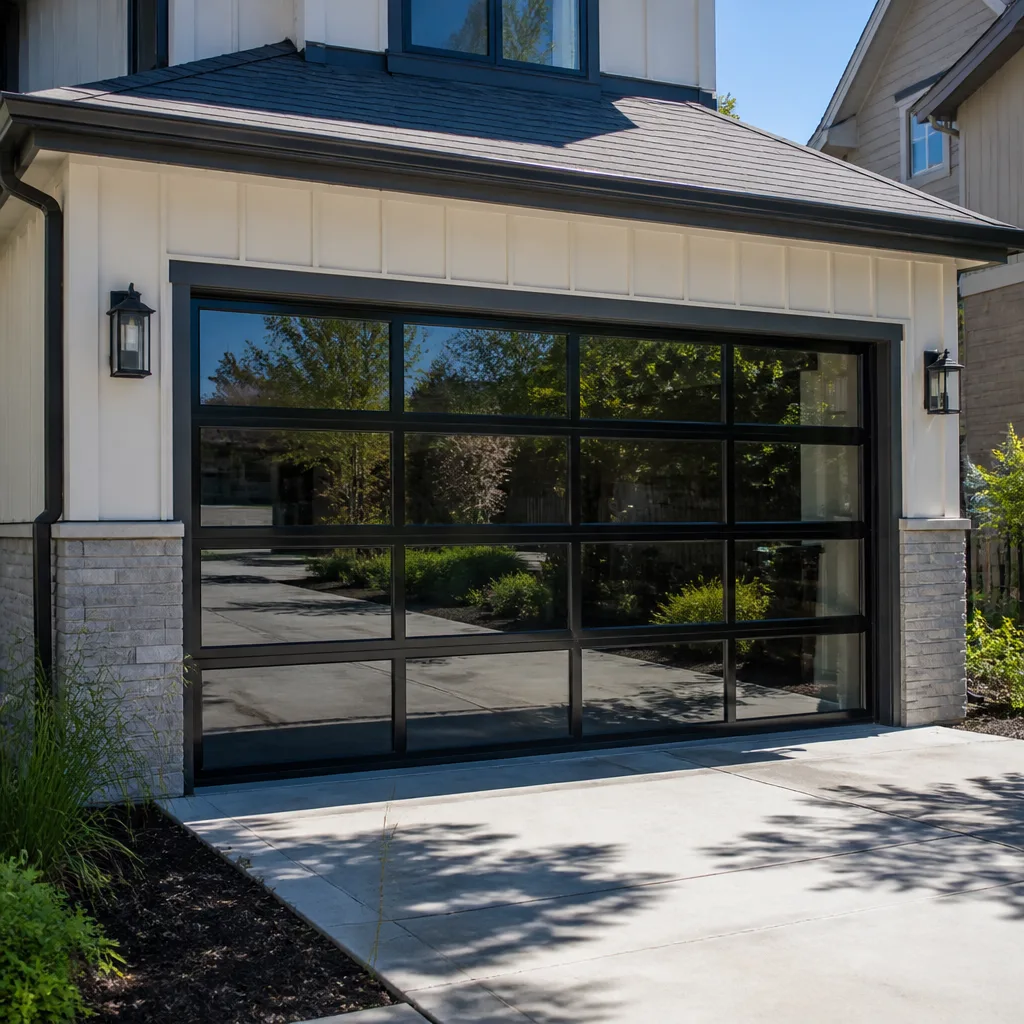 Full-view glass
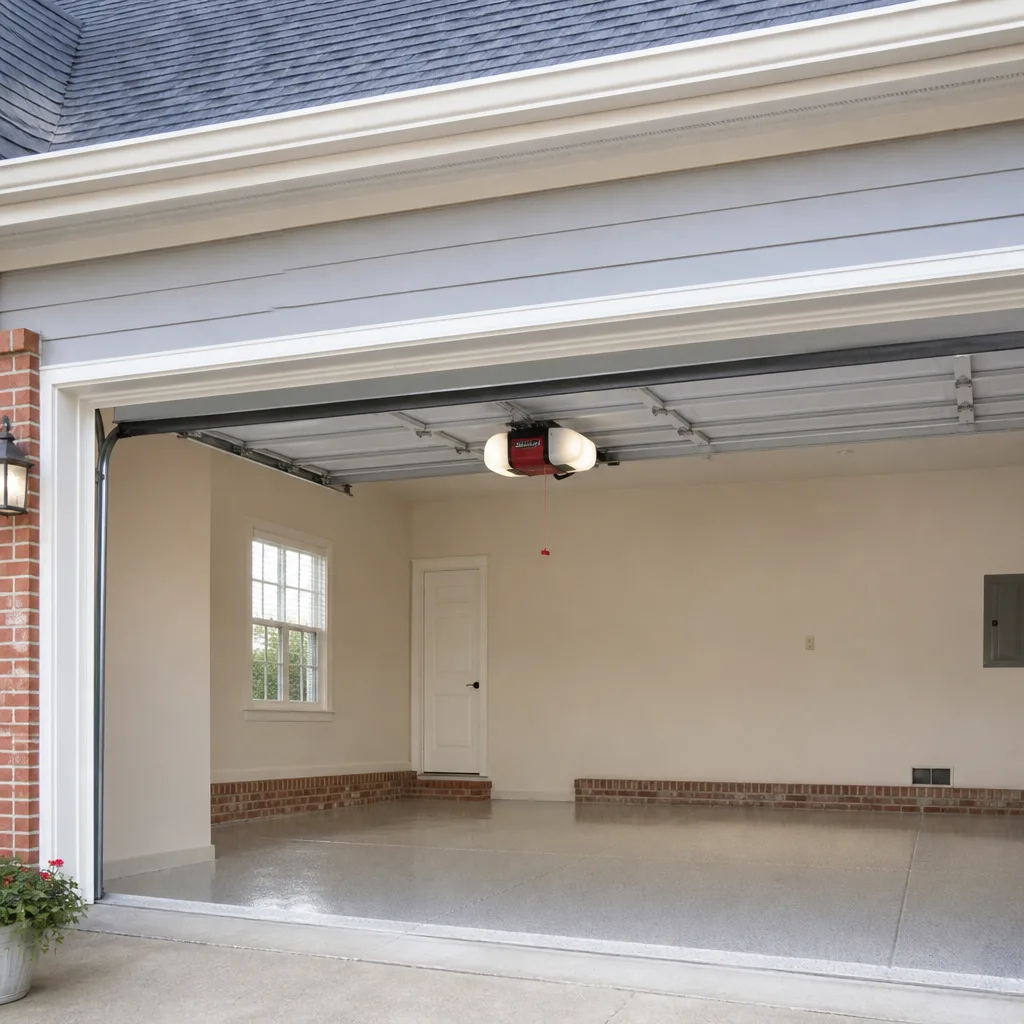 LiftMaster openers
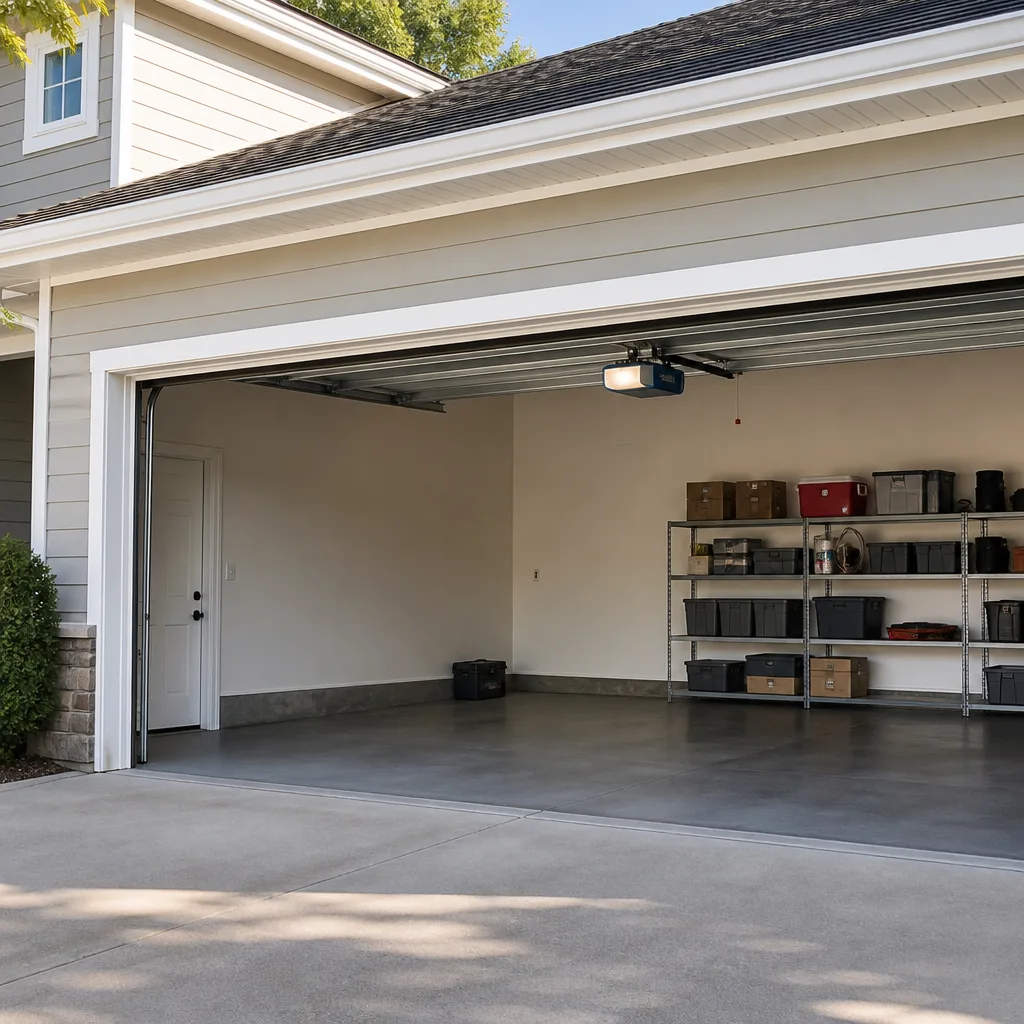 Chamberlain openers
Full 25-point door and opener safety check with every visit - springs, cables, rollers, tracks, and your LiftMaster or Chamberlain opener included
You get a price before we start. It does not change when the truck arrives.
Get your free estimateDIY vs Professional Garage Door: The San Marcos Homeowner’s Decision Guide
Most homeowners underestimate the forces at work inside a garage door system. A torsion spring on a standard double-car door stores roughly 100 foot-pounds of torque per turn of winding. By the time a spring is fully wound, it’s holding well over 3,000 foot-pounds of stored energy. That figure is the entire reason this guide exists. It’s also why the DIY-vs-professional question isn’t a single answer but a component-by-component decision we’ll walk through here, drawing on what we see on service calls across San Marcos every week.
Styles & brands we work with
Quick Answer
The DIY vs professional decision comes down to stored energy, not difficulty. Lubrication, weatherstripping, remote reprogramming, and travel-limit adjustments are safe homeowner tasks. Anything involving torsion springs, lift cables, or opener circuit boards requires a specialist, because those components carry enough tension or voltage to cause serious injury or destroy the door’s balance. In San Marcos, the line is drawn by physics, not by skill level.
Table of Contents
- Understanding the Risk: Why Garage Doors Are Different
- The DIY-Safe List: Five Tasks Any Homeowner Can Handle
- The Specialist-Required List: Four Repairs That Carry Real Danger
- The Honest Cost Comparison: DIY Parts vs Installed Pricing
- What Happens When DIY Spring or Cable Work Goes Wrong
- Using DIY as a Maintenance Layer Without Crossing the Line
- Common Mistakes to Avoid
- When to Call a Professional
- Frequently Asked Questions
- The Bottom Line
Understanding the Risk: Why Garage Doors Are Different
A garage door looks simple. Panels on tracks, a spring or two up top, a motor hanging from the ceiling. That simplicity is deceptive. The door itself might weigh 150 to 250 pounds. The springs, not the opener motor, do the actual work of lifting that weight. The motor just nudges the system in the right direction. When a spring snaps or a cable frays, the stored energy has to go somewhere. It goes to whatever is closest: track hardware, a car in the bay, or the hands of the person working on it.
We run service calls throughout San Marcos and the surrounding North County area, and we’ve walked up to doors where a homeowner attempted a spring repair with a pair of vice grips and a screwdriver. It rarely ends with a working door. More often, it ends with a bent torsion tube, a shattered spring cone, or a trip to urgent care. This isn’t gatekeeping. We’d rather homeowners understand the mechanism well enough to know which jobs are genuinely theirs and which ones need a technician with the right winding bars and spring gauge.
The DIY-Safe List: Five Tasks Any Homeowner Can Handle
Let’s start with what you can absolutely do yourself. These five tasks require basic tools, take under an hour, and carry no meaningful risk of injury. They also genuinely extend the life of your door and reduce the frequency of paid service calls.
- Lubricating hinges, rollers, and springs. Use a lithium-based spray or silicone lubricant. Hit the hinge pins, the roller bearings, and the coils of the spring. Do this twice a year in San Marcos, where coastal air and seasonal temperature swings accelerate surface rust on exposed hardware. Avoid WD-40 on springs; it displaces the heavier grease they need.
- Replacing bottom weatherstripping. The rubber seal along the bottom of the door cracks and hardens with exposure. Pull the old strip from its track and slide in a replacement cut to width. This is a ten-minute job that keeps rainwater, leaf litter, and rodents out of the garage.
- Reprogramming remotes and keypads. Every major brand has a simple sequence for syncing a new remote. On LiftMaster, Chamberlain, and Genie openers, it’s typically a “Learn” button on the motor unit followed by a button press on the remote. If the remote won’t sync, the issue may be the opener’s receiver board, which is a different conversation.
- Adjusting travel limits on the opener. If the door stops an inch short of the floor or reverses before closing fully, the travel-limits are off. Most modern Chamberlain, LiftMaster, and Genie openers have adjustment dials or digital settings on the motor unit. Small turns, then test. This is a safe adjustment because it doesn’t touch the spring system.
- Swapping out a dead wall button. A wall console that stops working is usually a wiring issue or a failed button. Replacement units are inexpensive. Disconnect the opener from power, swap the two low-voltage wires, and restore power. This is low-voltage control wiring, not line voltage.
Each of these tasks takes a homeowner under an hour with a screwdriver and a can of lubricant. None of them involve stored energy. That’s the thread that separates the two lists.
The Specialist-Required List: Four Repairs That Carry Real Danger
These four categories are non-negotiable. Each involves either high-tension mechanical energy or diagnostic complexity that can damage the system further when handled incorrectly. Watch a YouTube video if you like, but understand that watching a video and managing 3,000 foot-pounds of stored torque are very different activities.
- Torsion spring replacement. The springs on a standard San Marcos home are wound to counterbalance the door’s exact weight. Replacing one requires knowing the wire gauge, inside diameter, spring length, and wind direction. Winding a spring without the correct winding bars, called getting one across the forearm because a bar slipped, is how most serious garage door injuries happen. In our experience, this is the single most common repair homeowners attempt and the single most dangerous one to get wrong.
- Cable replacement or re-spooling. The lift cables run from the bottom brackets up to the drums at each end of the torsion tube. When a cable snaps, the door jams diagonally in the tracks. Re-spooling requires releasing spring tension safely, which cycles back to the risk above. A cable that comes off the drum while tension is being adjusted can whip with enough force to cause deep lacerations.
- Track realignment beyond minor adjustments. If the vertical track has pulled away from the framing by more than a quarter inch or the horizontal track has a visible kink, the door is fighting itself every cycle. This isn’t just noise. It’s uneven load on the springs and rollers. Proper realignment involves checking door balance at multiple points of travel and often repositioning the brackets under tension.
- Opener circuit board diagnosis. When a Chamberlain or LiftMaster opener behaves intermittently, a Genie opener won’t respond to the wall console, or a motor runs but the door doesn’t move, the fault is often on the logic board or in the safety-sensor circuit. Diagnosing this requires a multimeter and manufacturer-specific knowledge of the revision-by-revision board differences. Shotgunning a new board into the unit without confirming the failure source often wastes money and leaves the original fault in place.
We work on all eight major brands; LiftMaster, Chamberlain, Genie, Clopay, Amarr, Wayne Dalton, Craftsman, and Raynor. That brand familiarity matters because a board from one Chamberlain revision doesn’t necessarily interchange with another. Garage doors are all we do, and the depth comes from seeing thousands of specific combinations across San Marcos service calls.
The Honest Cost Comparison: DIY Parts vs Installed Pricing
Let’s talk about money, because the math on DIY spring replacement looks tempting at first glance. Here’s the breakdown using current San Marcos market pricing for a standard double-car door, detailed in our Garage Door Cost Breakdown: The San Marcos Homeowner’s Reference for 2026.
| Repair | DIY Parts Cost | Installed Cost | Notes |
|---|---|---|---|
| Torsion spring replacement (1 spring, double door) | $60 – $120 | $225 – $350 | Correct wire gauge and inside diameter are non-negotiable for door balance and safety |
| Torsion spring replacement (2 springs) | $120 – $240 | $350 – $550 | Both springs on a double-door system should be replaced together, even if only one snapped |
| Lift cable replacement (one side) | $20 – $40 | $150 – $250 | DIY cable replacement without releasing spring tension first is a serious injury risk |
| Roller replacement (10 nylon rollers) | $25 – $50 | $125 – $200 | Bottom rollers are attached to cables and require tension release to replace safely |
| Opener circuit board replacement | $80 – $180 | $200 – $350 | Board revision must match the opener model; wrong board can damage the motor |
The parts-cost gap looks significant. Spring costs $80 online versus $300 installed. Here’s the part the online cost doesn’t show: spring wire gauge matters more than the price tag. A spring that’s one gauge too light will cycle out months early. One gauge too heavy and the opener motor is fighting unnecessary load, shortening its life. Match the spring to the door’s weight and it runs for years. The other hidden cost is winding bars. Buy quality bars and you’ve spent $30-$40 on tools you’ll use once. That closes the gap on a job that still carries the highest injury risk in home repair.
What a specialist brings to that $300 installed price: correct spring sizing, both springs addressed on two-spring doors, an alignment check on the track, a balance test across the full travel, and a safety inspection of the cables and rollers while the door is already open. That’s not markup. That’s the job being done.
What Happens When DIY Spring or Cable Work Goes Wrong
We’ve walked into garages in San Marcos where the homeowner got halfway through a spring replacement and stopped. The scenarios are predictable because the failure modes are physical, not random. A winding bar slips during the winding sequence and the spring unwinds violently. The cone cracks, which is the casting that holds the spring in place. The door, now without proper tension, slams shut or hangs open with the cables dangling loose. The torsion tube itself bends under the uneven load.
The repair cost at that point isn’t the $300 spring replacement the homeowner was trying to avoid. It’s a new spring, a new set of cones, possibly a new torsion tube, a cable re-spool, and a track alignment. Real-world example from our service area: a homeowner in Escondido bought a DIY spring kit, mis-identified the wind direction, and snapped both spring cones during winding. The final bill to untangle the damage was over $700, versus the $325 it would have cost to replace both springs correctly the first time.
The injury scenarios are worse. A winding bar to the face or forearm. A snapped cable lashing across the work area. A door that drops unexpectedly and crushes a hand on the track. These are not rare edge cases. The Consumer Product Safety Commission has tracked garage door injuries for decades, and the majority involve torsion springs and cables. We’re not sharing this to frighten you. We’re sharing it because the math on DIY changes completely when you factor in what a failed attempt costs to repair, both medically and mechanically, as covered in our Garage Door Emergency Preparedness Guide for San Marcos Homes.
For everything else on the DIY-safe list, the risk is essentially zero. A can of lithium grease has never sent anyone to the emergency room. We want homeowners doing that maintenance confidently. We want the same homeowner to set down the tool bag when the spring breaks and call a technician who does this every day.
Using DIY as a Maintenance Layer Without Crossing the Line
The smart San Marcos homeowner uses DIY as a preventive layer and a professional as the repair layer. The maintenance you do yourself keeps the door quiet, keeps the seals intact, and gives you early warning when something bigger is deteriorating. You’re not replacing springs or cables. You’re watching for the signs that they’re failing.
Here’s a twice-yearly routine that takes under 30 minutes, works for any door brand, and catches problems before they become emergency calls:
- Lubricate everything that pivots or rolls. Hinges, rollers, the spring coils, and the opener rail. Wipe away excess.
- Check the balance manually. Pull the release handle (with the door closed) and lift the door by hand. It should rise smoothly and stay put around waist height. If it drops hard or shoots upward, the spring is either failing or the wrong size. Either way, that’s a call to a specialist.
- Inspect the cables visually. Look for frayed strands near the bottom brackets and the drums. If you see any separation in the braided cable, do not touch it. Call someone.
- Test the auto-reverse safety sensors. Close the door on a roll of paper towels placed in the door’s path. If the door doesn’t reverse immediately, the sensor circuit needs attention. This is a critical safety feature, required by federal law since 1993, and it’s a legitimate DIY check.
- Listen to the door run. A smooth, low hum is normal. Grinding, banging, or a rhythmic thunk suggests rollers, hinges, or a track problem. Early intervention costs less than deferred repair.
This routine catches 80% of the issues we see before they escalate. A homeowner who does this seasonally will rarely be surprised by a snapped spring in the middle of the workday. They’ll see the warning signs, make the call, and schedule the repair on their timeline instead of the door’s.
Common Mistakes to Avoid
- Using WD-40 on torsion springs. WD-40 is a solvent and water displacer, not a lubricant. It strips the heavier grease the spring coils need and accelerates surface wear. Use a dedicated garage door lubricant or white lithium spray on the spring, hinges, and rollers.
- Replacing only one spring on a two-spring door. If one spring snapped from fatigue, the other is at the same point in its life cycle. Replacing just one leaves an unbalanced system that will fail again soon and put uneven strain on the opener. Replace both springs at once.
- Buying the cheapest spring online without matching the wire gauge. Springs are specified by wire diameter, inside diameter, and length. The internet seller doesn’t know your door’s weight. A mismatched spring makes the door dangerous to operate even if it was installed perfectly.
- Adjusting the opener’s force settings to compensate for a failing spring. When the spring weakens, the door gets heavier and the opener strains. Cranking up the force settings “fixes” the symptom by forcing the motor to lift more weight. This accelerates opener motor wear and masks the spring problem until it fails outright. The fix is a spring replacement, not a force adjustment.
- Leaving the garage door partially open for ventilation during hot San Marcos summers. This habit puts the door in a position where the springs are holding less tension and the door’s weight is supported differently. It’s not dangerous for the door, but it wreaks havoc on the balance point over time and exposes the opener to unnecessary strain. If you’re airing out the garage, open the door fully or not at all.
- Ignoring a cable that’s starting to fray. A frayed lift cable looks like a minor cosmetic issue until it snaps under load, which typically happens when the door is mid-travel. At that point, the door slams diagonally into the track and becomes impossible to open or close. Replace a fraying cable immediately.
- Attempting to “just tighten” the torsion spring instead of replacing it. A spring that’s lost tension from age or fatigue is not a spring that needs tightening. Tightening a fatigued spring simply adds more stress to metal that’s already at the end of its useful life. It’s also the fastest way to break a spring cone or send a winding bar through drywall.
When to Call a Professional
Call a specialist when the component in question is under tension, connected to a component under tension, or controls the safety and logic functions of the opener. That includes torsion springs, lift cables, track work beyond a simple bolt tightening, and any opener fault that can’t be resolved by reprogramming a remote or adjusting travel limits. If you can hear a grinding noise from inside the motor, smell burning, or see visible damage to the logic board, that’s a professional diagnostic, not a YouTube search. San Marcos Garage Door Service offers free estimates across San Marcos. You can reach us at (877) 265-5166. We’ll tell you what the door needs, what it doesn’t need, and quote you a number before any work begins. The price is agreed before any wrench touches the door.
If you’re outside our immediate service area, we recommend looking for the same two things: a company that does only garage doors, and a technician who can name the specific brand of spring, opener, and track hardware you have before they arrive. A generalist can often get by. A specialist gets it right the first time.
Frequently Asked Questions
In San Marcos, a single spring replacement on a standard door typically costs $225 – $350 installed, and a two-spring system runs $350 – $550 installed. The parts themselves cost $60 – $120 per spring, but professional installation includes correct sizing, safe winding, balance testing, and a full safety inspection of the cables and rollers. Call (877) 265-5166 for an exact quote; estimates are free and the price is locked before work starts.
No. Torsion springs hold thousands of foot-pounds of stored energy when wound, and a winding bar slipping during installation can cause severe injury. This is the single most dangerous component in home repair. We recommend leaving spring replacement to a technician with the correct winding bars and spring gauge, which is the only way to ensure the door is safe to operate afterward.
Lubricating hinges and rollers, replacing bottom weatherstripping, reprogramming remotes and keypads, adjusting opener travel limits, and swapping a dead wall button are all safe DIY tasks. None of these involve stored energy or high-voltage electrical work. They require basic tools and take under an hour. Everything else, including springs, cables, and circuit board diagnosis, should go to a specialist familiar with Garage Door Permits, Codes & Inspections in CA: What You Need to Know.
Yes. San Marcos Garage Door Service offers same-day service for broken springs, snapped cables, and failed openers across San Marcos, Vista, Escondido, and the surrounding North County area. Call (877) 265-5166 and describe the door’s symptoms. We’ll give you a straight answer on what the repair needs and when we can be there.
Yes. Because garage doors are all we do, our trucks carry a full range of torsion and extension springs, cables, rollers, hinges, and opener boards for the brands we service. That includes LiftMaster, Chamberlain, Genie, Clopay, Amarr, Wayne Dalton, Craftsman, and Raynor. Most spring and cable repairs are completed in a single visit with the right part for your specific system.
No. The price we quote over the phone, based on your description of the door and spring configuration, is the price you pay when we arrive. If we find something unexpected, we’ll stop and explain it before doing any additional work. Nothing gets added to the invoice without your approval. Call (877) 265-5166 to get a quote.
The Bottom Line
The choice between DIY and professional garage door work is a decision about energy, not skill. The jobs you can safely handle yourself are the low-energy ones: lubrication, sealing, remote programming, and minor opener adjustments. The jobs that require a specialist are the ones where a mistake costs more than the repair it was meant to avoid: springs, cables, track work, and opener electronics. In San Marcos, where the climate cycles between coastal fog and dry heat, the maintenance layer matters as much as the repair layer. Do the seasonal checks. Lubricate the moving parts. Watch the cables. And when the spring breaks or the opener stops responding, call someone who has been doing this work every day, not someone who watched a tutorial. Call San Marcos Garage Door Service at (877) 265-5166 for a free estimate and an honest assessment of what your door actually needs. For more on what we do, visit the San Marcos Garage Door Service home page, or read up on our Garage Door Repair in San Clemente, Garage Door Opener Repair in San Clemente, and Garage Door Installation in San Clemente services.
Written by the team at San Marcos Garage Door Service, serving San Marcos since 2012.
See the difference
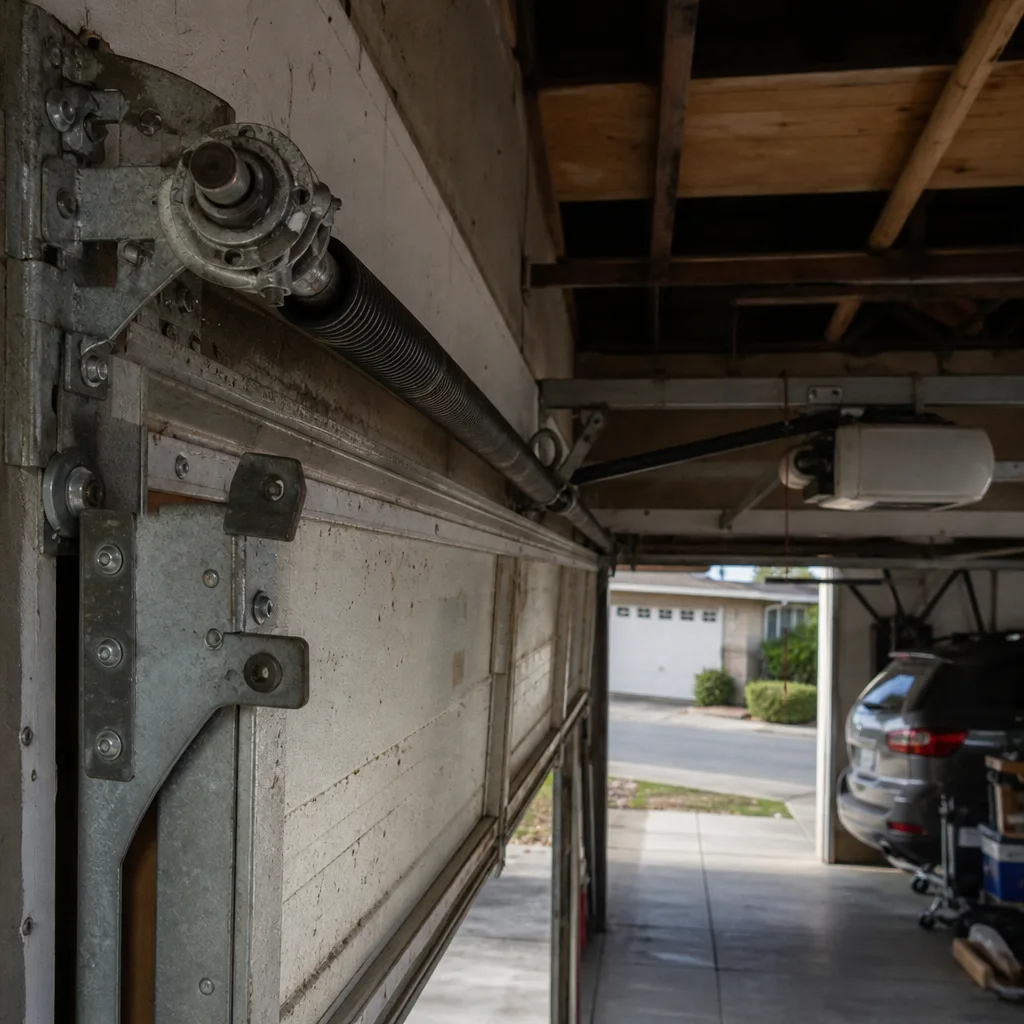 Before
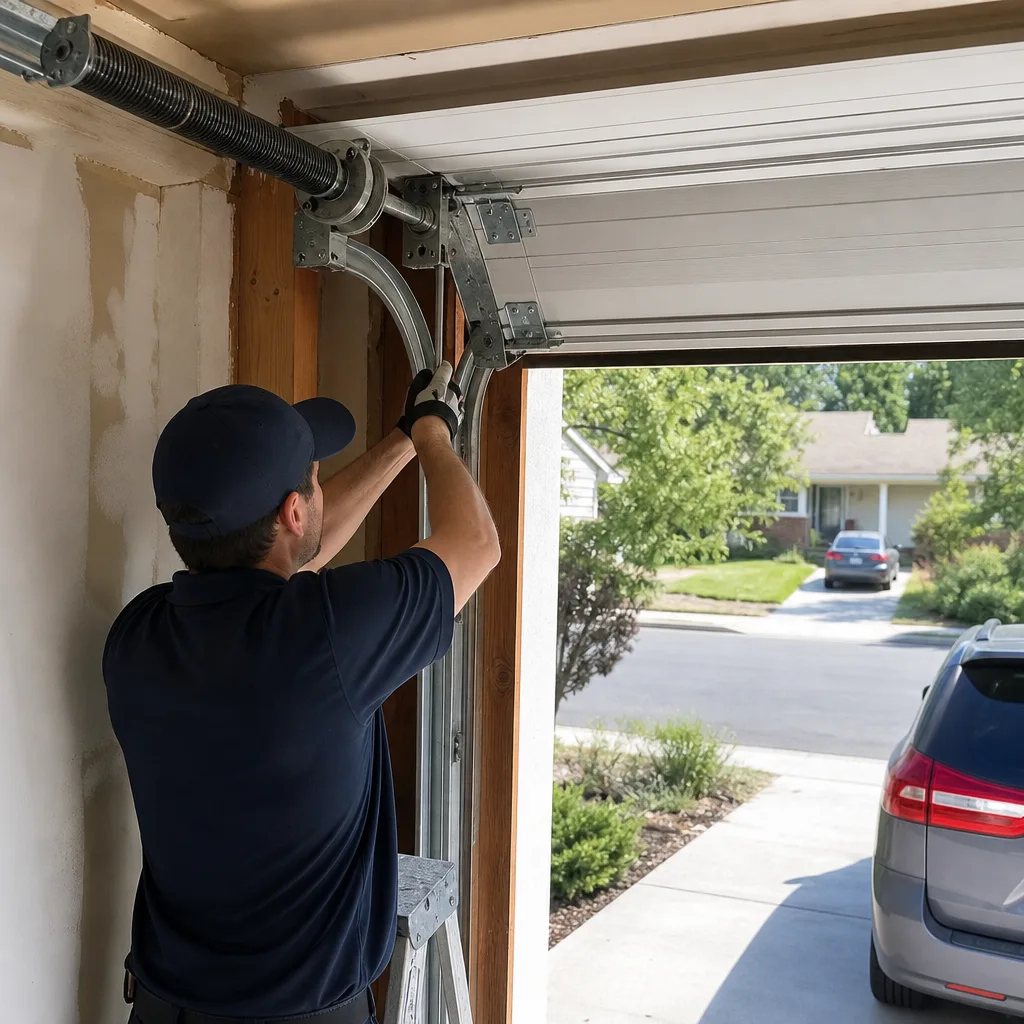 After
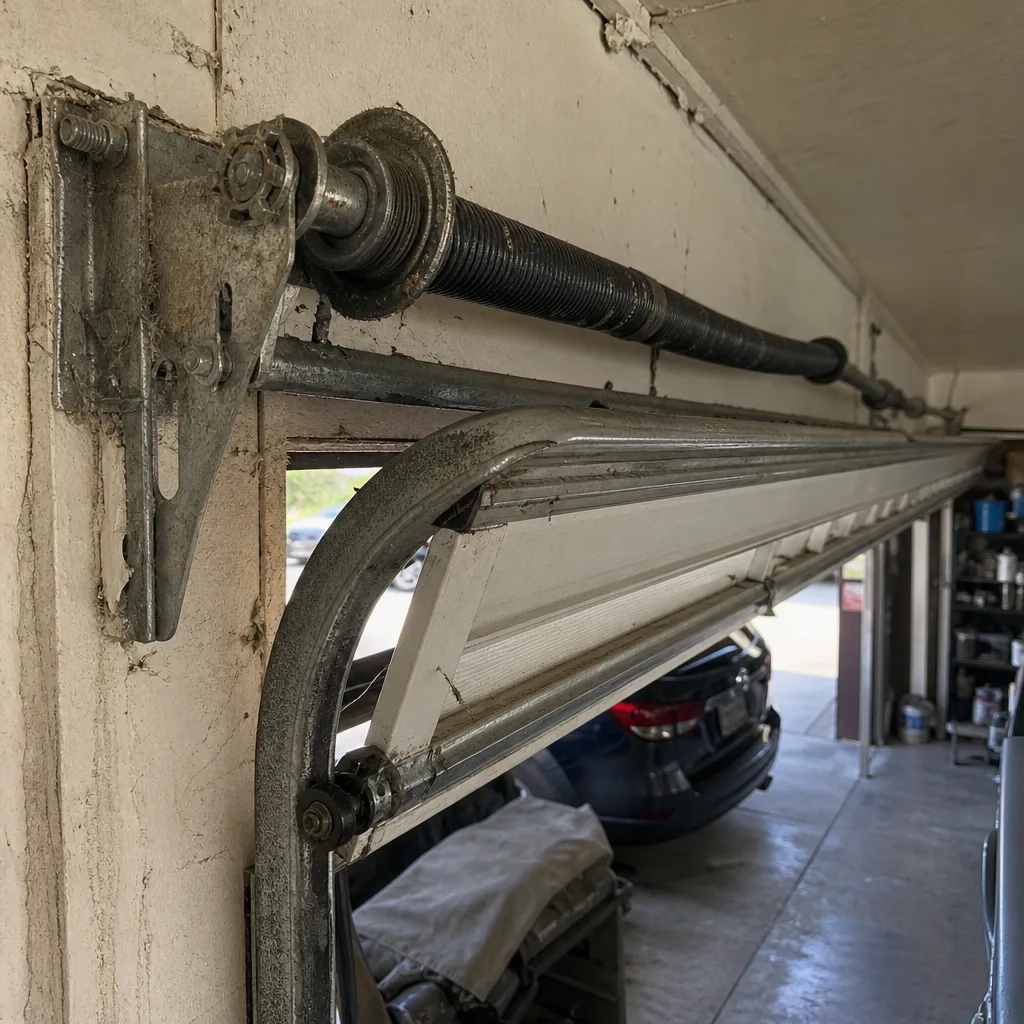 Before
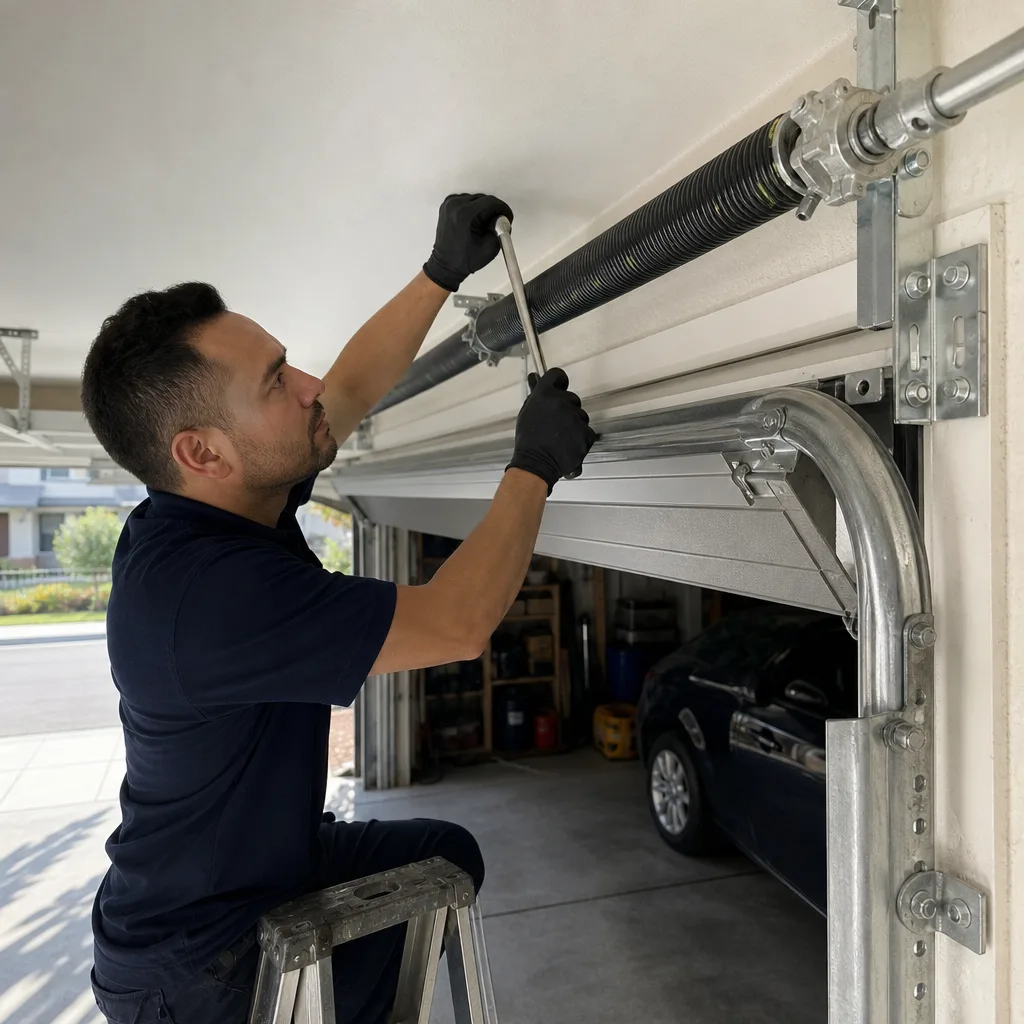 After
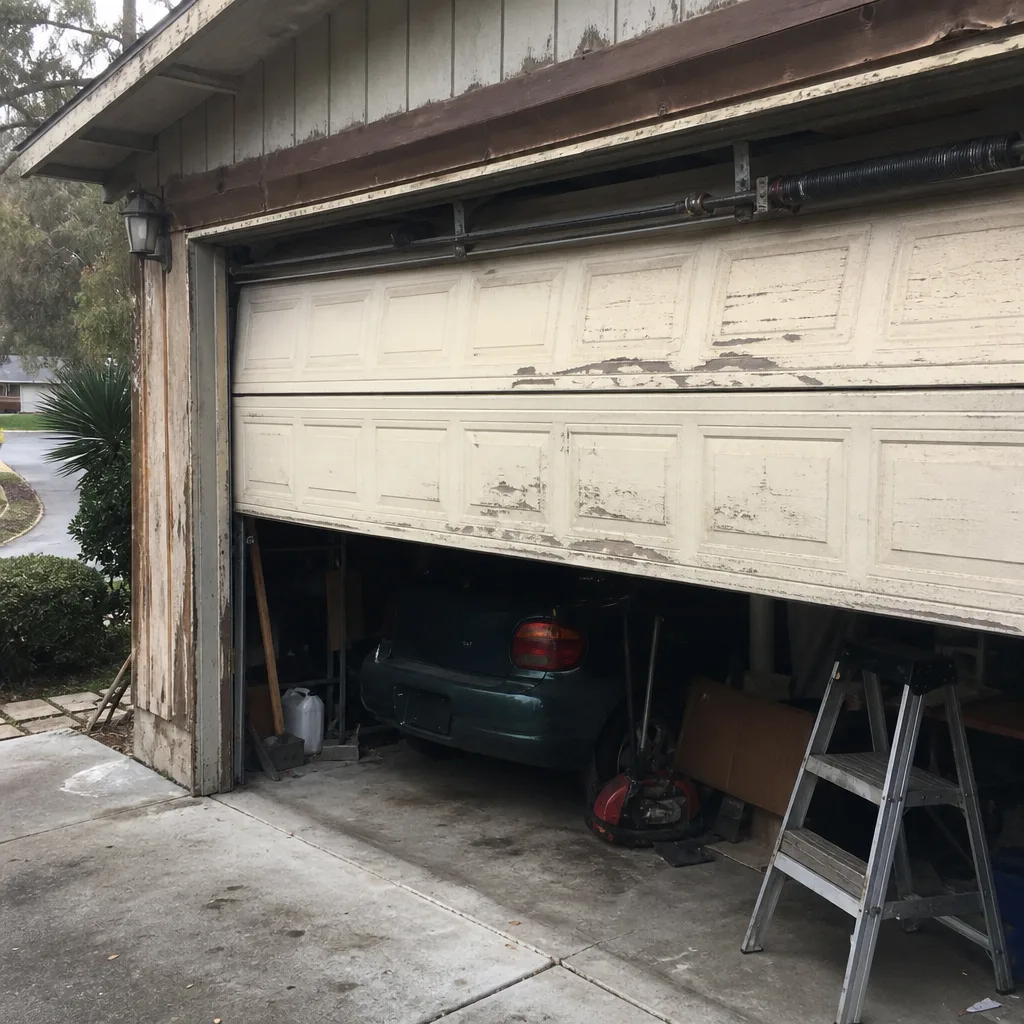 Before
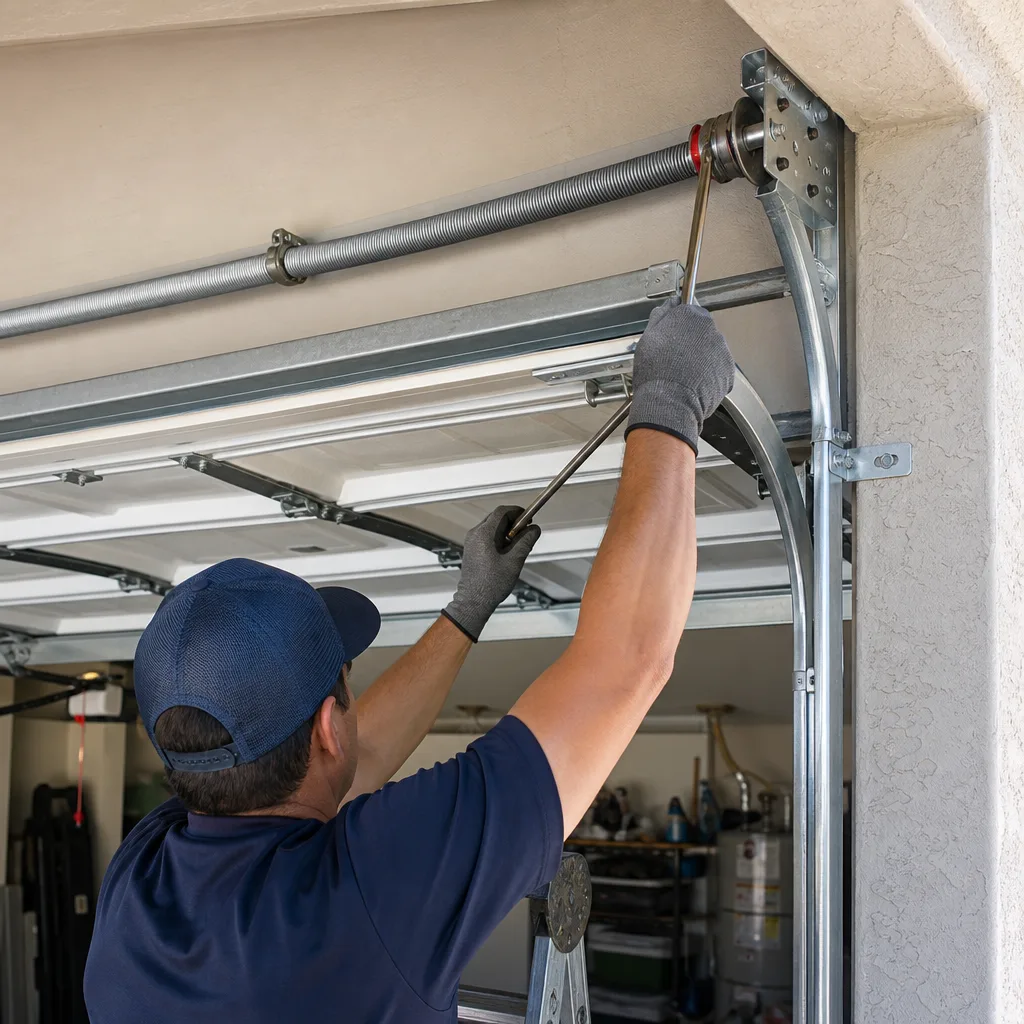 After