
Last updated October 31, 2026
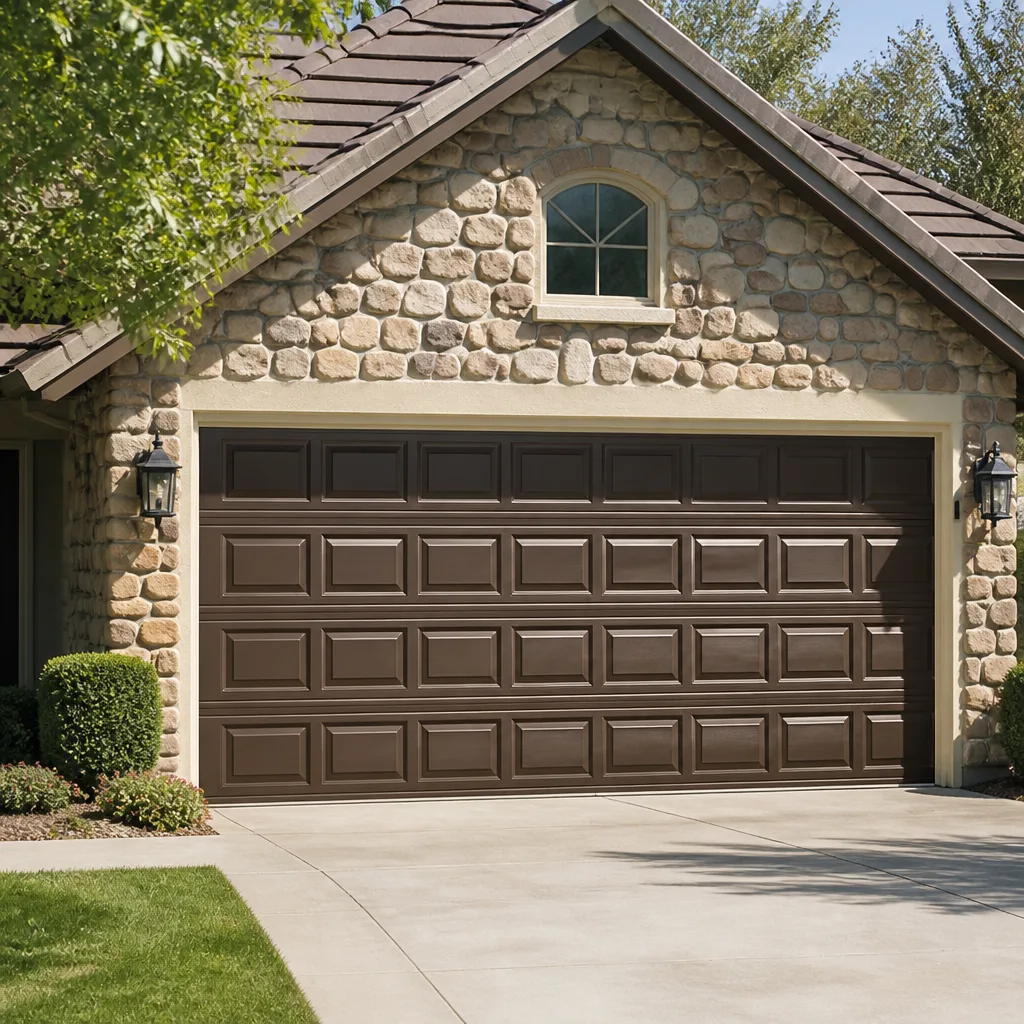 Raised-panel steel
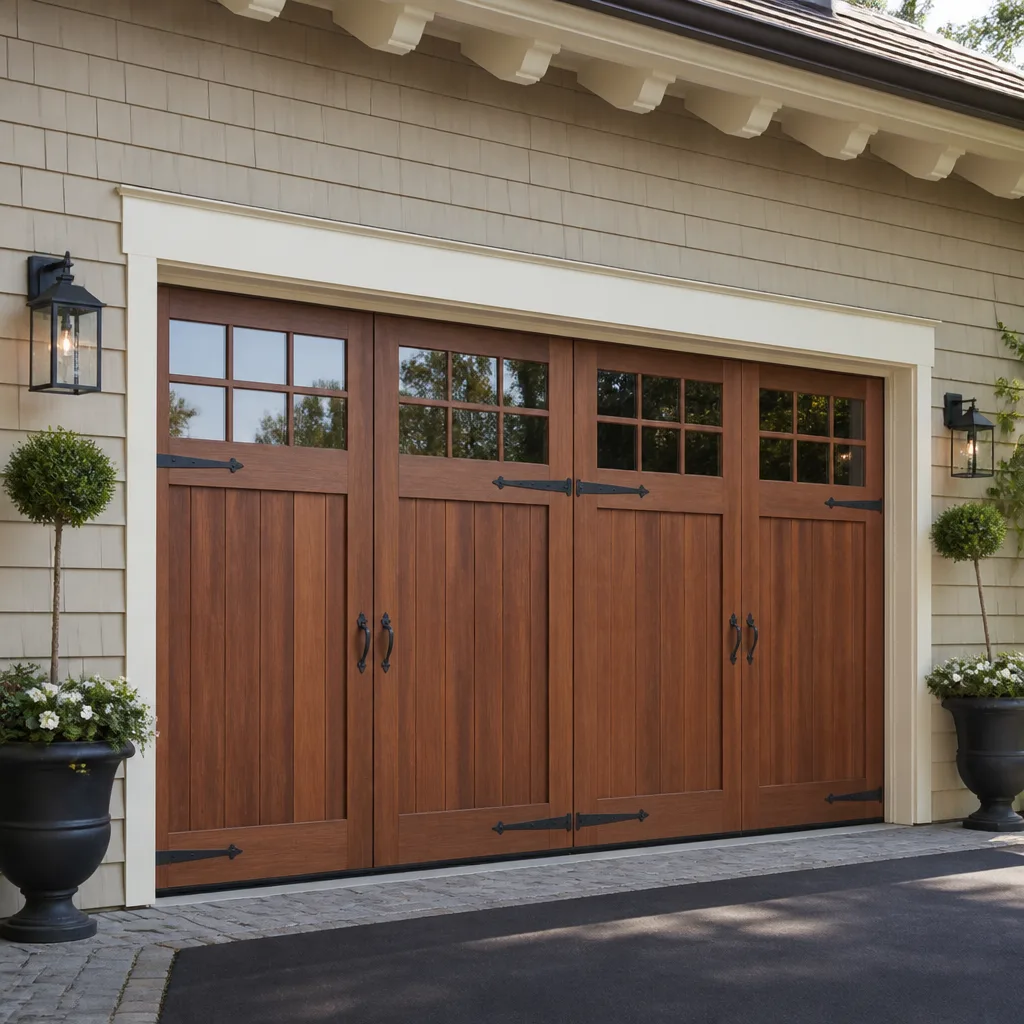 Carriage house
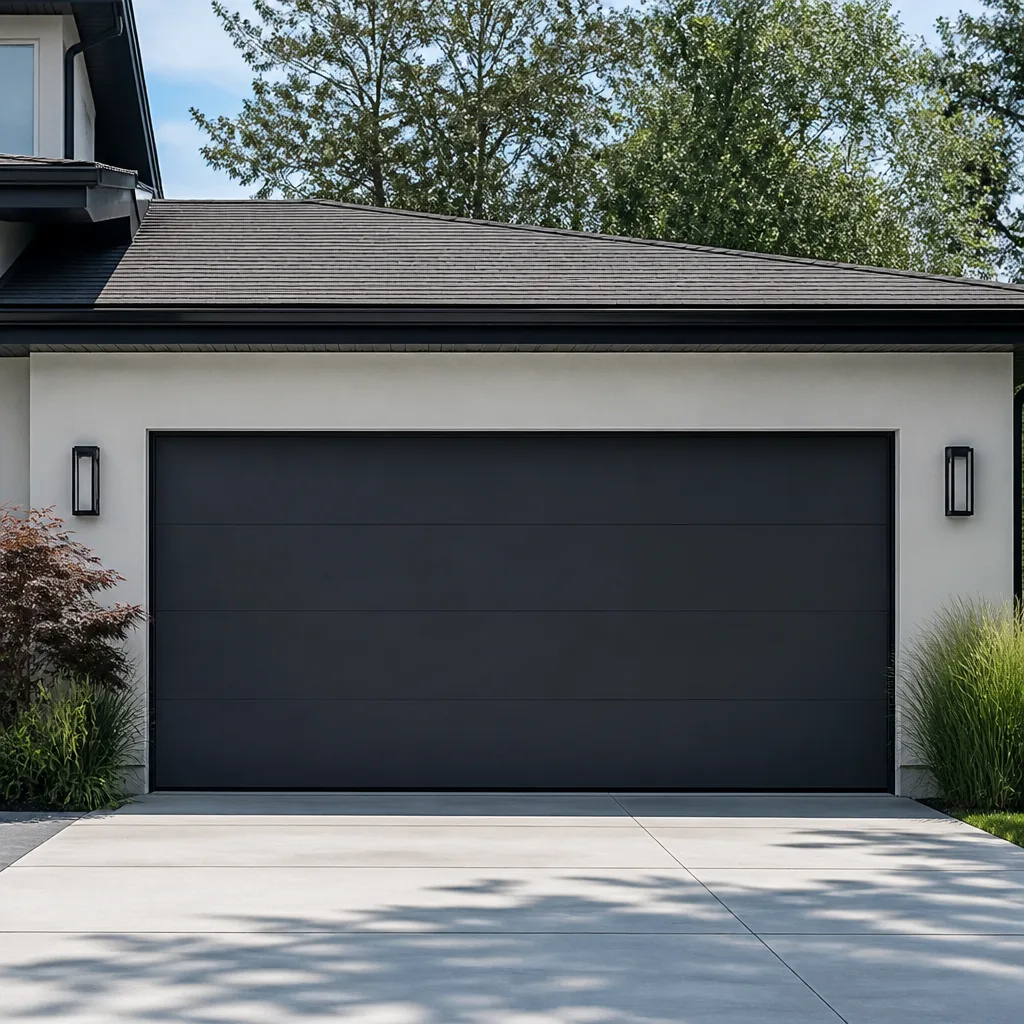 Modern flush
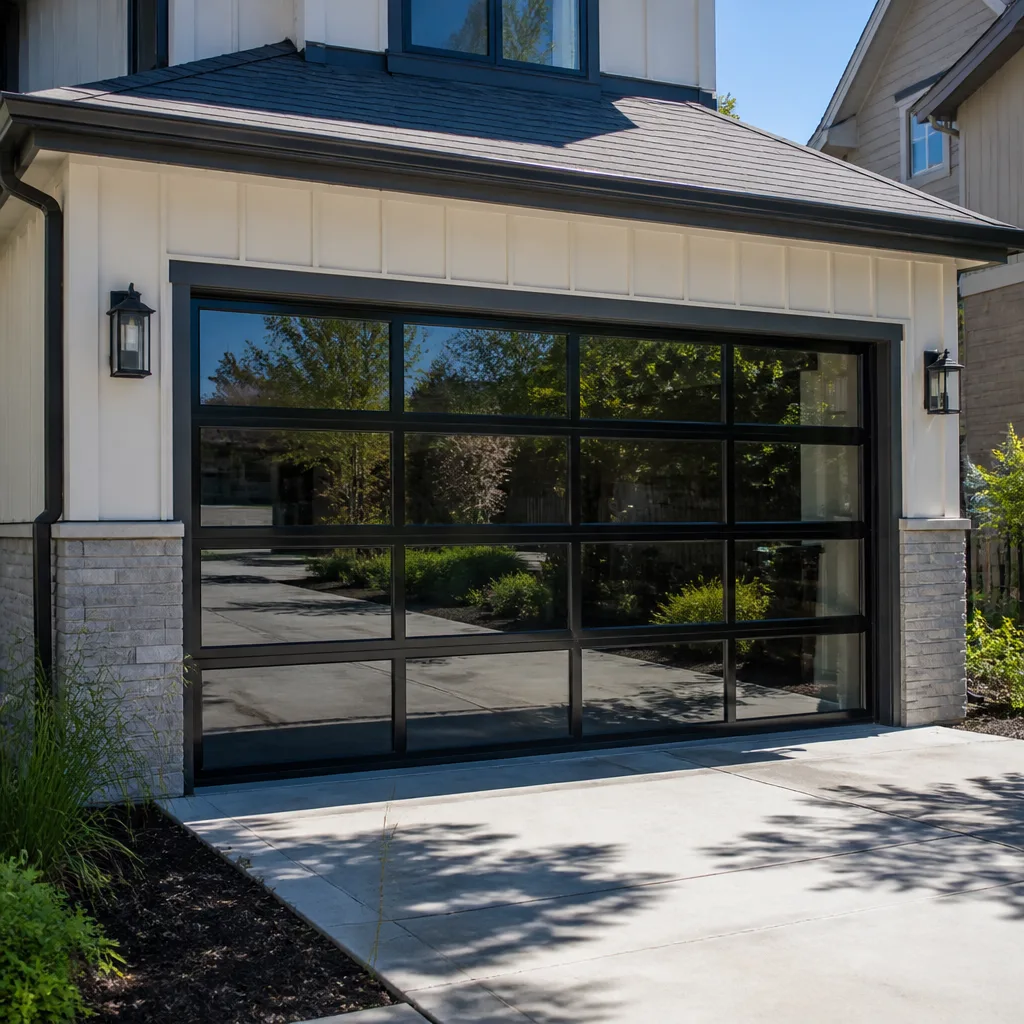 Full-view glass
 LiftMaster openers
 Chamberlain openers
Full 25-point door and opener safety check with every visit - springs, cables, rollers, tracks, and your LiftMaster or Chamberlain opener included
You get a price before we start. It does not change when the truck arrives.
Get your free estimateGarage Door Permits, Codes & Inspections in CA: What You Need to Know
A homeowner in San Marcos sold their house last year and nearly lost the deal at escrow because the garage door their previous contractor installed, without a permit, didn’t meet the 2010 opener safety standards the buyer’s inspector flagged. The door looked fine. The paperwork didn’t exist. That seller spent three weeks and roughly $1,400 correcting what would have been a $200 permit and a one-day inspection if it had been handled properly the first time.
This guide maps exactly where the permit line is drawn for California garage door work, what Title 24 and UL 325 mean for your door and opener, and how to stay compliant without turning a straightforward project into a bureaucratic headache. For more on avoiding common issues, see our Garage Door Repair Troubleshooting: Common Problems and How to Fix Them. We work on garage doors every day in San Marcos and the surrounding areas, and we’ve seen every version of this story.
Quick Answer
In California, a building permit is generally not required for replacing a garage door with a like-for-like unit, repairing springs, or swapping an opener. A permit is usually required when you’re enlarging the opening, adding a new garage door where none existed, converting a garage to living space, or installing a door on a garage attached to conditioned living space where Title 24 energy compliance documentation is mandated by your local jurisdiction. When in doubt, call your city’s building department before work starts.
Styles & brands we work with
Table of Contents
- Where the Permit Line Is Actually Drawn
- Title 24 and Garage Doors: What the Inspector Wants to See
- UL 325 and Opener Safety: Why It Matters at Inspection
- San Diego County, San Clemente, and San Marcos: Jurisdiction Notes
- How Unpermitted Work Shows Up at Escrow
- Retroactive Permits: What It Costs to Fix
- DIY vs. Professional Installation: Where the Risk Actually Lives
- A Step-by-Step Walkthrough for a Permitted Garage Door Project
Where the Permit Line Is Actually Drawn
California building codes are strict about structural and energy-related changes, but they’re surprisingly practical about replacement in kind. Here’s the distinction that matters: swapping a worn-out sectional door for a new one of the same size and type is considered maintenance-and-repair work under most city interpretations of the California Residential Code (CRC). You’re not changing the structure. You’re not changing the loads. You’re not changing the energy profile. The city generally doesn’t want to know.
But step across any of these lines and a permit becomes the law, not a suggestion:
- Enlarging or altering the rough opening: If the existing header, jambs, or foundation edge need to be modified to fit a bigger door, you’ve moved from replacement to structural alteration. This is squarely permit territory.
- Adding a garage door where none existed: Enclosing a carport or cutting a new opening in an exterior wall triggers full plan review, structural calculations, and inspection.
- Garage conversions: If a garage door is being removed and the opening infilled, that’s a change of occupancy use. This requires a permit in every California jurisdiction we’re aware of, no exceptions.
- New construction: A garage door installed as part of a new build or a major remodel falls under the primary building permit for the project.
- Doors on attached garages where the jurisdiction enforces Title 24 energy documentation: Some California cities, including several in San Diego County, now require proof of R-value compliance when an attached garage door is replaced, even if the rough opening is untouched.
In our experience working around San Marcos, the most common surprise is the Title 24 trigger. Homeowners replace a beat-up old door on an attached garage, the contractor says “no permit needed,” and then the city’s energy-reach code has a different opinion. We’ll cover exactly what that means in the next section.
Title 24 and Garage Doors: What the Inspector Wants to See
California’s Title 24 energy standards apply to garage doors when the garage is attached to conditioned living space and shares a wall or ceiling with the home. If your garage shares a wall with a bedroom or the living room, the door between the house and the garage matters for thermal transfer, and increasingly, so does the exterior garage door itself.
Here’s what the inspector will want documented, if your jurisdiction enforces it:
- R-value certification: For a replacement door on an attached garage, many jurisdictions want the door to meet a minimum R-value, typically R-6.5 to R-12 depending on climate zone and local reach codes. The manufacturer’s data sheet with the R-value printed is usually sufficient.
- Weatherstripping and air-sealing details: Title 24 has always cared about air infiltration. An inspector may verify that the door’s perimeter seal, bottom seal, and mounting frame are installed to limit air movement.
- Manufacturer’s compliance statement: Some building departments ask for a one-page statement or spec sheet that shows the door model, its R-value, and any NFRC (National Fenestration Rating Council) certification where applicable.
In coastal microclimates like San Clemente, the energy conversation feels different than it does inland in San Marcos, where summer temperatures routinely cross 90°F in August and the garage becomes a heat load against the house. The rules don’t change by coastal vs. inland, but the practical value of an insulated door changes noticeably.
Doors from brands like Raynor, Clopay, and Amarr all offer insulated models with documented R-values, and we carry current spec sheets for the units we install. An installer who can’t tell you the R-value of the door they’re quoting is an installer who doesn’t understand why you’re asking.
UL 325 and Opener Safety: Why It Matters at Inspection
UL 325 is the national safety standard for automatic gate and garage door openers. It covers the entrapment protection requirements: the auto-reverse mechanism, the photo-eye sensors, and the force limiter that stops and reverses the door if it hits something on the way down. Every garage door opener sold in the U.S. after 1993 must comply with UL 325.
What this means in practical terms for a California homeowner:
- Entrapment sensors (photo eyes): Both sensors must be mounted no higher than 6 inches off the floor, aligned, wired, and functional. If a buyer’s home inspector puts a 2×4 on the ground in the door’s path and the door touches it and keeps going, that’s a flagged safety defect.
- Auto-reverse sensitivity: The opener’s reversing force must be tuned so that the door reverses without causing damage to a simulated obstruction. This is tested during some resale inspections.
- Vacation lock and manual release: The opener must have a way to manually disengage the door from inside the garage. The red emergency release cord is your friend. If it’s missing or modified, that’s a code issue.
- Secondary safety for torsion springs: While not opener-specific, California inspectors frequently check that torsion springs have containment cables. A spring that snaps without a cable becomes a missile in the garage. This is a safety check, not a code line item in all jurisdictions, but it’s caught by smart home inspectors.
We replace and repair openers from LiftMaster, Chamberlain, and Genie across San Marcos and the wider county every week. The older the opener, the more likely it predates the current UL 325 revisions. A pre-2010 unit may have a working motor and dead sensors or an auto-reverse that’s too weak or too aggressive, and the homeowner won’t know until someone tests it. When we install a new garage door opener as part of a Garage Door Repair in San Clemente call, UL 325 compliance is part of the job, not an add-on discussion.
San Diego County, San Clemente, and San Marcos: Jurisdiction Notes
Every city implements the California codes with its own paperwork layer. Here’s what we see day to day from the San Marcos Garage Door Service home team:
- City of San Marcos: The Building Division processes residential garage door permits over the counter for simple replacement-of-opening scenarios. Expect a 5 to 10 business day review for over-the-counter filings. For structural changes (new opening, opening enlargement), plan review typically runs 2 to 4 weeks. Permit fees for a straightforward door replacement in the $200,000 to $400,000 single-family home range typically run $150 to $400, depending on the scope and whether plan check is required.
- City of San Clemente: The Building Division is similarly straightforward for like-for-like work, with a notable focus on coastal zone considerations. Anything touching on historic districts or coastal development permit overlays adds processing time. For a standard attached-garage door replacement with Title 24 documentation, expect a 1 to 2 week turnaround. San Clemente is hot on the Title 24 point; our Garage Door Installation in San Clemente work routinely includes an R-value data sheet left with the homeowner for their records.
- Unincorporated San Diego County: County building permits route through the Planning & Development Services department. Residential over-the-counter filings for garage door replacements are possible, but the county tends to ask more questions about the door’s energy characteristics than either San Marcos or San Clemente. Budget 2 to 3 weeks.
The timing caveat: these timelines assume a complete submittal. Missing energy documentation, unclear scope descriptions, or a vague answer on the permit application about the existing structure will pause your file. We tell homeowners to apply with a copy of the manufacturer’s spec sheet for the door and opener, a simple project description, and clear photos of the existing conditions if they have them.
Residential inspectors in San Marcos and San Clemente are typically practical. They want to see the door installed correctly, the safety sensors working, the manual release accessible, and the energy documentation if it’s required. A final inspection takes 15 to 30 minutes.
How Unpermitted Work Shows Up at Escrow
California’s seller disclosure requirements are the most aggressive in the nation. Under Civil Code Section 1102, sellers must disclose any known unpermitted work, any work that doesn’t comply with building codes, and any room, garage, or structure that was added or modified without a permit. The form explicitly asks: “Are there any alterations, modifications, or repairs made without the necessary building permits?”
Here’s how an unpermitted garage door replacement becomes a closing-day problem:
- The buyer’s home inspector notes the safety sensor spacing: UL 325 compliance is checkable in 30 seconds. An older opener with misaligned or absent photo eyes gets written up.
- The buyer’s inspector cross-checks the door’s R-value: If the garage is attached and the new door isn’t documented, the inspector may flag a Title 24 concern.
- The buyer asks for a retroactive permit: Escrow doesn’t close until untitled work is resolved, the buyer accepts it as-is with a credit, or the seller makes a repair. None of those outcomes is great for the seller.
- The appraiser or lender gets involved: If the scope of work suggests a structural change (enlarged opening, converted garage), lenders can trigger their own compliance review.
In the San Marcos example we opened this guide with, the seller’s problem wasn’t the door. It was that no one had documented anything. A one-page manufacturer sheet and a $160 permit would have made it a non-event. Instead, the buyer’s agent used it as leverage for a $1,400 credit against the sale price, because retroactive correction work isn’t free and the escrow timeline wasn’t moving.
For the record: a spring replacement, cable replacement, roller replacement, or opener repair is not a permit-required project anywhere in California. You can call a garage door repair specialist, get the door moving, and go about your day. The permit question only arrives when the door itself is being replaced with something new, on a garage attached to living space, in a city that enforces the energy documentation side of Title 24.
Retroactive Permits: What It Costs to Fix
The cost to retroactively permit an unpermitted garage door replacement has three components:
- City fees: Expect the standard permit fee, often doubled or tripled as a penalty for unpermitted work, depending on the city. A $180 permit becomes $400 to $600 quickly.
- Inspection corrections: If the existing installation has code deficiencies, those go on the correction notice and become the homeowner’s responsibility. A non-compliant opener sensor setup costs $150 to $300 to fix. A door that doesn’t meet the R-value requirement in an enforcement-heavy jurisdiction might require replacement, which is $1,200 to $2,800 depending on size and brand.
- Time: Retroactive permits take longer than initial permits because the city has to review the as-built condition, not a paper plan. Two to three extra weeks is typical.
The honest math: doing it right the first time costs a few hundred dollars in permit fees and a half-day of coordination. Repairing an unpermitted installation at the point of sale costs $500 to $3,000 depending on what the inspector finds, plus whatever leverage it gives the buyer in negotiation. In the San Carlos and Lake San Marcos neighborhoods where we work regularly, we’ve seen this play out often enough that we bring the permit conversation up proactively on every garage door installation quote. Most homeowners initially think their project doesn’t need a permit. About a quarter of them are wrong, at least in the stricter San Diego County cities.
DIY vs. Professional Installation: Where the Risk Actually Lives
There’s a version of this conversation that goes, “It’s just a garage door. How hard can it be?” And some parts of a garage door project are genuinely manageable for a skilled homeowner: swapping a worn roller, tightening hardware, even replacing a weatherseal. But torsion spring work and full door installations are where the risk concentrates.
A torsion spring holds between 100 and 200 pounds of torque when wound. That energy has to be released and transferred correctly during installation, and it’s the part of the job that sends people to the emergency room when improvised winding tools fail. We’re garage door specialists; this is all we do, and we still treat every torsion spring as a loaded system. We do not provide DIY spring winding instructions. The safe move for anyone without a torque-calibrated winding setup and the experience to read a spring’s balance point is to call a professional.
Beyond immediate safety, the professional-installation advantage on a permitted project is documentation. A specialist who installs Amarr, Clopay, Wayne Dalton, or Raynor doors every day keeps the spec sheets organized. They know which R-values pass in which cities. They know whether the San Marcos building department wants the UL 325 test log for the opener or just a visual safety check. They can name the wind load rating on a coastal San Clemente door where the same model would never be specified inland. That depth of field is what separates a garage door company from a general handyman who fits a door between other jobs.
And on the brand-specific side: a Genie opener with a Wayne Dalton door has different mounting and balance characteristics than a Chamberlain opener on a Clopay rail. We service every combination on that map. It matters at installation, and it matters a year later when someone has to tune the system.
A Step-by-Step Walkthrough for a Permitted Garage Door Project
If your project crosses the permit line, here’s the sequence we recommend based on what works smoothly in San Marcos and San Clemente:
- Confirm the scope with the building department: Call your city’s Building Division. Describe the project in one sentence: “Replacing an existing 16 x 7 sectional garage door on an attached garage, same rough opening, insulated door with R-value documentation.” You’ll get a yes-permit or no-permit answer in most cases.
- Collect the documentation: Door spec sheet with R-value, opener model with UL 325 compliance date, and photos of the existing structure. If you’re working with a specialist, they should provide this; if they can’t, that’s a red flag.
- File the permit: Expect a flat filing fee and, in some cities, a small plan-check fee. Keep the receipt and permit number somewhere you can find them later.
- Schedule the install with the inspector’s timeline in mind: The door goes in, the provider leaves the job site clean, and the inspection usually happens the same week if everything is in order.
- Attend the final inspection: The inspector verifies the door’s operation, the sensor safety, the R-value documentation if required, and the structural adequacy of the existing opening (for replacement-in-kind work, this is typically visual). You get a signed final inspection card. That card is your resale protection.
- Keep the paperwork: File the final inspection, permit, and spec sheets with your house documents. When you sell, disclose that the work was permitted and inspected. The questions stop there.
For a like-for-like door replacement that doesn’t require a permit, you still want the spec sheet and a receipt that clearly states the work performed. At resale, most buyers accept a clearly described and professionally installed replacement at face value. What they don’t accept is ambiguity.
Common Mistakes to Avoid
- Assuming no permit is ever needed for a garage door: Most repair and like-for-like work is permit-exempt, but Title 24 energy documentation has changed what some cities require. Confirm before you replace.
- Filing the permit after the work is done: If a permit was required and the door is already in, you’ve technically performed unpermitted work and may owe a penalty fee. File before the project starts.
- Using an installer who can’t provide a manufacturer’s spec sheet: If they can’t tell you the door’s R-value or the opener’s UL listing, they don’t know the codes they’re working under.
- Skipping the final inspection: An open permit is almost as bad as no permit at resale. The buyer’s title company will find the open permit and ask questions.
- Ignoring the safety sensor height rule: UL 325 specifies 6 inches maximum off the floor. We see sensors mounted at 8 to 10 inches consistently on older San Marcos homes, and inspectors flag it every time.
- Choosing the quietest opener over the compliant one: Belt drives are quiet, but the compliance issue is about entrapment protection, not drive type. A unit can be quiet and non-compliant.
- Believing a home warranty covers unpermitted work: It doesn’t. Home warranty exclusions blank out unpermitted installations, and the homeowner ends up covering the full cost.
See the difference
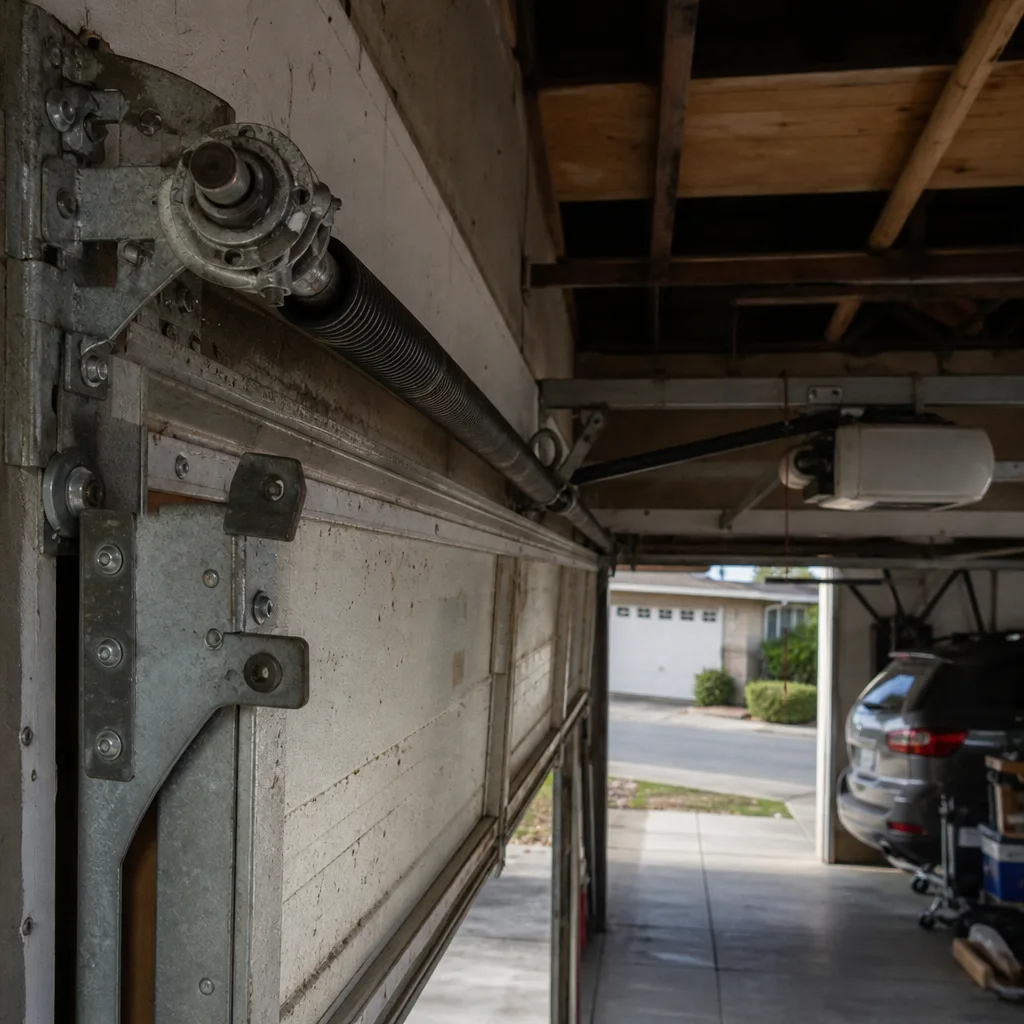 Before
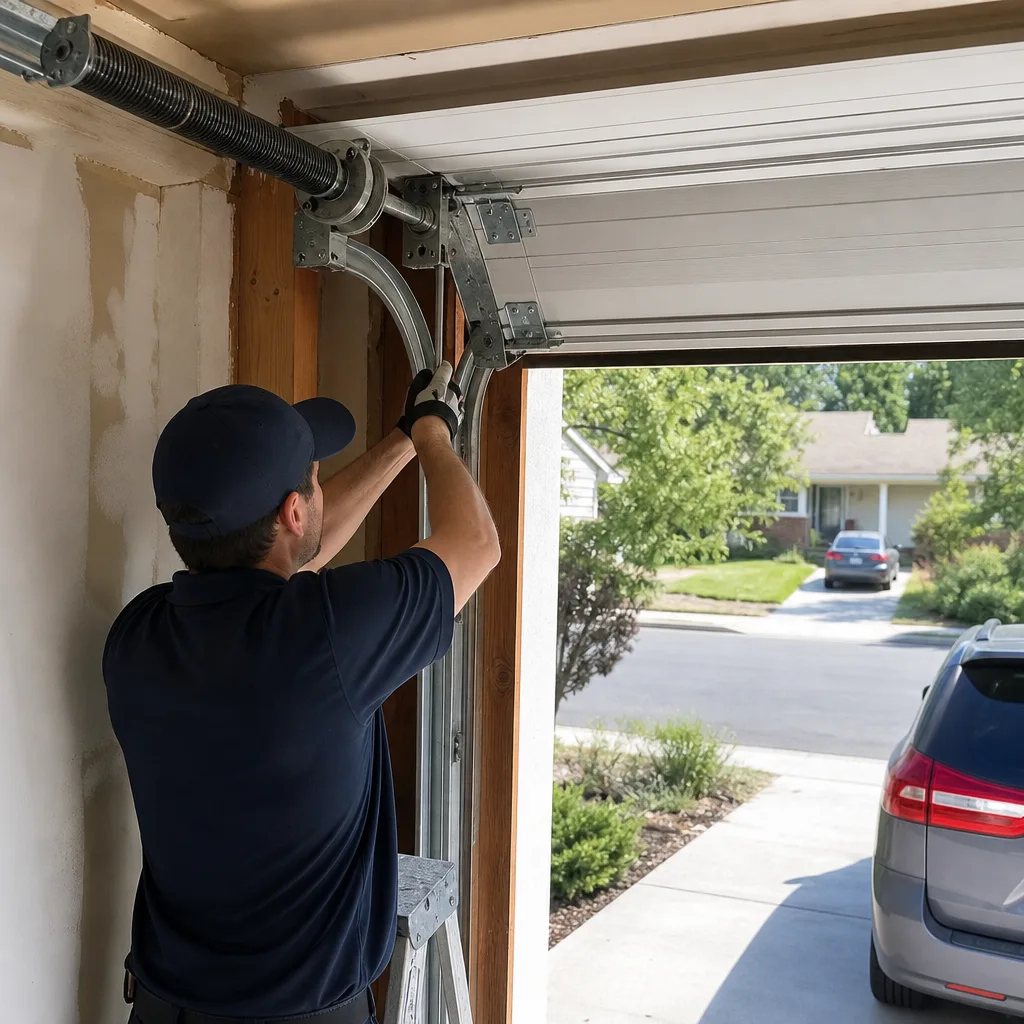 After
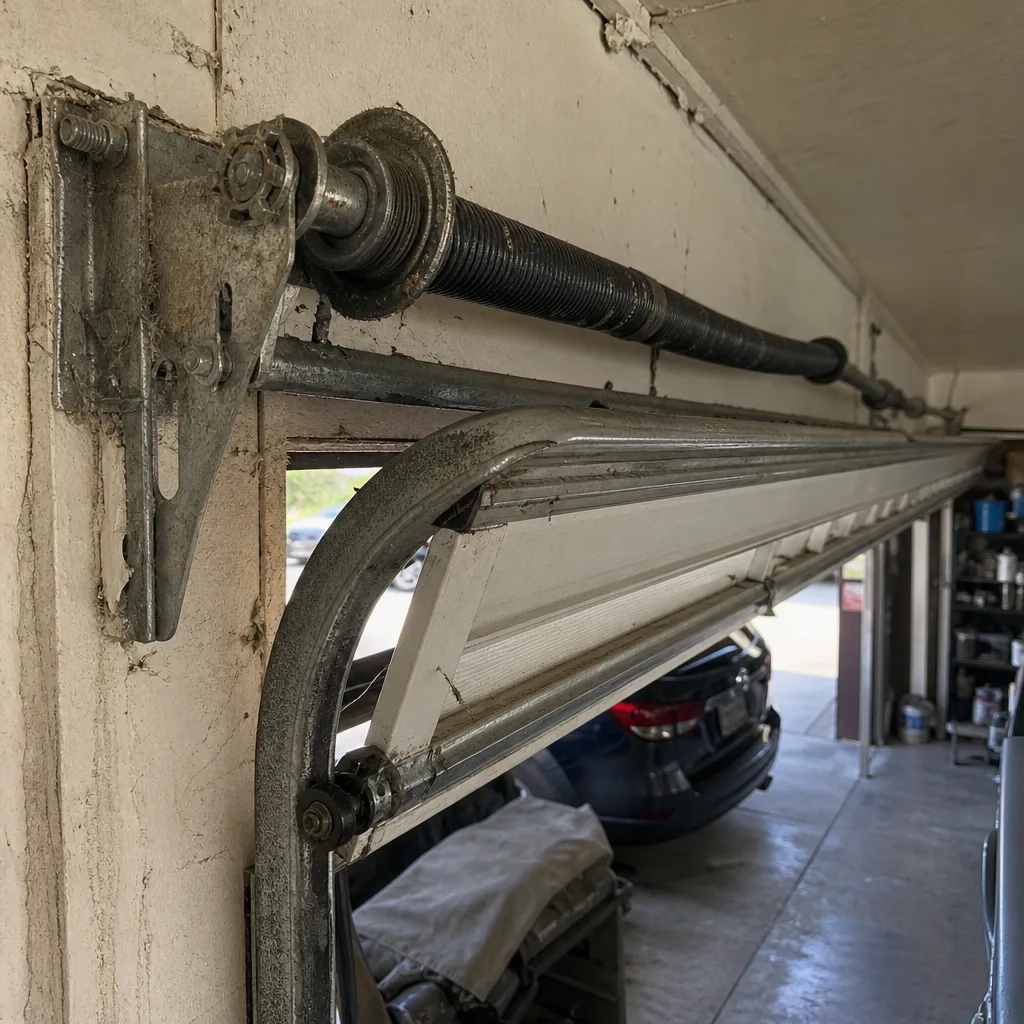 Before
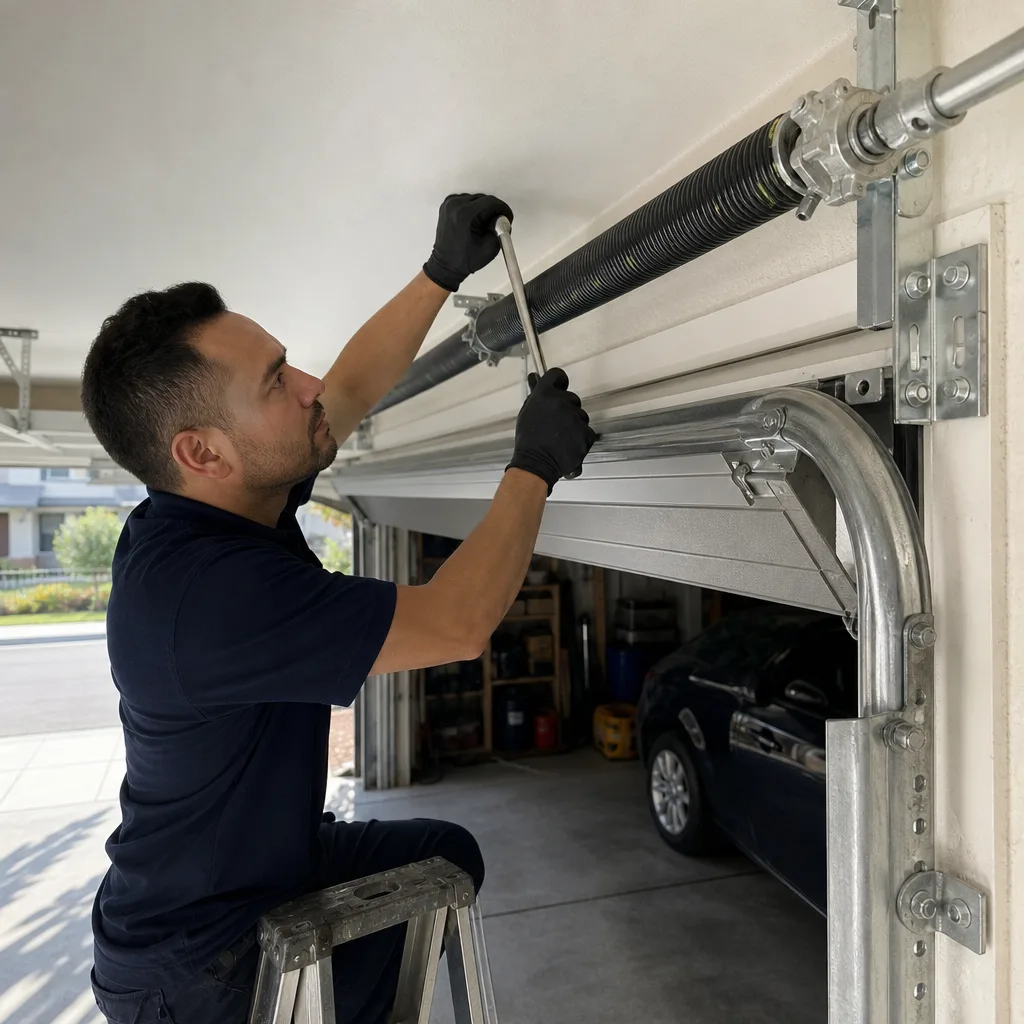 After
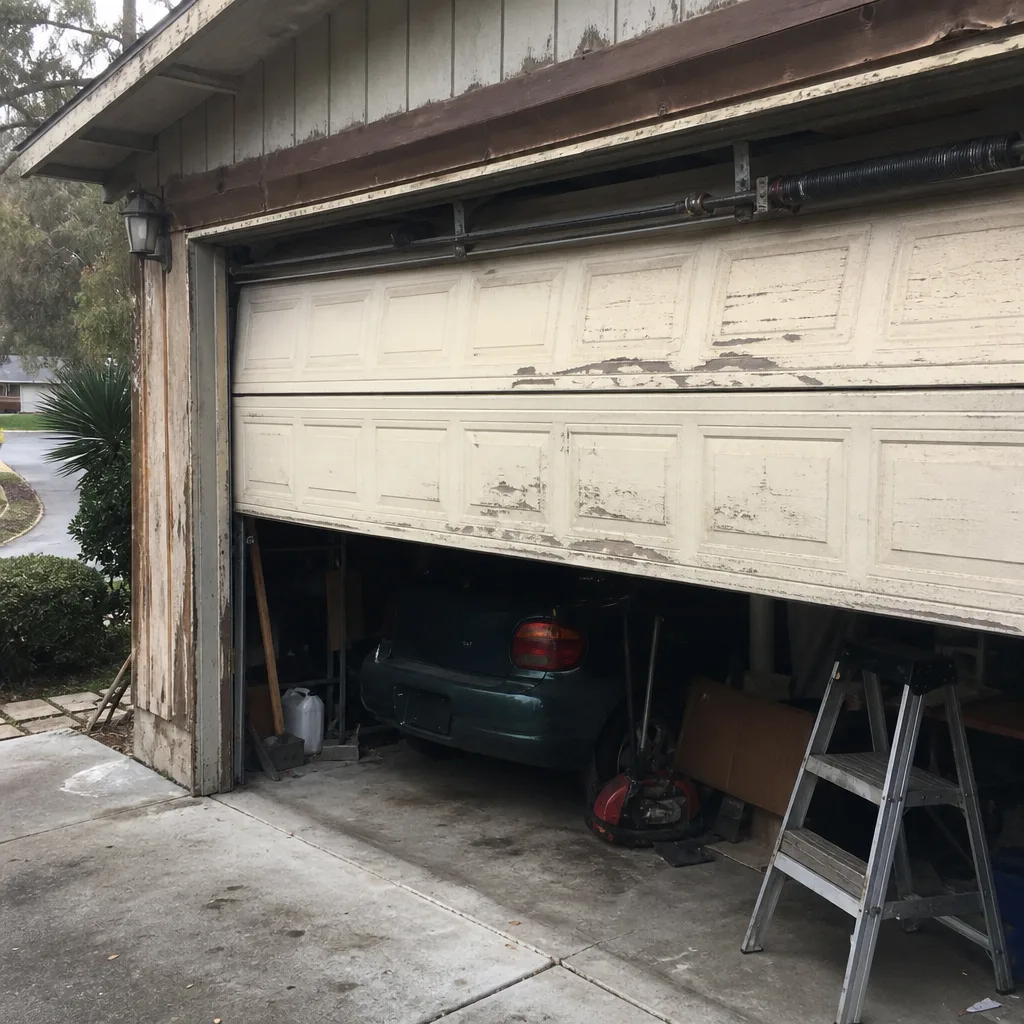 Before
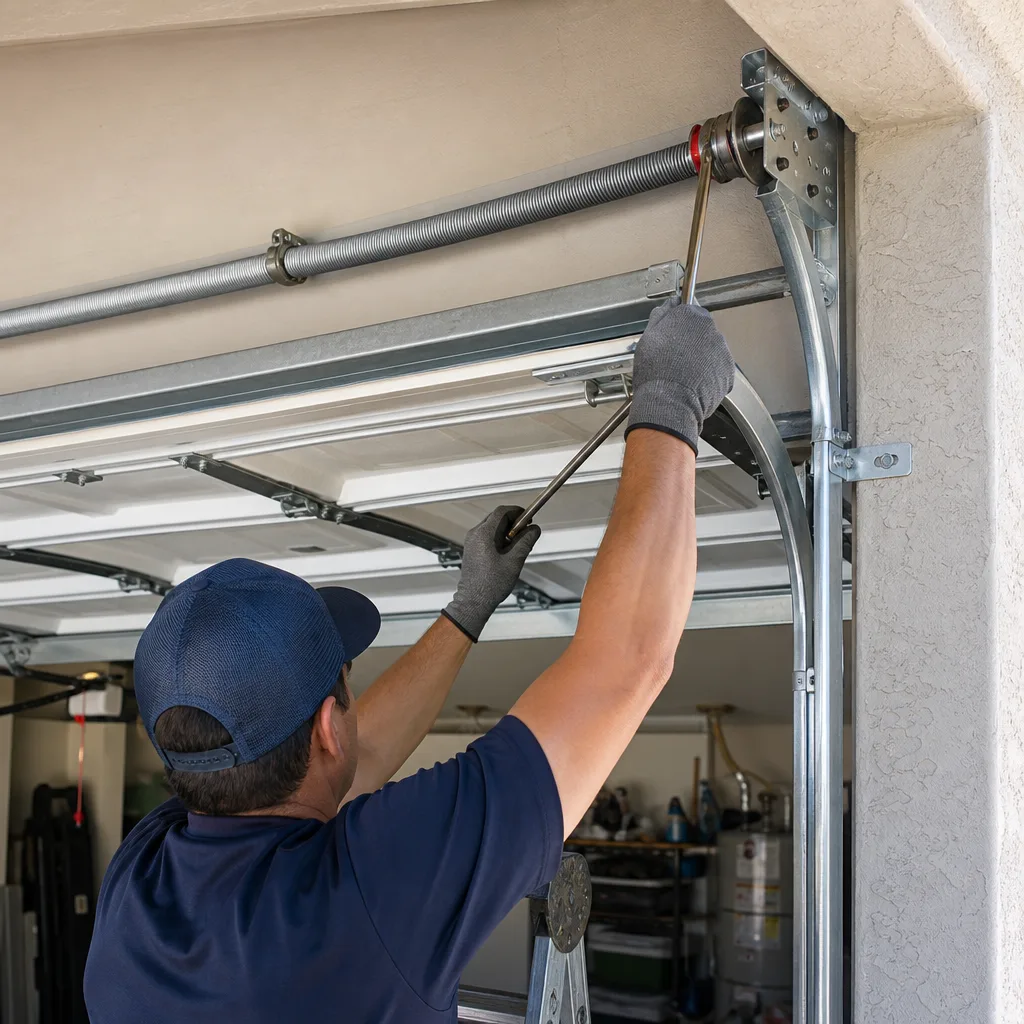 After
When to Call a Professional
You should call a specialist any time the project touches a torsion spring, a structural opening, or an opener’s safety-certified systems. For spring repair, this is non-negotiable: the stored energy in a wound torsion spring can cause severe injury. For garage door replacement with a permit requirement, a professional who installs doors full-time and knows what the San Marcos and San Clemente building departments expect will save you time and escrow problems later.
We install and repair across all major door and opener brands, including LiftMaster, Chamberlain, Genie, Clopay, Amarr, Wayne Dalton, Craftsman, and Raynor. If your project needs a permit, we’ll help you get the documentation together in one call. San Marcos Garage Door Service offers free estimates in San Marcos, call (877) 265-5166.
Frequently Asked Questions
Generally no, if you’re replacing the door in the same rough opening with the same size and type, and the garage is detached or the city doesn’t enforce Title 24 energy documentation. You do need a permit in many jurisdictions if the garage is attached, the door replacement touches conditioned space, and the city requires R-value documentation. We recommend calling your city’s Building Division for a definitive answer before the project starts, because San Marcos and San Clemente interpretations differ on the energy enforcement point.
Expect to pay $150 to $400 for a straightforward residential garage door replacement permit depending on the city and whether plan check is required. If the project is retroactive because the work was already done, expect penalty fees that double or triple the standard rate. For an exact figure, call our team at (877) 265-5166 and we can point you to the right desk at your local building department.
UL 325 is the safety standard that requires entrapment protection on automatic garage door openers, including photo-eye sensors and auto-reverse force settings. To check compliance, unplug the opener, release the door, and manually verify that the sensors are mounted no higher than 6 inches off the floor and that the door reverses when the photo beam is interrupted. Any current-model LiftMaster, Chamberlain, or Genie opener from the last decade meets UL 325. Older units from before 2010 may not. We can test your existing opener as part of any service call.
Only if your garage is attached to conditioned living space and your city enforces the energy side of Title 24 for garage door replacements. San Clemente is more consistent in asking for R-value documentation than some other San Diego County cities. If you’re installing a new door on an attached garage, ask the installer for the manufacturer’s R-value data sheet and keep it with your house records. If you’re not sure whether your project triggers it, we can check the door you’re considering against the current requirements before you buy.
You can legally install a like-for-like door yourself in many cases, but you take on the spring-loading risk and the responsibility for UL 325 sensor setup and Title 24 documentation, if it applies. The most dangerous part of DIY garage door work is the torsion spring; it stores enough energy to cause severe injury if handled with improvised tools. Even for willing DIYers, we strongly recommend leaving that part to a professional and taking on the trim and cleanup work yourself.
The seller must disclose it on the California transfer disclosure statement, and the buyer’s inspector will likely flag the missing permit or safety deficiency if it exists. Escrow can stall, the buyer may demand a credit, and some lenders will not fund until the work is retroactively permitted. In San Marcos, we’ve watched unpermitted door replacements become $1,000+ escrow credits. The permit conversation is cheaper before the door goes in, and we’re glad to talk through it for free.
The Bottom Line
In California, the permit line for garage door work is bright enough to see: like-for-like replacement on a detached garage is usually permit-free, while attached-garage replacements with Title 24 energy triggers, structural changes, and new openings are not. UL 325 opener compliance matters any time a buyer’s inspector is in the garage, and unpermitted work at escrow is an expensive fix. Document the door’s R-value, keep the final inspection card, and use a specialist who can name every brand on the truck and every code in the room. Work with people who do garage doors all day, and the permit process is a 30-minute errand, not a closing-day crisis. Browse our more guides & resources for additional homeowner tips.
Written by the team at San Marcos Garage Door Service, serving San Marcos since 2012.