Last updated October 31, 2026
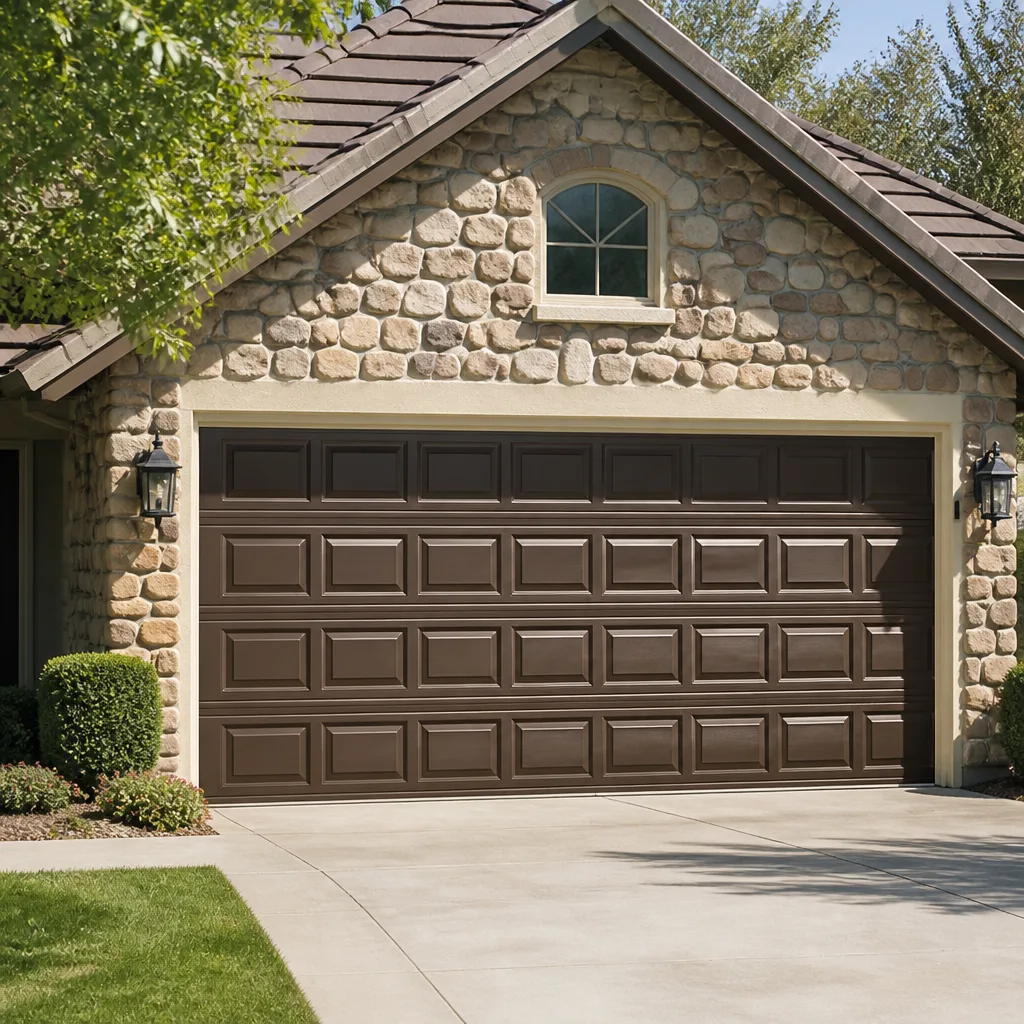 Raised-panel steel
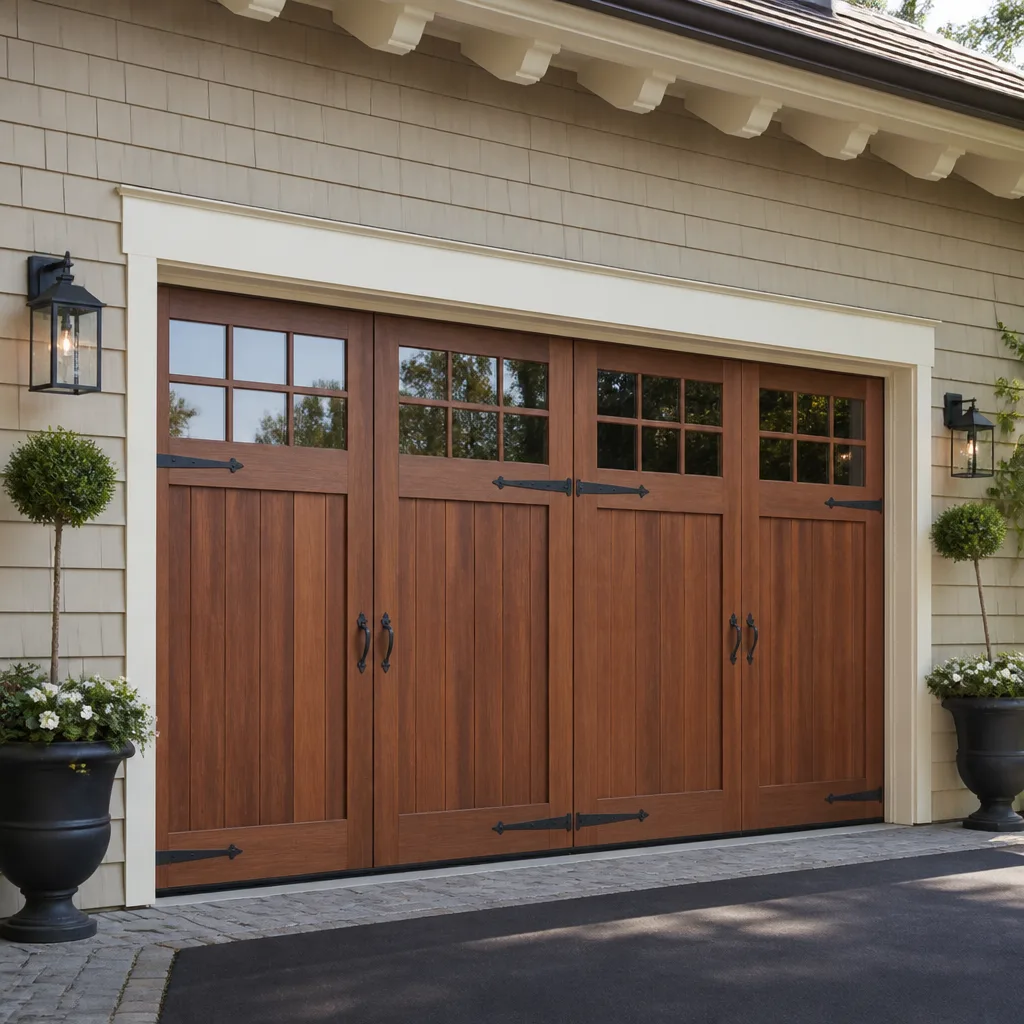 Carriage house
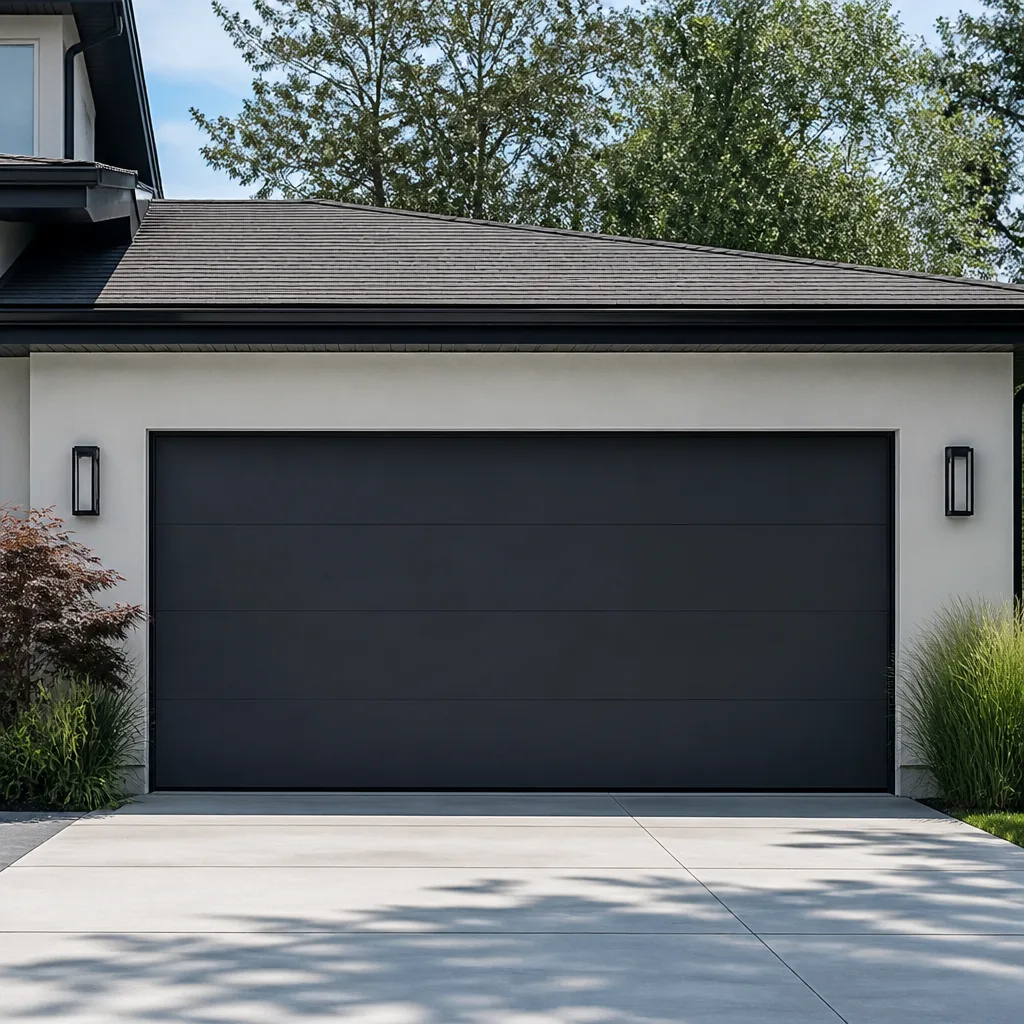 Modern flush
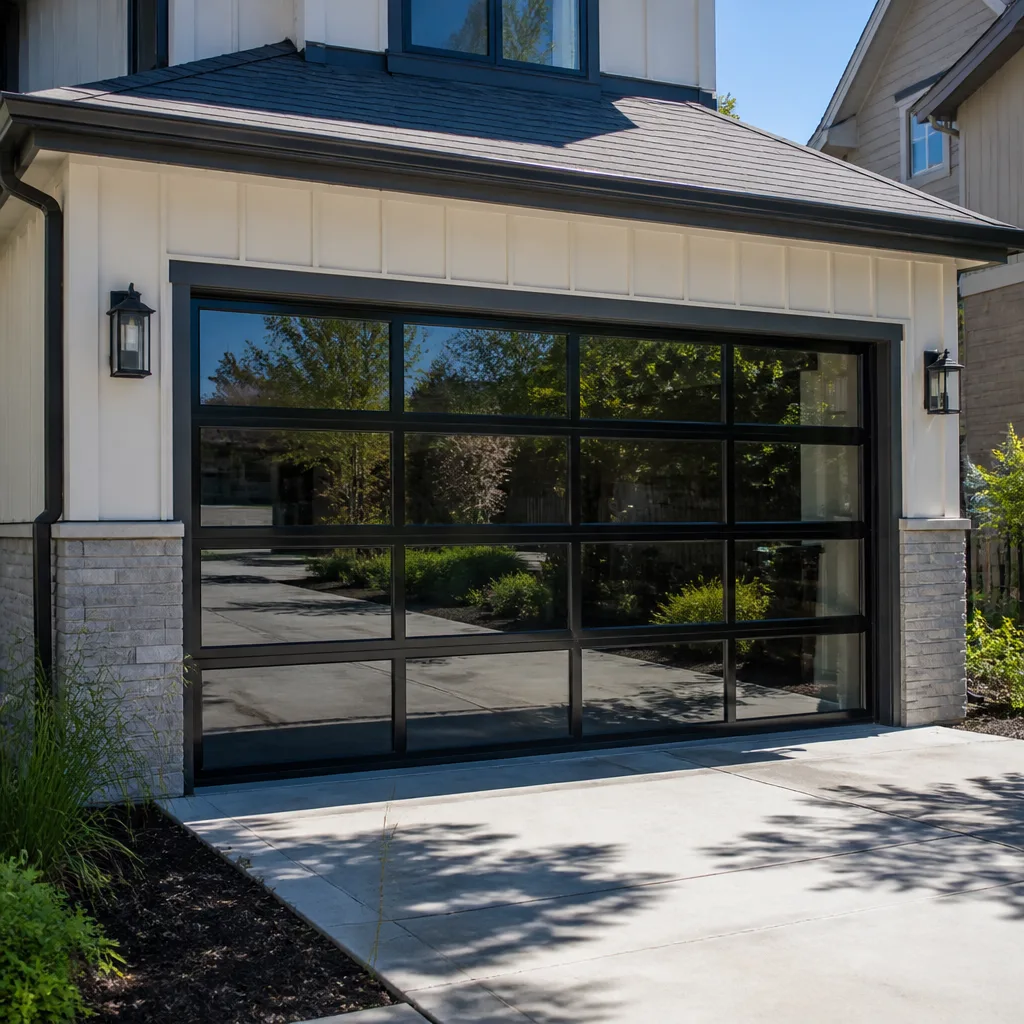 Full-view glass
 LiftMaster openers
 Chamberlain openers
Full 25-point door and opener safety check with every visit - springs, cables, rollers, tracks, and your LiftMaster or Chamberlain opener included
You get a price before we start. It does not change when the truck arrives.
Get your free estimateGarage Door Repair Maintenance Checklist for San Marcos Homeowners
Here’s a fact most San Marcos homeowners don’t realize until it’s too late: the garage door is the largest moving object in your home, and it cycles open and closed roughly 1,500 times a year. Every one of those cycles wears something down. After walking through thousands of repair calls across San Marcos, the pattern is always the same. A frayed cable, a cracked roller, a spring that’s visibly lost tension. Every single one was visible weeks before the door stopped working. Nobody was looking. This checklist changes that. It’s built around what a garage door specialist actually checks on a service call, translated into what you can safely inspect yourself from the ground.
Quick Answer
A garage door maintenance checklist for San Marcos homeowners comes down to four things: a monthly visual inspection of cables, rollers, springs, and brackets; a twice-yearly balance test to check spring tension; targeted lubrication of moving parts every six months using a silicone or lithium spray (never WD-40); and a quarterly check of your opener’s safety sensors and reversing mechanism. Most of this takes under fifteen minutes and catches the failures that strand doors in the up position or leave your car trapped in the garage.
Styles & brands we work with
Table of Contents
- The Monthly Visual Inspection: What You’re Actually Looking For
- The Balance Test: The Single Most Revealing Check You Can Do
- Lubrication Protocol: What Gets Lubricated, What Doesn’t, and Why WD-40 Is Wrong
- Seasonal Adjustments for San Marcos’s Coastal Climate
- Garage Door Opener Maintenance: Sensors, Force Settings, and Smart Features
- DIY vs. Specialist: Where the Line Is and Why It Exists
- What Your Garage Door Is Telling You: Noise and Movement Diagnosis
- Common Mistakes to Avoid
- When to Call a Professional
- Frequently Asked Questions
The Monthly Visual Inspection: What You’re Actually Looking For
This is not about wiping down panels. The exterior face of the door can be dirty and weather-worn; it makes zero difference to how the door operates. What matters is the hardware, and the hardware tells you everything if you know what a failing part looks like from two feet away. Most San Marcos homeowners can complete this check in ten minutes with no tools. Here’s exactly what to examine, and what each item looks like when it’s heading for failure.
Cables: The Highest-Stakes Visual Check
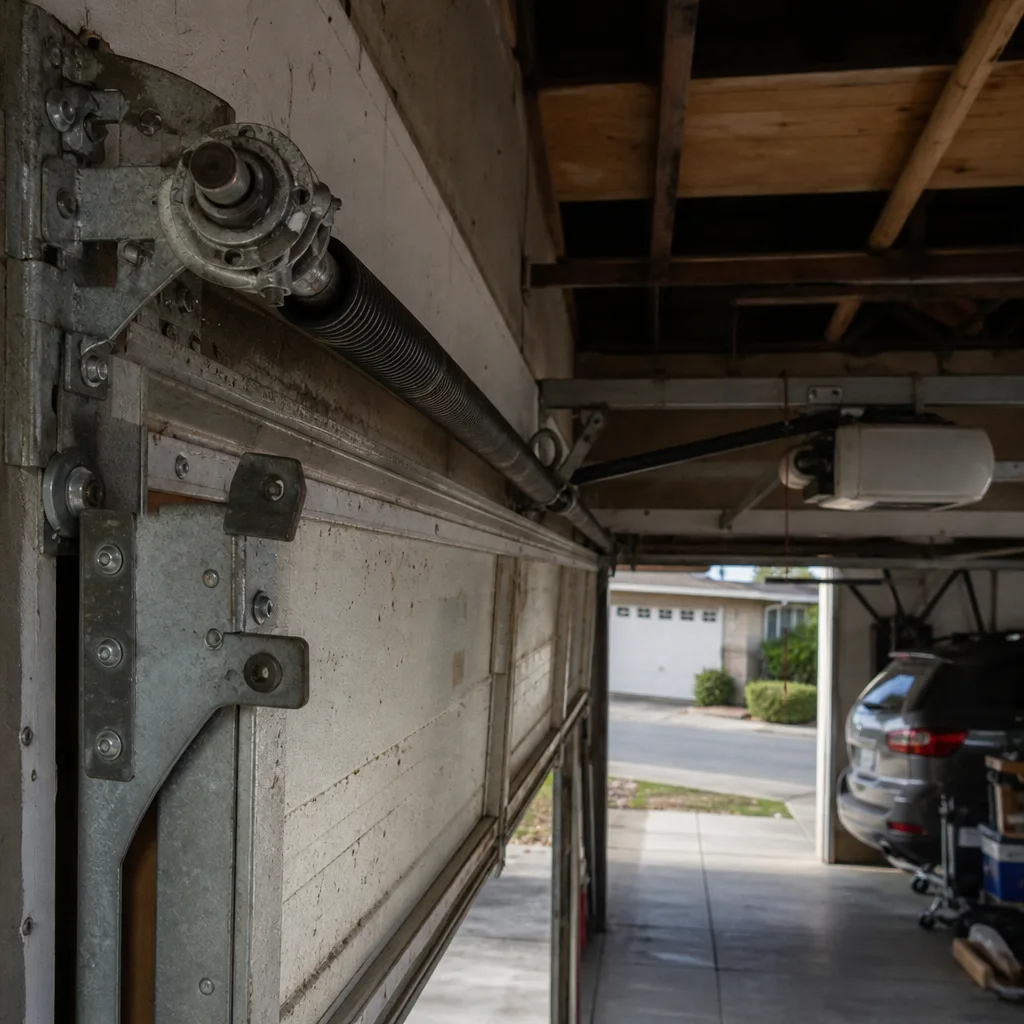
Stand inside the garage with the door closed. Look at the cables running along each side, connecting the bottom bracket to the drum near the top. A healthy cable is smooth, tight, and uniform in diameter. What you’re looking for is any fraying: small strands of wire separating from the main cable body. You may see one or two hairs of wire sticking out at first. That’s not cosmetic. A fraying cable on a door with a torsion spring assembly is under constant load. When it snaps, the door can drop hard, and a falling garage door is genuinely dangerous. In San Marcos, the coastal salt air accelerates cable corrosion near the exposed bottom bracket, so check this area twice a month if you live within a mile or two of the coast.
Rollers: The Most Commonly Ignored Wear Part
Look at the rollers where they ride inside the vertical tracks. Steel rollers with ball bearings can run for years, but the nylon wheels are wear items. A healthy roller looks round and solid. A failing roller shows cracks radiating from the center hub, chunks missing from the wheel edge, or a visible wobble when the door moves. It’s common in San Marcos to see rollers degrade unevenly: the side facing the ocean takes more salt exposure. Check both sides, not just the one you can see easily from the house door. A seized roller doesn’t usually stop a door entirely; it causes it to bind, jump off track, and eventually bend the track itself. That’s a repair invoice that could’ve been a $25 part.
Springs: Read the Coil Tension
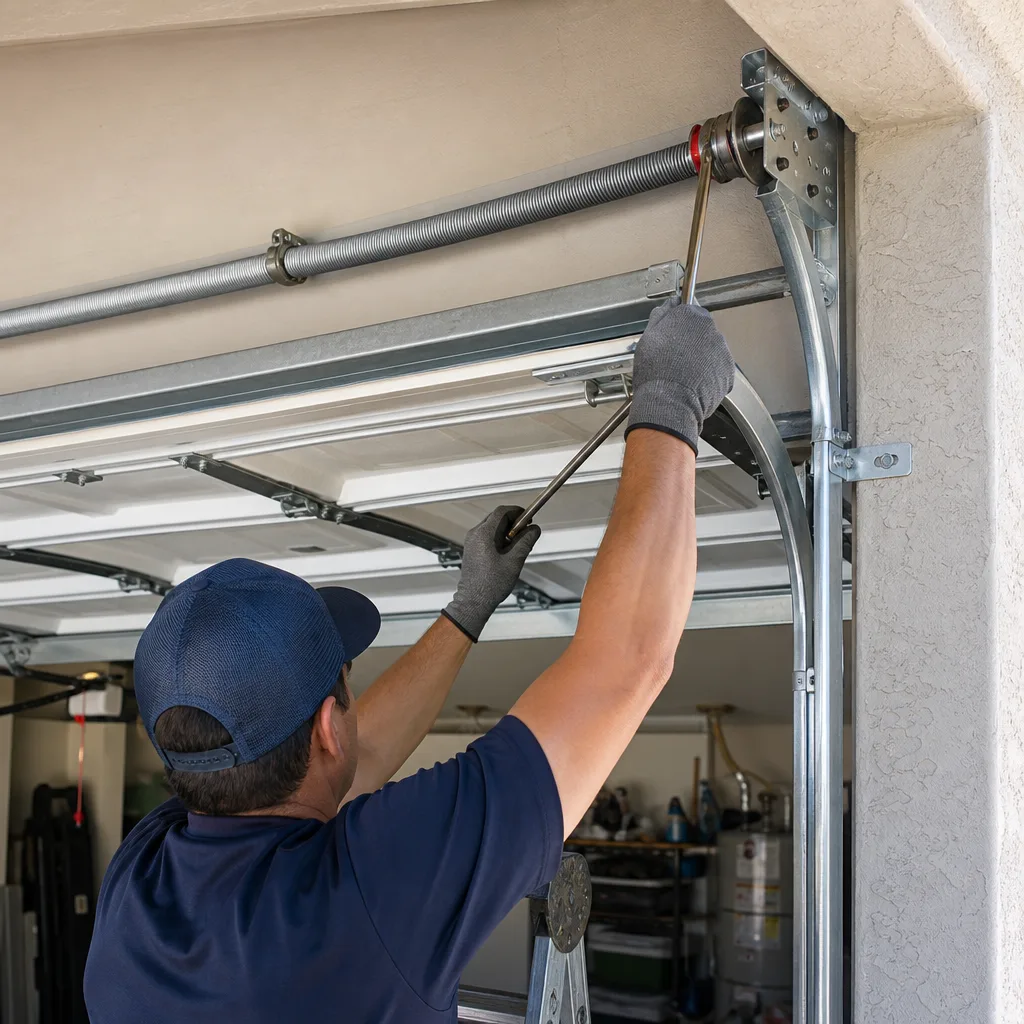
Torsion springs sit on the shaft above the door. Extension springs are the long ones running parallel to the tracks. Both tell you something just by sitting there. Look at the gap between the coils. On a healthy torsion spring, the coils are evenly spaced. When a spring loses tension, you’ll often see irregular spacing or a visible gap where the coils have separated. A spring with uneven coil spacing is not going to fail next year; it’s already failing now. On extension springs, look for stretching: gaps between coils that weren’t there when the spring was new. If you keep records, compare against a photo from six months ago. San Marcos homeowners who check this monthly often catch spring tiredness months before the door starts feeling heavy by hand.
Brackets, Hinges, and Track Hardware
Scan every hinge along the door’s interior seam. Look at the bolts holding the track to the wall and ceiling. The most common finding here isn’t a missing bolt though it happens. It’s a hinge with a hairline crack at the pivot point, or a bottom bracket that’s pulled slightly away from the door face. The bottom bracket is where the cable anchors and where most of the lifting force concentrates. If it’s loose, stop using the door until it’s tightened. A loose bottom bracket makes the cable pull unevenly, which accelerates the failure of everything else in the system.
If any of these visual checks turn up something you’re not sure about, the honest move is to get it looked at before it becomes a breakdown. We work on every major brand in San Marcos and surrounding areas: LiftMaster, Chamberlain, Genie, Clopay, Amarr, Wayne Dalton, Craftsman, and Raynor. Our San Marcos Garage Door Service home page covers what a full service visit includes.
The Balance Test: The Single Most Revealing Check You Can Do
The balance test is exactly what it sounds like: you’re testing whether the door’s springs are still holding the weight of the door correctly. A door that passes the balance test is a door whose springs are doing their job. A door that fails it is a door whose springs are tired, and tired springs are the most common cause of opener burnout in San Marcos garages. Here’s how to do it correctly, what the results mean, and what to do with the information.
Step-by-Step Balance Test
- Pull the manual release cord. This is the red cord hanging from the opener rail. Pull it straight down to disconnect the door from the opener. You should now be able to move the door by hand.
- Lift the door to roughly waist height. Use the handle or the bottom edge. Lift smoothly, not jerkily.
- Let go with both hands. Do this standing to the side, not directly under the door.
- Observe the door’s movement. A passing door stays right where you left it, or drifts a few inches at most before staying put.
- Repeat at three heights. Test at knee height, waist height, and shoulder height. A balanced door holds position at all three.
What Passing Looks Like
A properly balanced garage door with healthy springs will stay wherever you release it. It won’t creep upward, because the springs aren’t over-tensioned. It won’t drop to the floor, because the springs are holding its full weight. If the door holds position at all three heights, your springs are doing what they should. Write down the date. Test again in six months. That’s it.
What Failing Looks Like and What It Tells You
If the door drops quickly to the floor, the springs are under-tensioned or fatigued. The door’s full weight is now falling on the opener to manage, and residential openers like a Chamberlain or LiftMaster are not designed to dead-lift a door whose springs have given up. What happens next is predictable: the opener’s gear strips, or the motor burns out, and a $300 spring replacement becomes a $300 spring replacement plus a $450 opener repair.
If the door rises on its own, the springs are over-tensioned. This is less common but more dangerous, because an over-tensioned spring is a spring carrying load beyond its rating. It’s most common after a DIY spring adjustment that went too far. If the door drifts upward on its own, stop using it and call a specialist. Over-tensioned springs fail violently, and this is not a risk you manage with a wrench and a YouTube tutorial.
If your door fails the balance test, mark it as a spring issue. Whether it’s a Wayne Dalton torque-master or a standard torsion setup, spring replacement is a job for a technician with the right tools and wind-up rods. We’ve seen what happens when a homeowner with an adjustable wrench and high confidence decides to do it themselves. It’s avoidable. If you’re not sure how old your springs are, our Garage Door Repair services include a spring inspection that is the fastest way to know exactly where you stand.
Lubrication Protocol: What Gets Lubricated, What Doesn’t, and Why WD-40 Is Wrong
Lubrication is the maintenance task homeowners get wrong most often, and the mistakes are consistent. Someone sprays the entire track interior with WD-40. Someone greases the belt on a belt-drive opener. Someone oils a nylon roller that’s designed to run dry. The point of lubricating a garage door is narrow and specific: reduce metal-on-metal friction at the pivot points and protect the spring coils from surface corrosion. Nothing else needs it. Here’s the protocol, component by component.
What Gets Lubricated
- Hinges. The door hinges are the primary pivot points, and every door has six to twelve of them depending on door height and panel count. Apply one or two drops of a lithium spray or silicone lubricant to each hinge pin where the hinge halves meet. Do this every six months.
- Steel rollers with ball bearings. If you have steel rollers, the bearings inside the wheel need a light touch of lubricant on the bearing housing. If you have nylon rollers, skip them entirely. Nylon rollers run dry by design, and lubricant attracts the dust and salt air that accelerates wear.
- Torsion spring coils. Spray the entire length of each torsion spring with a white lithium or silicone spray. The goal is a thin protective film that prevents surface rust from starting between the coils. In San Marcos’s coastal air, this matters more than it does inland. A dry spring that develops surface rust loses cycle life prematurely.
- The lock mechanism. If your door has a manual slide lock, the moving pin should get a shot of lubricant annually. A sticky lock is a stripped opener in waiting if you ever try to open the door with the lock engaged.
What Does NOT Get Lubricated
- The tracks. The door rollers ride inside the tracks on their own bearings. The track’s job is to be a clean guide surface. Lubricant on the track interior does nothing but collect dust, salt particles, and debris, forming an abrasive paste that grinds on the rollers and the track surface. If the track is dirty, wipe it down. Don’t spray it.
- The belt or chain on the opener. Belt-drive openers are self-lubricating by design, and their belts should stay dry. Chain-drive openers have a tension setting, not an oil requirement. Adding lubricant to either one just creates a mess and a slippery surface where torque transfer should be clean.
- Weatherstripping. The rubber seal at the bottom of the door and the vinyl stop molding around the frame don’t need lubrication. If they look dry and cracked, they need replacement. Lubricant won’t revive cracked rubber.
Why WD-40 Is the Wrong Product
WD-40 is a water displacer and light-duty penetrant. It’s useful for freeing rusted bolts and displacing moisture from electrical connections. It is not a garage door lubricant. It’s too thin to stay in place on a hinge pin, and it leaves behind a residue that attracts exactly the kind of dust and salt particles you’re trying to keep off the door hardware. Use a purpose-made garage door lubricant, a white lithium grease spray, or a silicone spray. All three are available at any hardware store in San Marcos for under ten dollars.
If lubrication sounds like a detail you’d rather not manage, it’s part of every full service visit we do. The point of hiring a specialist isn’t just fixing what’s broken; it’s knowing what to lubricate, what to tighten, and what to leave alone. For homeowners comparing vendors for ongoing care, our Garage Door Repair in San Clemente page walks through what a repair visit actually includes.
Seasonal Adjustments for San Marcos’s Coastal Climate
San Marcos sits close enough to the Pacific that the marine layer rolls through most mornings for a good chunk of the year. That moisture doesn’t just fog up your windshield; it settles on every metal surface in your garage, especially in the early morning hours when the door is closed and the temperature inside is cooler than the dew point. The practical result: garage door hardware in San Marcos corrodes faster than the same hardware mounted on a house in Escondido or Vista. Here’s what to check seasonally, and why the timing matters.
After the Marine Layer Season: Corrosion Check
By the time the summer marine layer season ends in late August, San Marcos homeowners have spent roughly three months with salt-laden moisture condensing on their garage door hardware every single morning. The component most affected is the exposed metal at the bottom of the door: the bottom brackets, the cable terminations, and the lower hinge pins. What to look for: white or chalky residue on galvanized parts, rust-colored staining at bolt heads, and stiffness in the lower hinges when the door moves. They’re early-stage corrosion markers, and they’re most visible in September and October, before the winter rain season starts.
After the Rainy Season: Track and Seal Check
San Marcos gets most of its rain between December and March. The tracks don’t care about rain directly, but the bottom seal does, and wet leaves and debris that blow into the track channel during storms become an abrasive slurry. After any week of heavy rain, run the door once and listen. A grinding or scraping sound from the lower track usually means debris has settled at the curve where the vertical track transitions to horizontal. Clean it out with a dry rag, not a lubricant. Also check the bottom rubber seal: if water pools along the inside edge of the door after rain, the seal has hardened or torn, and it’s time for a new one. A failed bottom seal lets water, rodents, and cold air into the garage, and in San Marcos the rodent entry is the one that surprises people most.
Spring and Fall: The Six-Month Service Rhythm
The balance test, the lubrication protocol, and the full visual inspection belong on a twice-yearly schedule. Spring and fall are the natural anchors: spring, because you’re coming out of the rainy season when corrosion and debris have been active; fall, because you’re preparing for the year’s heaviest door use during the holiday season when packages are being delivered, the door is opening more frequently for visitors, and a breakdown means the most disruption. Twice-yearly checks catch most failures before they happen. In our experience with San Marcos homes, the doors that get checked every spring and fall are rarely the ones that call us for emergency breakdowns. For more guides & resources on seasonal maintenance, see our blog.
Garage Door Opener Maintenance: Sensors, Force Settings, and Smart Features
The opener is the electronic component of the system, and it’s the part that big-box installers often under-service. Garage doors are all we do, and opener repair is a distinct specialty within that work. Here’s what to check on your opener quarterly, whether it’s a Chamberlain, LiftMaster, Genie, or Craftsman unit.
Safety Sensor Alignment and Cleanliness
The two photo-eye sensors sit near the floor on each side of the door opening, usually within six inches of the ground. Their job is simple: if anything breaks the beam between them while the door is closing, the opener reverses. A sensor that’s misaligned or blocked will cause the door to refuse to close, or to reverse immediately after touching the floor. What to check: the small LED indicator on each sensor. On most LiftMaster and Chamberlain units, both lights should be solid. A blinking or dim light means misalignment or a dirty lens. Simply wipe the lens with a dry cloth and gently adjust the sensor bracket until the light turns solid. If you’ve bumped the sensor with a trash can or a bicycle, it’s almost always a ten-second fix.
Force Settings: The Reverse Test
Every opener has a force setting that controls how hard it pushes or pulls before it reverses. The correct setting is just enough to move the door. Too high, and the opener will crush whatever’s in its path before it thinks about reversing. The test: place a 2×4 flat on the ground in the door’s path and close the door on it. The door should hit the wood and reverse within one to two seconds. If it keeps pressing down, the force setting is too high and needs adjustment. Most homeowners never test this, which is why we find openers in San Marcos running with factory-max force settings years after installation. It’s a safety feature that only works if you test it.
Smart Features and Connectivity
If your opener has smart-home integration through the manufacturer’s app, a quarterly check of the Wi-Fi connection and firmware is part of routine maintenance. These systems work by connecting your opener to the manufacturer’s cloud servers through your home network. When they lose connectivity, you lose remote operation and notifications, which is how you end up locked out of your own garage with no way to know if the door is even closed. For openers from the brands we service, including Genie and Raynor smart units, the disconnect is usually a router distance issue or a firmware update waiting to be installed. If your smart features stopped working and the basic remote still works, that’s a connectivity problem, not an opener failure.
For a deeper look at the electronics side of garage door systems, our Garage Door Opener Repair in San Clemente page covers drive types, safety sensors, remotes, and smart-home integration across major manufacturer platforms.
DIY vs. Specialist: Where the Line Is and Why It Exists
There’s a line between what a homeowner can safely maintain and what they should never attempt without a trained technician, and the line is drawn where the stored kinetic energy becomes capable of causing serious injury. Understanding this line is part of being a responsible San Marcos homeowner.
Safe to Do Yourself
- The monthly visual inspection described above
- The balance test with the door disconnected
- Lubrication of hinges, springs, and steel rollers as described
- Sensor lens cleaning and minor bracket adjustment
- Wiping down tracks and removing debris
- Checking and replacing remote batteries
- The reverse test with a 2×4
Call a Specialist. No Exceptions.
- Torsion spring adjustment or replacement. Torsion springs are wound under high tension. A spring with ten turns of wind on it has enough stored energy to break a wrench, a lag bolt, or a hand. The winding rods used by professionals are tempered steel, and the procedure requires controlled, even winding. One slipped rod changes a person’s life. This is the single most dangerous DIY job in residential home maintenance, and it’s not close.
- Cable replacement or repair. The cables run alongside the springs in the tension load path. Replacing one requires taking tension off the spring first, which is the exact procedure described above. Same risk, same call.
- Bottom bracket replacement. The bottom bracket anchors the cable. It’s under the same load as the cable. If it fails while the door is moving, the door can drop. The repair requires de-tensioning the spring, which means it’s in specialist territory.
- Track removal or re-alignment. The track is bolted to the wall and ceiling under load from the door’s weight. Pulling it off without properly supporting the door turns a bent track into a dropped door. The weight of a 16-foot double door is measured in hundreds of pounds.
The position here is honest, and it’s the same position we’d give a neighbor: repair first, replace only when it makes sense. Some things are worth doing yourself. Some things are not. A spring or cable job is one of the latter. If you’re in San Marcos and you’re not sure which side of the line you’re looking at, call and describe what you see. We’ll tell you the truth about what needs to happen, even if it’s something we’d rather do than talk you through.
What Your Garage Door Is Telling You: Noise and Movement Diagnosis
Your garage door makes a set of normal sounds. A smooth, low rumble as it opens. A soft thump when it reaches the full-open stop. A click from the opener relay. Anything outside that normal sound profile is diagnostic information. Here’s how to read the four most common noises San Marcos homeowners report on service calls, and for a deeper dive, see our Garage Door Repair Troubleshooting: Common Problems and How to Fix Them.
The Squeal: Dry Hinges or Worn Rollers
A high-pitched squeal that occurs at specific points during the door’s travel usually indicates a dry hinge pin or a roller bearing that’s run out of lubrication. The location of the squeal as the door moves tells you which panel is affected. If it’s a hinge, lubrication fixes it. If it’s a roller with a failed bearing, lubrication won’t help; the bearing needs replacement. A nylon roller with a seized bearing will just slide inside the track, and the friction produces a squeal that’s loudest at the lower sections where the door’s weight concentrates.
The Grind: Debris in the Track or a Failing Opener Gear
A grinding sound from the track area, especially at the curve where vertical becomes horizontal, is almost always debris in the channel or a roller that has flat-spotted. Clean the track first. If the grinding persists, inspect the rollers individually while the door is down; run your hand along each wheel and feel for flat spots. A flat-spotted roller needs replacement before it damages the track. If the grinding is coming from the opener unit itself, especially on a chain-drive Chamberlain or Craftsman, it’s usually the main drive gear stripping. That’s a repair call, not a maintenance fix, and it’s one of the most common opener failures we see.
The Snap or Pop: Spring or Cable Failure
A loud snap or pop from the spring area is the sound of a torsion spring breaking or a cable snapping under load. It sounds like a firecracker going off inside the garage. If you hear it, stop using the door immediately. A door with one broken torsion spring is under unbalanced load, and the remaining spring is now carrying much more than it was designed to hold. In many cases the opener can still lift a door with one broken spring, which is unfortunate, because it means the opener is now burning itself out on a load it was never designed to manage. If you hear the snap, don’t test the door. Call for service.
The Thump or Rattle: Loose Hardware
A thumping sound as the door travels, or a rattle that intensifies with door movement, usually indicates loose bolts where the track mounts to the wall, or a hinge that’s working its screws loose. Walk the track line with the door down and check each mounting bolt. Tighten the loose ones with a socket wrench. It’s a five-minute fix that prevents the track from shifting under load and throwing the door out of alignment.
Every one of these sounds is trying to tell you something specific, and every one of them is easier and cheaper to resolve the day you first hear it than the day the door stops moving entirely. A specialist’s ear is trained to match the sound to the component. Yours will be too after a month or two of listening.
Common Mistakes to Avoid
- Lubricating the tracks. The most common mistake in garage door care, and the one that creates the most follow-on problems. Oil or grease in the tracks collects dust and salt particles until the channel is coated with an abrasive paste. Wipe tracks clean; never lubricate them.
- Using WD-40 for everything. WD-40 is not a garage door lubricant, and using it for hinge and spring maintenance means re-doing the work in a month, because it evaporates and leaves the thinnest residue behind. Use lithium or silicone spray.
- Ignoring a slow door. A garage door that suddenly starts opening or closing noticeably slower than it did last month is not being tired. It’s telling you something changed: a spring losing tension, an opener gear wearing out, or a track issue creating resistance. Speed changes are diagnostic, not personality.
- Replacing the opener before checking the springs. When a door won’t open, many San Marcos homeowners assume the opener is dead. In a large percentage of cases, the opener is working fine and the springs are shot. Test the balance first. If the door is heavy by hand, the springs are the problem and the opener is innocent.
- Using the door as a shortcut. The garage door opener is not designed for dozens of daily cycles. Every cycle wears the springs and the opener gear. If you’re using the garage as your primary entrance and exit, understand that the door may need service more often than a door that’s used twice a week.
- Ignoring a door that reverses for no reason. If the door starts down and then reverses with nothing in its path, don’t disable the sensors to make it stop. The sensors are doing their job, and the problem is usually a misalignment or a failing logic board. Bypassing a safety feature to restore convenience is the one mistake that has real safety consequences.
- Skipping the balance test because it seems minor. The balance test is the single best indicator of spring health that exists for a homeowner. Skip it for two years and you’ll learn the spring failed from the sound of it breaking. Do it twice a year and you’ll see the failure coming months in advance.
When to Call a Professional
Call a professional the moment you see a fraying cable, hear a snap from the spring area, or feel the door become noticeably heavy by hand. The same applies for any visual crack in a roller, a bottom bracket that’s pulling loose, or a door that failed the balance test. Springs, cables, and bottom brackets are under tension; the risk of serious injury from a failed repair attempt is real, not theoretical. Track realignment and opener gear replacement also belong on the professional side of the line, because both require lifting and supporting the door securely while parts are swapped. If you’re in San Marcos and any of these conditions show up, San Marcos Garage Door Service offers free estimates in San Marcos. Call (877) 265-5166 and describe what you’re seeing. We’ll tell you honestly whether it needs service now or can wait.
Frequently Asked Questions
Do the full maintenance checklist twice a year, once in spring and once in fall, with a lighter monthly visual check for cables, rollers, and springs. San Marcos’s coastal air adds corrosion pressure that inland homes don’t face, so if you live near the coast, the monthly check is non-negotiable. The balance test and lubrication protocol are the twice-yearly anchors. Call (877) 265-5166 if you’d rather have a professional service visit handle the full checklist, including the seasonal adjustment for our local climate.
Most garage door maintenance visits in San Marcos run between $90 and $180 depending on what’s included: a full inspection, lubrication, balance test, sensor alignment, and minor hardware tightening. Some companies roll the service cost into any repair they find during the visit. If you prefer an exact number, call (877) 265-5166 for a free estimate before any work is scheduled and the price is always agreed before the work starts.
No. WD-40 is too thin to stay in place on hinge pins and spring coils, and the residue it leaves behind attracts the dust and salt particles that accelerate wear in San Marcos’s coastal environment. Use a white lithium grease spray, a silicone spray, or a garage door-specific lubricant. It’s an under-ten-dollar product at any hardware store in San Marcos, and it’s the right tool for the job. If you’d prefer professional lubrication as part of a full checkup, call (877) 265-5166.
A garage door that feels heavy when disconnected from the opener has tired or broken springs. The springs are designed to carry the door’s full weight; the opener is only supposed to guide it. When the springs fatigue, the full weight lands on your arm, and then on the opener. This is the most common cause of burned-out opener gears in San Marcos homes. A heavy door means spring service. The balance test will confirm it. Call (877) 265-5166 for a spring inspection and a written quote.
Most residential torsion springs are rated for 10,000 to 20,000 cycles, which translates to 7 to 14 years of use for a typical San Marcos household. That’s a wide range because usage varies: a door used as the primary entrance cycles more, and the salt air near the coast can shorten spring life through surface corrosion. If your springs are 8 years old or older and you’ve never had them inspected, the odds of failure are climbing every month. The balance test is your earliest warning. Call (877) 265-5166 for a spring inspection if you’re not sure how old yours are.
We service and install openers from LiftMaster, Chamberlain, Genie, Clopay, Amarr, Wayne Dalton, Craftsman, and Raynor. If your opener is one of those brands, a technician who already knows the model and its specific parts will arrive prepared, not learning on the job. For full installation details and to compare door and opener options side by side, see our Garage Door Installation in San Clemente page. Call (877) 265-5166 with your brand and model number and we’ll tell you up front what the likely fix will involve.
The Bottom Line
Garage door maintenance in San Marcos is not about keeping the door pretty. It’s about catching the three or four mechanical failures that account for almost every breakdown we see: a fraying cable, a cracked roller, a tired spring, a misset opener. The monthly visual check, the twice-yearly balance test, the proper lubrication protocol, and the seasonal corrosion checks are your tools. None of them take long, and none require a technician. What they do require is a homeowner who looks. The parts that fail are visible before they fail, every time. Look at them, and you’ll know what’s coming. If what’s coming looks like a spring or cable problem, call (877) 265-5166 before it becomes an emergency.
Written by the team at San Marcos Garage Door Service, serving San Marcos since 2012.
See the difference
 Before
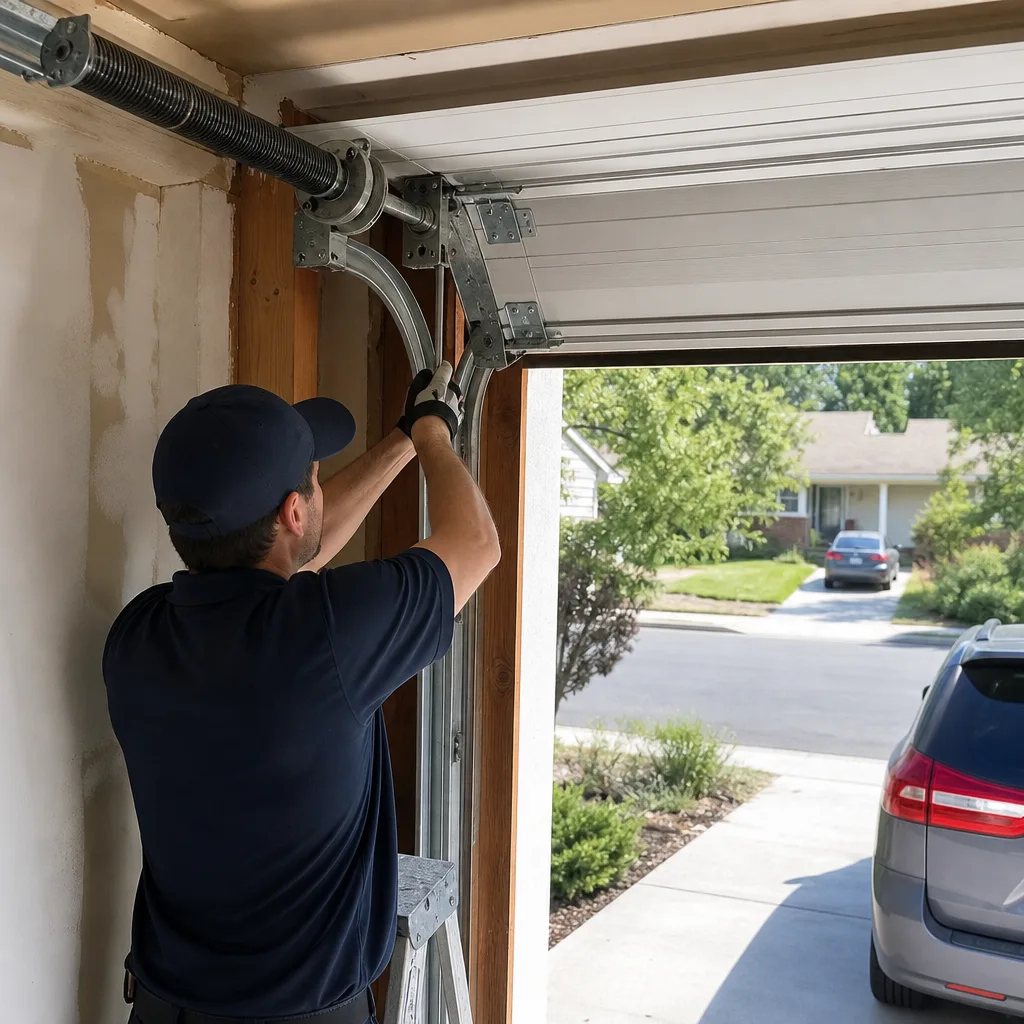 After
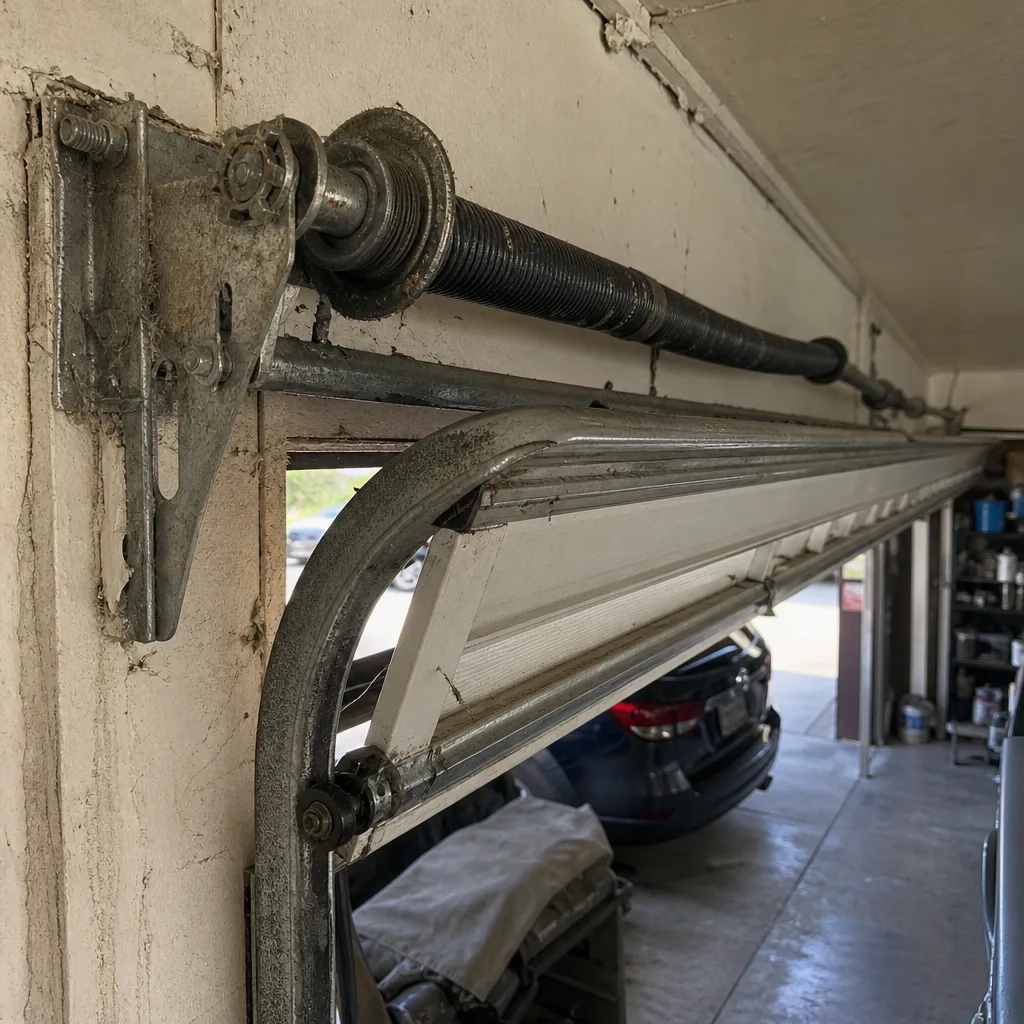 Before
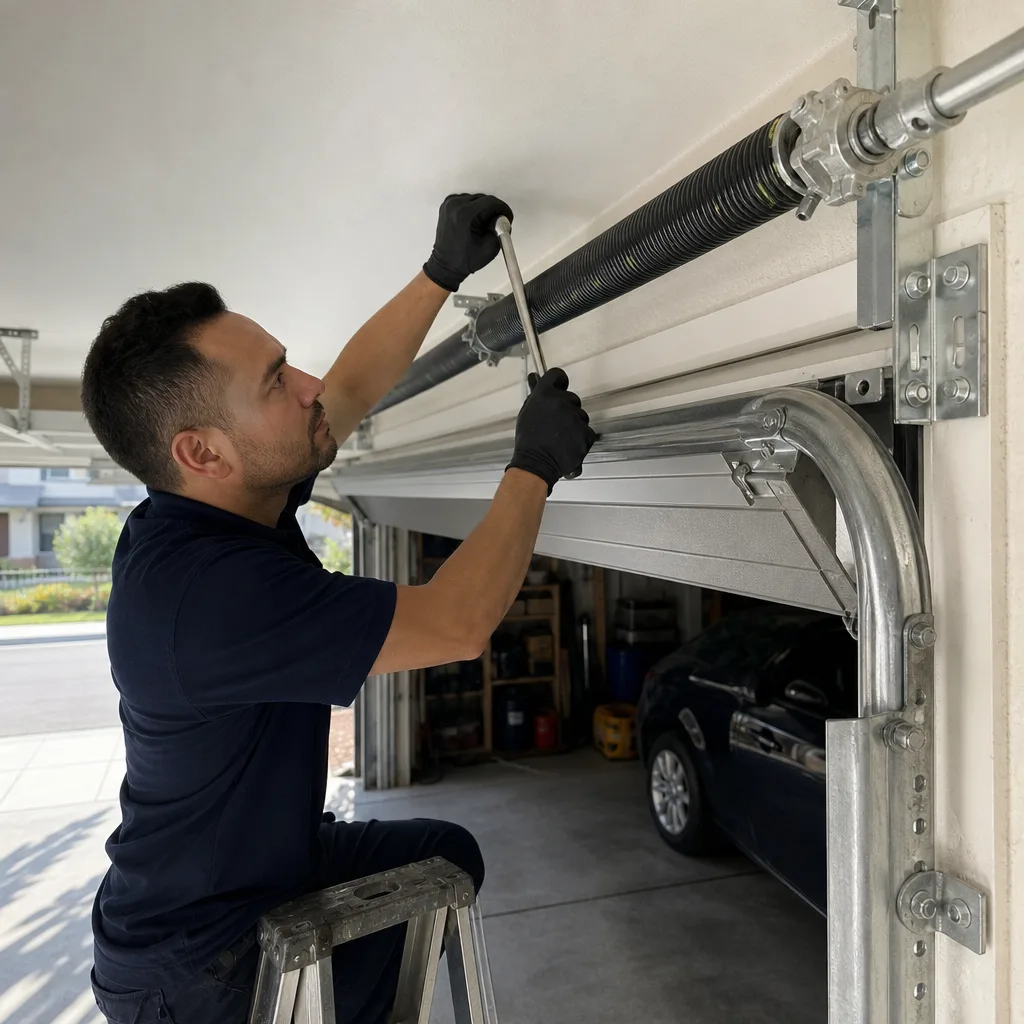 After
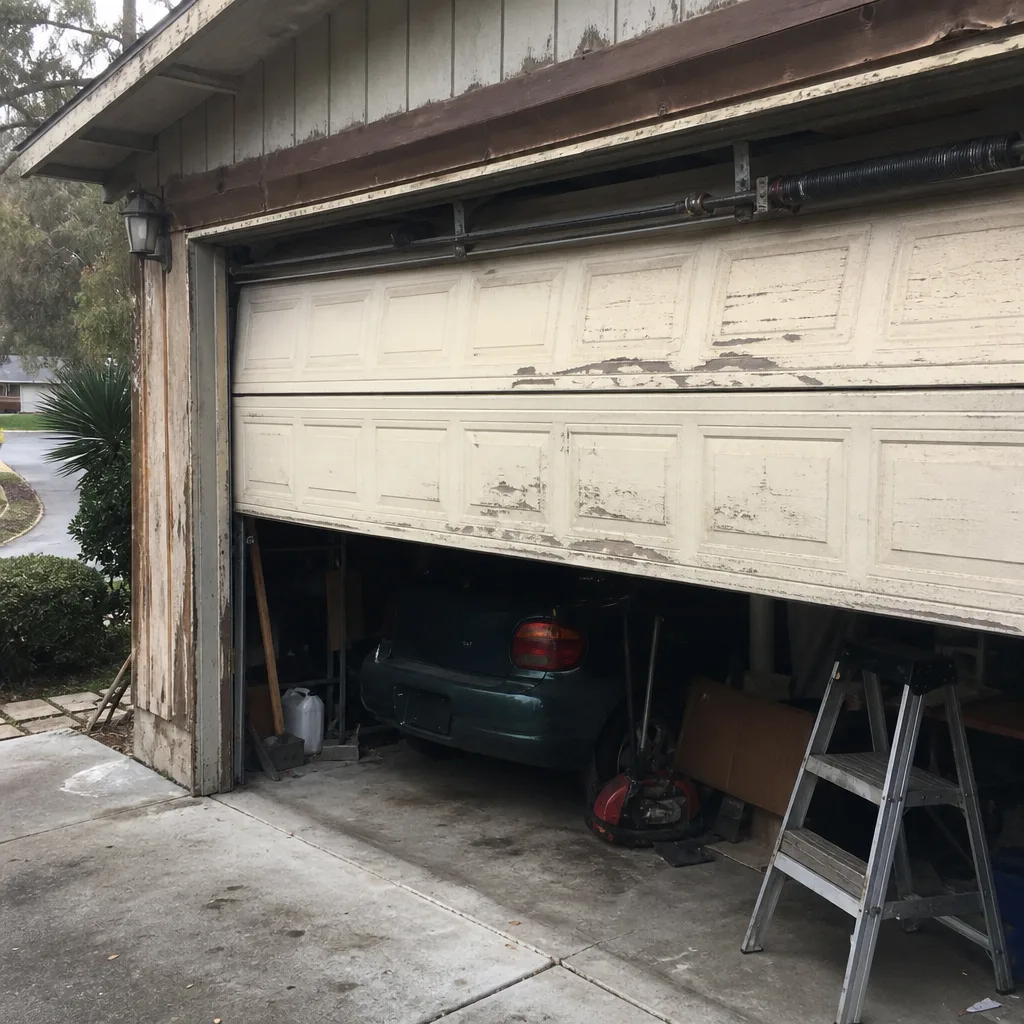 Before
 After