
Last updated October 31, 2026
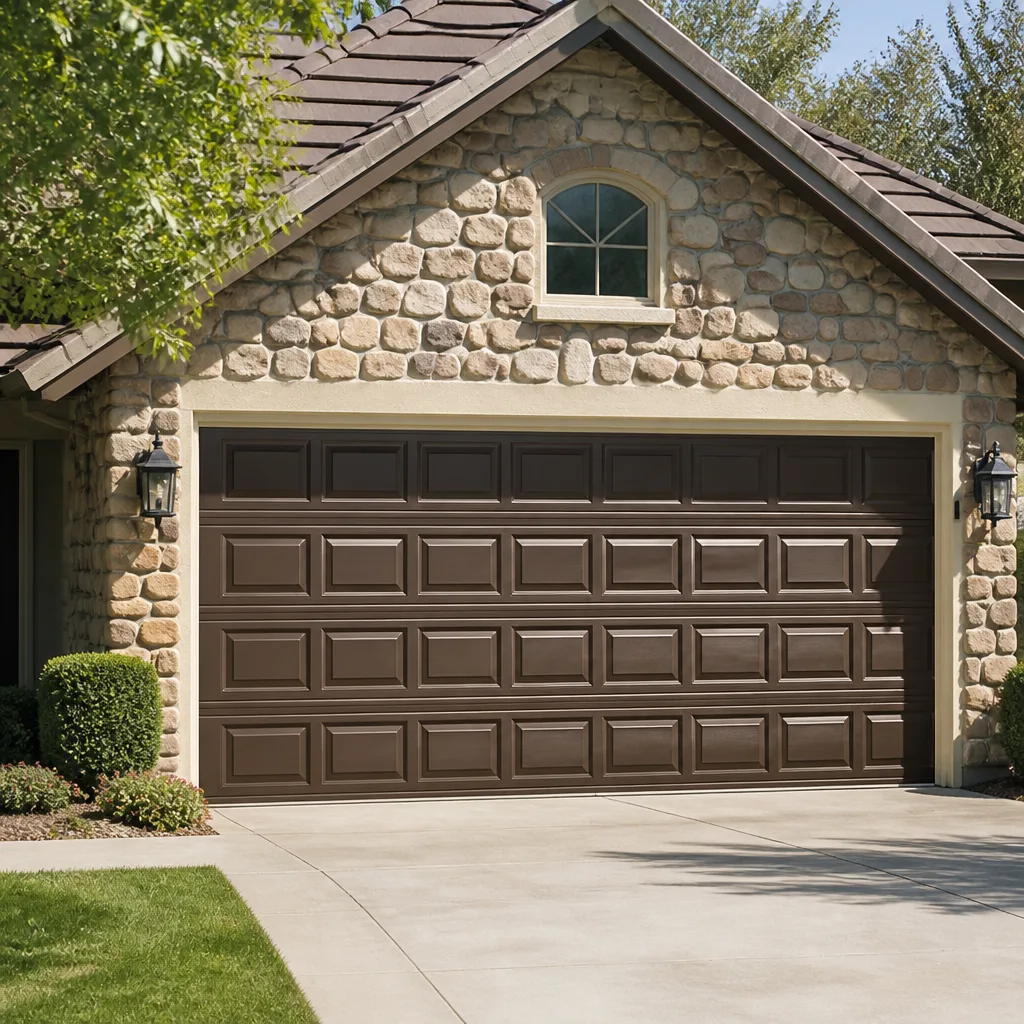 Raised-panel steel
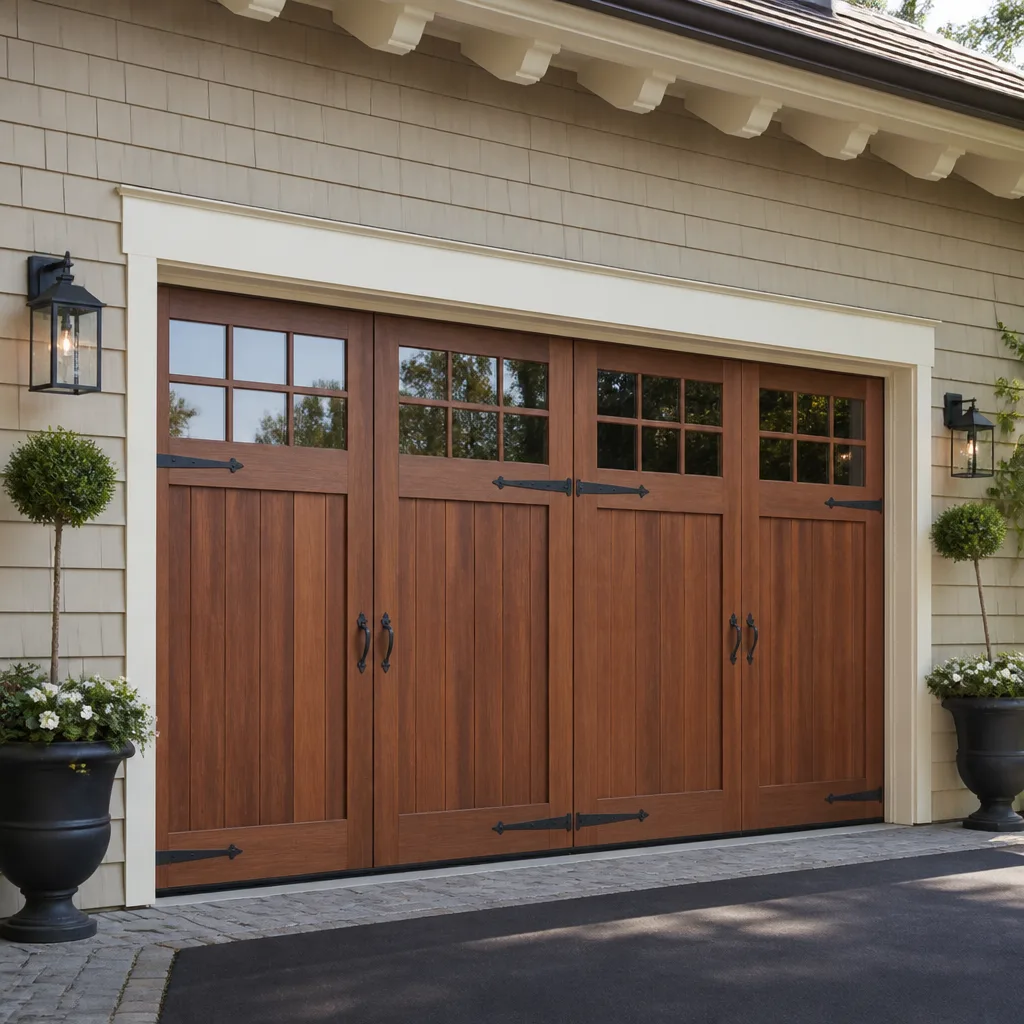 Carriage house
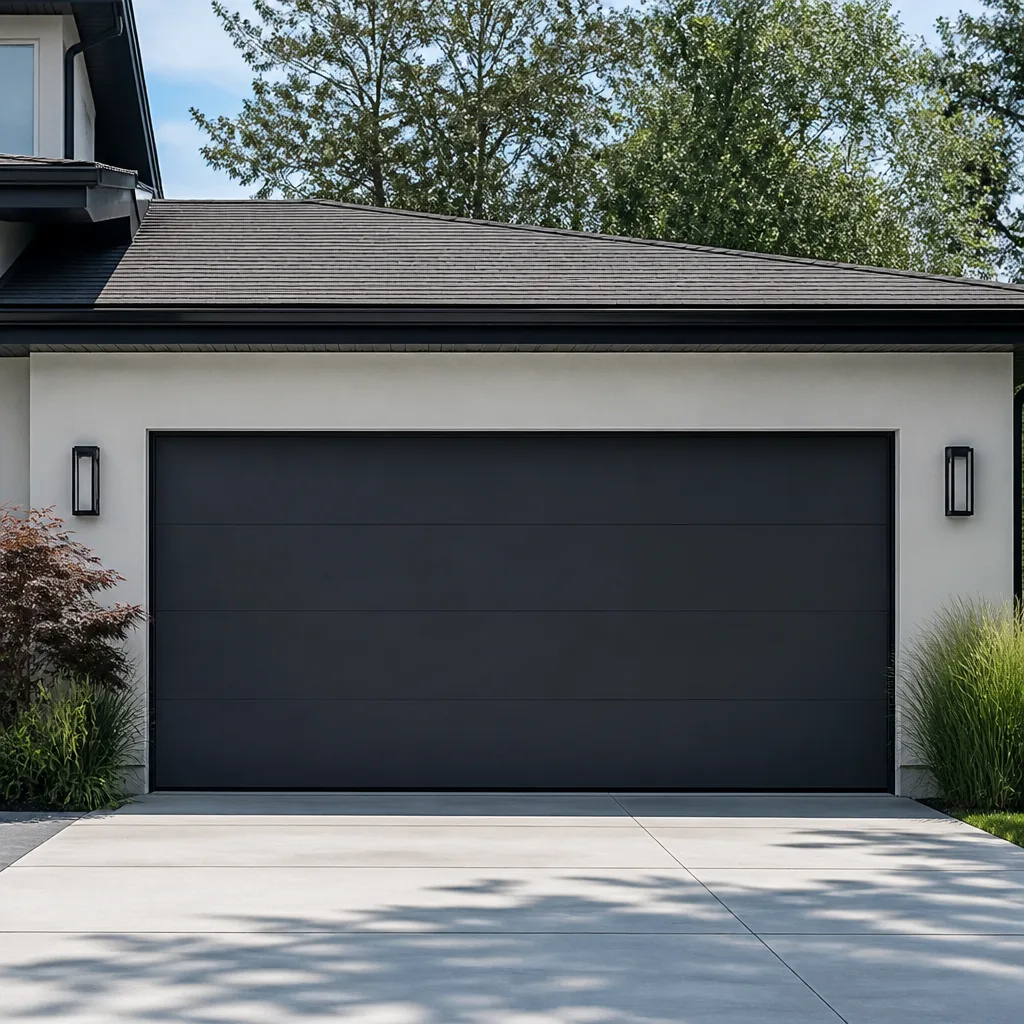 Modern flush
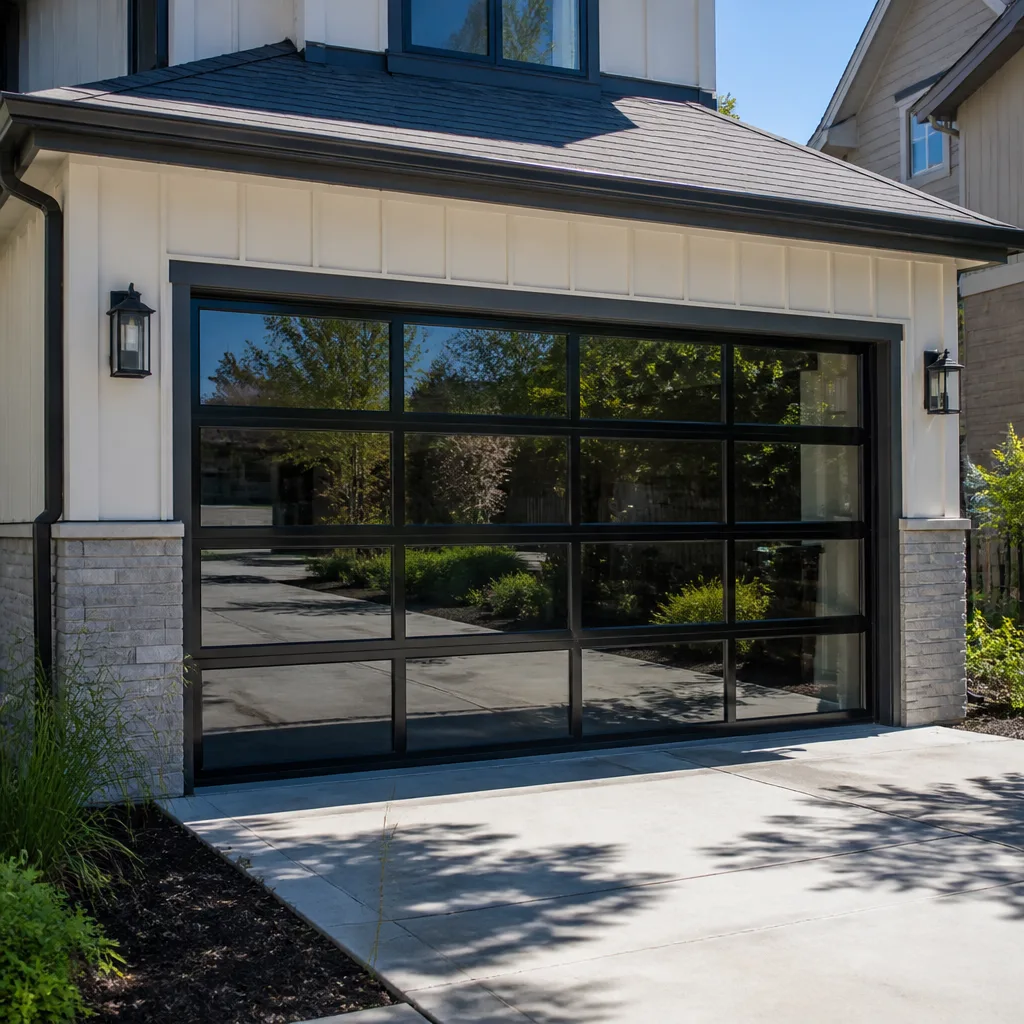 Full-view glass
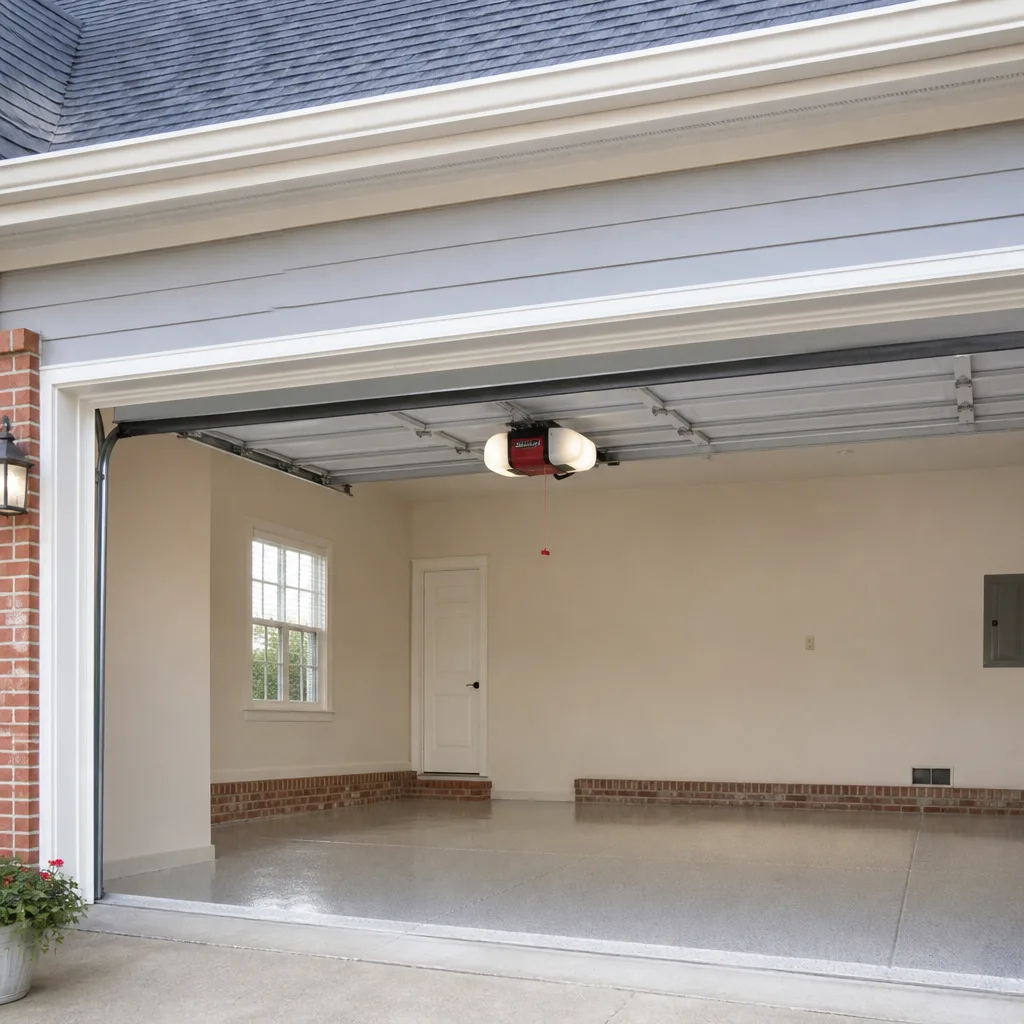 LiftMaster openers
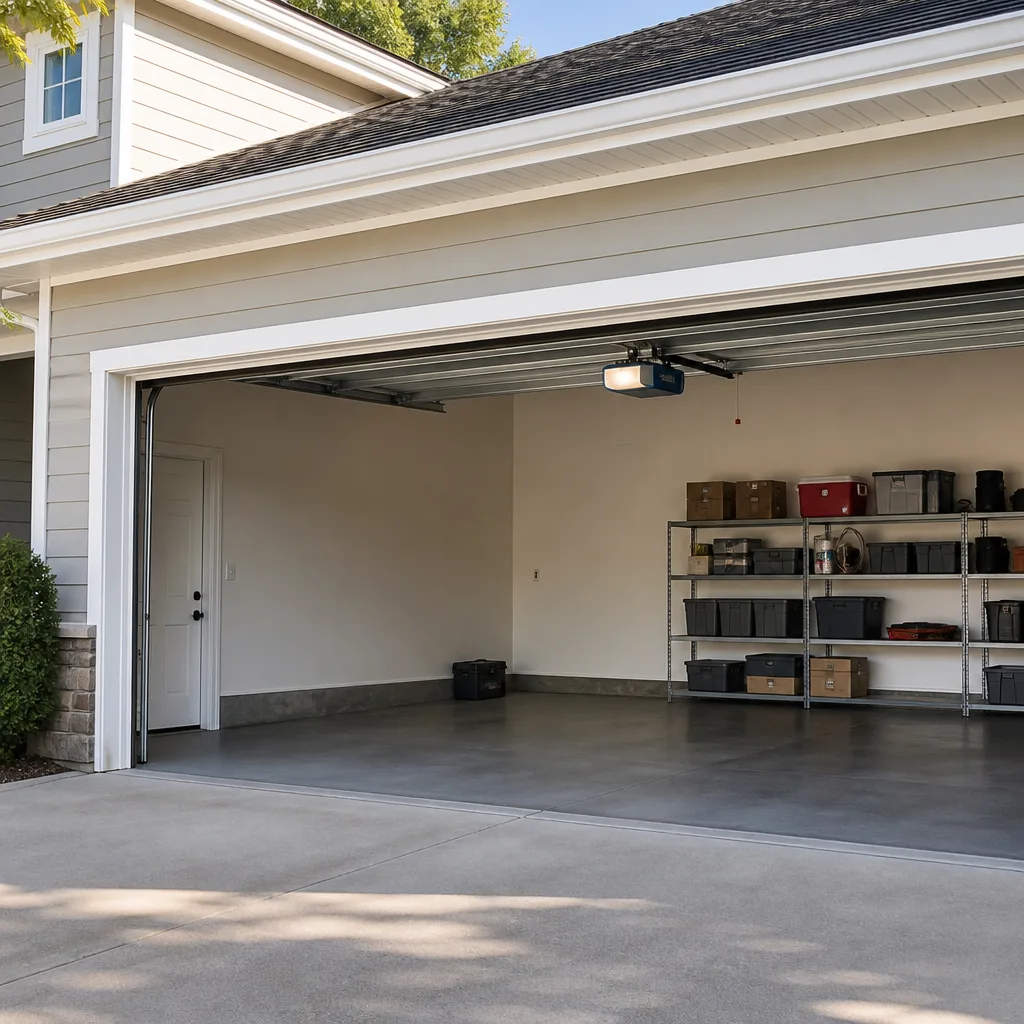 Chamberlain openers
Full 25-point door and opener safety check with every visit - springs, cables, rollers, tracks, and your LiftMaster or Chamberlain opener included
You get a price before we start. It does not change when the truck arrives.
Get your free estimateGarage Door Repair Troubleshooting: Common Problems and How to Fix Them
A garage door that won’t open is rarely “broken” in the way most people think. What’s actually happening, in the majority of service calls we run across San Marcos, is one specific component failing while the rest of the system keeps trying to work around it. That’s why replacing the opener when the real problem is a dying capacitor, or swapping springs when the culprit is a bent track, happens more often than it should. This guide walks through the diagnostic logic we use on every our Garage Door Repair services truck roll: how to isolate the symptom, identify which component is actually responsible, and know which fixes you can handle and which ones need a trained technician.
Quick Answer
Most garage door failures trace back to one of five root causes: a broken torsion or extension spring, misaligned or obstructed safety sensors, a worn opener drive gear or belt, a failing logic board, or track misalignment. Start by pulling the manual release cord to isolate whether the door itself moves freely; if it doesn’t, the spring or track is the problem. If it does, the opener is the failure point. Safety-critical components like torsion springs should always be handled by a professional.
Styles & brands we work with
Table of Contents
- Step One: Isolate the Actual Failure Point
- Door Won’t Open at All
- Door Reverses Before Hitting the Ground
- Grinding, Squealing, or Rattling Noises
- Door Opens Partially or Unevenly
- Remote and Keypad Failures Explained
- Sensor Troubleshooting Beyond the Lens
- Six Repairs That Void Warranties
- Common Mistakes to Avoid
- When to Call a Professional
- Frequently Asked Questions
Step One: Isolate the Actual Failure Point
Before touching anything, you need to answer one question: is the door itself the problem, or is the opener the problem? Every diagnostic path branches from here. Most homeowners skip this step and go straight to replacing remotes or reprogramming keypads, which is why so many garage door repairs end up being the second or third attempt at a fix. For more guides & resources, see our blog.
- Pull the manual release cord. This is the red cord hanging from the opener rail. Pull it down and toward the door to disconnect the opener from the door. The door should now move freely by hand.
- Lift the door manually. A properly balanced door should lift smoothly with minimal effort and stay in place at the halfway point. It should not feel heavy, drop suddenly, or bind at any point along the track.
- Read the result. If the door is heavy, jerks, or won’t stay up, the problem is mechanical: spring, track, rollers, or cable. If the door moves smoothly by hand, the problem is electrical or electronic: opener motor, logic board, sensors, or remote communication.
This test takes under a minute and tells you which half of the system has failed. It’s the first thing we do on every service call in San Marcos, because it prevents a lot of wasted time.
Door Won’t Open at All
When the door doesn’t move at all, the failure point depends heavily on what you hear when you press the wall button or remote.
You hear a hum but nothing moves
This is the classic signature of a broken torsion spring. The opener motor runs, but the door is now too heavy for it to lift, so it strains against its own limits. In most cases, you’ll also notice the emergency release cord is difficult to pull because the spring tension that balanced the door is gone.
Broken springs are not a DIY fix. A torsion spring under load stores enough energy to cause serious injury if it releases incorrectly. We replace springs with the correct wire size and cycle rating for the specific door weight and height, not a generic “close enough” replacement. In San Marcos, where garage doors face salt-air exposure and wide temperature swings, spring life typically runs 7-10 years. If your spring is near that age and the door feels suddenly heavy, that’s almost certainly the diagnosis.
You hear a click but nothing happens
A single click followed by silence usually points to the opener’s start capacitor. This small cylindrical component gives the motor its initial jolt. When it degrades, the motor can’t start turning. Capacitors fail gradually; you may have noticed the opener hesitating for a split second before starting over the past few weeks. LiftMaster and Chamberlain openers in particular use capacitors that tend to fail around the 8-10 year mark. The fix is a capacitor replacement, which takes a technician about 20 minutes.
No sound at all
Complete silence means the opener isn’t receiving power or its logic board has failed. Check the obvious first: the outlet, the breaker, and whether the opener’s built-in light works. If the light comes on but the motor won’t run, the logic board is the likely culprit. Older Chamberlain models from the mid-2000s are notorious for board failures that present exactly like a dead opener. A logic board replacement is significantly cheaper than a full opener replacement, provided the board is still available for your model.
Door Reverses Before Hitting the Ground
A door that reverses before closing is the most misdiagnosed symptom in garage door repair. The default assumption is misaligned sensors. That’s sometimes correct. But it’s just as often something else entirely, and the fix depends on the cause.
In San Marcos, we see this on doors where direct afternoon sun hits the sensor on the west-facing side of the house. The infrared beam gets washed out by sunlight, and the opener interprets the lost signal as an obstruction. The tell on most models is a blinking LED on the sensor itself. On a LiftMaster 8500, you’ll see a specific error code: the up arrow blinks three times. On newer Chamberlain wall panels, the diagnostic display shows “3” for the same issue.
But sunlight isn’t the only cause. Here’s what else produces this exact symptom:
- Close-force setting drift: On older LiftMaster and Chamberlain units, the close-force dial is a physical knob on the opener chassis. Over time, vibration can cause the setting to drift lower. The opener now thinks the door is hitting an obstruction when it’s just meeting normal track resistance. The fix is adjusting the close force up slightly and testing the reversal behavior.
- Worn logic board: On older Chamberlain openers, a failing board sends false obstruction signals even when sensors are perfectly aligned. If you’ve cleaned the lenses, realigned the brackets, and the door still reverses intermittently, suspect the board.
- Bent track or roller drag: If the door physically binds at a specific point on the way down, the opener’s amperage spikes, triggering the reversal as a safety response. The fix is straightening or replacing the affected track section, not touching the opener.
- Sensor wiring short: Critters chew wire insulation in garages more often than people expect. A pinched or chewed wire near the sensor can cause intermittent voltage drops that mimic obstruction signals. This is a common problem in older San Marcos homes where garage wiring wasn’t run through conduit.
The diagnostic path: clean lenses first, check for sunlight exposure, verify the sensor LEDs are steady, then disconnect the opener and run the door manually. If the door moves smoothly by hand, it’s an opener issue. If the door itself is binding, it’s mechanical.
Grinding, Squealing, or Rattling Noises
Noises tell you which component is failing before it actually breaks. A grinding noise is different from a squeal, which is different from a rattle. Here’s how to read the sound of your own door:
- Grinding from the opener head: This is the drive gear. On chain-drive LiftMaster and Chamberlain units, the white nylon gear inside the opener housing wears down over time. You’ll hear a harsh grinding sound and see black plastic shavings accumulating on the opener housing or the top of the door. The fix is a gear replacement, which is a standard repair we perform regularly.
- High-pitched squeal: This is usually the opener’s belt tensioner bearing or a dry shaft bearing on a belt-drive unit. On Genie screw-drive openers, a squeal is often the screw drive itself needing lubrication. The fix is bearing replacement or proper lubrication, not a new opener.
- Rattling while the door moves: This is typically loose hardware: hinge bolts, track brackets, or the opener’s mounting hardware. A door that’s been in service for 8+ years will accumulate loose fasteners from normal vibration. We walk the track and tighten every bolt during a standard tune-up.
- Grinding from the door itself: This is usually a roller bearing that’s seized or worn. Nylon rollers last 8-10 years in San Marcos’s coastal climate before the bearings give out. Metal rollers last longer but are louder. When a roller seizes, it stops rolling and starts sliding along the track, which produces a distinct grinding sound and accelerates track wear.
Beyond sound, noise complaints are one of the most common reasons San Marcos homeowners reach out to us. A door that was quiet and has gradually gotten louder is communicating that a component is failing. Early intervention on a noisy gear or roller prevents the more expensive repair that comes after total failure.
Door Opens Partially or Unevenly
When a door opens partway and stops, or opens with one side higher than the other, the problem is almost always mechanical rather than opener-related. Here are the most common causes we see on service calls:
- Counterbalance failure: If one torsion spring has broken and the other hasn’t, the door will lift unevenly. This is visible as the door tilting as it rises. Do not operate the door in this condition. The remaining spring is now under roughly double its designed load, and the door is pulling unevenly through the tracks.
- Track misalignment: A track that’s shifted out of parallel will cause the rollers to bind at a specific point, which stops the door mid-travel. This happens when a bolt loosens or a bracket bends, often after a vehicle bump or a failed attempt to force the door.
- Opener travel limits set incorrectly: On any opener installed in the last 15 years, the travel limit settings tell the opener where the open and closed positions are. If the limit is set too low, the door will stop before fully opening. This is a quick adjustment, but it’s worth checking the mechanical balance first to understand why the limit needed to be higher in the first place.
An uneven door puts uneven strain on every other component, from the hinges to the cables to the remaining springs. If your door is visibly tilted when partially open, stop using it and call for service. The repair will always be cheaper before a cable snaps or a track bends beyond repair.
Remote and Keypad Failures Explained
A remote that won’t work looks like a simple battery problem from the outside, but there are three distinct causes that require three different fixes. Frequency interference, a dead logic board, and a degraded motor capacitor can all present as “the remote stopped working,” and they’re all treated differently.
Frequency interference
Garage door openers operate on the 315 MHz or 390 MHz frequency bands. LED bulbs installed inside or near the opener, certain smart home devices, and even nearby military or airport radar (relevant for San Marcos residents near Palomar Airport) can cause interference. The signature is intermittent operation: the remote works sometimes, from some distances, but not reliably. The fix is replacing the LED bulb with a garage-door-rated bulb or changing remotes to a model using a different frequency protocol.
Dead logic board
When the wall button works consistently but the remote doesn’t, and the remote itself tests fine on another opener, the logic board’s receiver circuit has failed. This is a repair that costs a fraction of a new opener. On Genie models, the receiver is often a separate module that can be replaced independently.
Degraded motor capacitor
This one’s sneaky. When a capacitor starts failing, the motor draws more current to start. That current spike can momentarily drop the voltage available to the logic board, causing it to reset or lose its pairing. The remote seems like it’s the problem, but the actual fix is a capacitor replacement. This is the kind of failure that only reveals itself with a multimeter and an experienced read of the symptoms.
Keypad failures follow a simpler diagnostic path: if the keypad’s light comes on but the door won’t move, the PIN has likely been cleared or the keypad needs reprogramming. If the light doesn’t come on at all, the keypad’s battery is dead or the keypad itself has failed. LiftMaster keypads, in our experience, last longer than Chamberlain and Genie equivalents, but they all eventually suffer from worn button contacts.
Sensor Troubleshooting Beyond the Lens
Almost every troubleshooting guide stops at “clean the sensor lens.” That’s the starting point, not the diagnosis. Here’s the full diagnostic sequence, including the parts most guides skip:
- Check alignment first. Both sensors have small LED status lights. If one is solid and the other is blinking, the sensors are out of alignment. Loosen the wing nut on one sensor and adjust until both LEDs are steady.
- Check for sunlight interference. The photosensor that faces west during late afternoon will get washed out by direct sun in San Marcos. You can confirm this by cupping your hand over the sensor to shade it; if the door suddenly works, sunlight is the cause. Long-term fixes include swapping the sensors so the receiving side faces away from the sun, or installing a sun shield.
- Check for wiring shorts. The sensor wires run along the wall and into the opener. If insulation is cracked, if rodents have chewed through wires, or if a staple has pinched the wire, you’ll get intermittent faults that look exactly like misalignment. Inspect the full wire run.
- Read the blink codes. LiftMaster and Chamberlain openers communicate sensor faults through the LED on the motor unit. On newer models, the up arrow and down arrow will flash in sequence. Two flashes up, one down, on a LiftMaster means the sensors are misaligned. Four flashes up means the sensors are wired incorrectly (reversed polarity). You can look up the exact code for your model, but the important thing is that the opener is already telling you what’s wrong.
- Test voltage. If alignment, sunlight, and wiring all check out, use a multimeter across the sensor terminals. You should see around 5-6 volts DC on most LiftMaster and Chamberlain models. If voltage is zero or below 4, the logic board’s sensor circuit has failed and the board needs replacement.
We service all the major opener brands including LiftMaster, Chamberlain, and Genie, so the sensor diagnostics above apply to the units you most likely have on your wall. If you’re in the San Clemente area, our Garage Door Opener Repair in San Clemente page covers more on sensor and opener board issues specific to coastal homes.
Six Repairs That Void Warranties or Cause Secondary Damage
Some things you should not attempt. Here are the six repairs homeowners most commonly attempt themselves that end up voiding an opener warranty or creating a secondary problem that costs more than the original fix. Read How to Hire a Garage Door Contractor in San Marcos: A Step-by-Step Guide to avoid these pitfalls:
- Replacing a torsion spring without a winding bar. Using improvised tools (screwdrivers, rebar) to wind or unwind a torsion spring is the cause of most garage-door-related injuries. It also risks damaging the spring cone, which means replacing a component that would have been reusable.
- Adjusting opener force settings to mask a mechanical problem. If the door is heavy because a spring is weak, cranking up the force dial causes the opener motor to work harder and eventually fail. The fix should be addressing the spring, not overriding the opener’s safety limits.
- Lubricating the track. Garage door tracks should not be lubricated. Lubricant on a track attracts dirt and creates a gummy paste that increases roller friction. Only the rollers, hinges, and spring coils get lubricant.
- Replacing opener circuit boards without matching the exact model. Not all Chamberlain boards are interchangeable. Installing a board from a similar model can cause sensor incompatibility and intermittent failures. The board part number must match exactly.
- Bending a track back into shape after impact. A bent track that’s hammered or bent back into approximate alignment will never be straight enough for smooth roller travel. The door will bind, the rollers will wear unevenly, and the track will eventually need replacement anyway. Replace the section now.
- Adding an aftermarket universal remote to a Genie system. Genie openers use proprietary communication protocols. Universal remotes that work with LiftMaster and Chamberlain often don’t pair correctly with Genie units, and attempts to force-compatible them can corrupt the opener’s programming.
Common Mistakes to Avoid
- Skipping the manual disconnect test. Replacing remotes, sensors, or openers without first establishing whether the door itself moves freely is the single most common and most expensive mistake we see. The disconnect test takes 60 seconds and tells you which half of the system has failed.
- Replacing the opener when the spring is broken. A door with a broken spring will kill a new opener in short order, because the opener motor is now doing the lifting that the spring should be doing. If the door won’t stay up manually, fix the spring first, then evaluate the opener.
- Ignoring noise as a diagnostic signal. A grinding noise from the opener head means the drive gear is failing now, not that you should wait until the opener completely stops working. Early gear replacement is a $150-$250 repair. Waiting usually means a new opener.
- Lubricating the wrong components. Lubricant on the track is a mistake. Lubricant on the rollers and spring coils is correct. Spraying everything with WD-40 is not a maintenance routine, and can actually accelerate roller and hinge wear.
- Overtightening track bolts. When a track is out of alignment, the fix is realignment, not torque. Overtightening a bracket that’s already slightly out of position can pull the track further out of parallel and create a worse bind.
- Assuming a blinking sensor means it needs cleaning. Sometimes it does. But if the blinking persists after cleaning and alignment, the problem is a wiring short or a failing logic board circuit. Continuing to troubleshoot without testing voltage wastes time and delays the actual repair.
When to Call a Professional
Any issue involving a torsion spring, a snapped lift cable, or a door that has jumped its track requires a professional. These components operate under high tension and can cause serious injury when handled incorrectly. Additionally, if you’ve gone through the manual disconnect test and the door is heavy or binding, continuing to operate it risks further damage to the track, hinges, and opener. We work on all major brands including LiftMaster, Chamberlain, Genie, and Clopay, and our trucks carry parts for each of them. You can also visit our San Marcos Garage Door Service home page to see the full scope of what we handle. San Marcos Garage Door Service offers free estimates in San Marcos: call (877) 265-5166.
Frequently Asked Questions
A reversing door is caused by the opener detecting resistance and triggering its safety reverse, which can be traced to misaligned sensors, sun interference on the photo eye, a bent track causing physical binding, a close-force setting that’s drifted too low, or a failing logic board sending false obstruction signals. Start by checking the sensor alignment and shading the sensor from direct sun. If the problem persists after cleaning and realignment, the issue is likely in the opener or the track. Call (877) 265-5166 and we’ll diagnose it over the phone before we even come out.
No. Torsion springs and extension springs are under enough tension to cause serious injury when handled without proper tools and training. The winding bars, cable handling, and spring sizing are not skills you can safely learn from a video. This is the one repair where the professional cost is always justified.
A grinding noise coming from the opener head means the drive gear inside has worn down and is failing. This is a known failure point on chain-drive LiftMaster and Chamberlain units. A grinding noise from the door itself usually means a seized roller bearing. Both are repairable, and both get cheaper the sooner they’re addressed.
Pull the manual release cord and operate the door by hand. If the door moves smoothly and stays in place at the halfway point, the problem is in the opener. If the door is heavy, jerks, binds, or won’t stay up, the problem is mechanical and most likely a spring. This test takes under a minute and saves you from replacing the wrong component.
Intermittent operation is the signature of frequency interference, a loose wire, or a failing logic board. On a door where the remote works from inside the garage but not from the driveway, interference from LED bulbs or nearby electronic devices is the typical cause. In San Marcos, homes near Palomar Airport can also experience intermittent interference depending on radar activity.
Repair costs in San Marcos vary by component; generally, a drive gear replacement runs on the lower end of the spectrum, spring replacement falls in the middle range, and logic board or full opener replacement sits higher. The price depends on the specific model and the parts required. For an exact quote on your specific door and opener, call (877) 265-5166; estimates are free, and the price is agreed before any work starts.
The Bottom Line
Garage door troubleshooting is about isolating the failure point before touching anything else. The manual disconnect test separates mechanical problems from opener problems, and from there, symptoms like noise, partial movement, and reversal behavior point you to the specific component that has failed. The right diagnosis saves you money by avoiding replacing the wrong part, and it’s the reason we tell people to repair first and replace only when it makes sense. San Marcos Garage Door Service works on all major brands including LiftMaster, Chamberlain, Genie, and Clopay, and we handle everything from springs to smart openers. If you’re in the San Clemente area, you can find more on our Garage Door Repair in San Clemente and Garage Door Installation in San Clemente pages. For a free estimate, call (877) 265-5166 and we’ll talk through the symptoms before we even schedule the visit.
Written by the team at San Marcos Garage Door Service, serving San Marcos since 2012.
See the difference
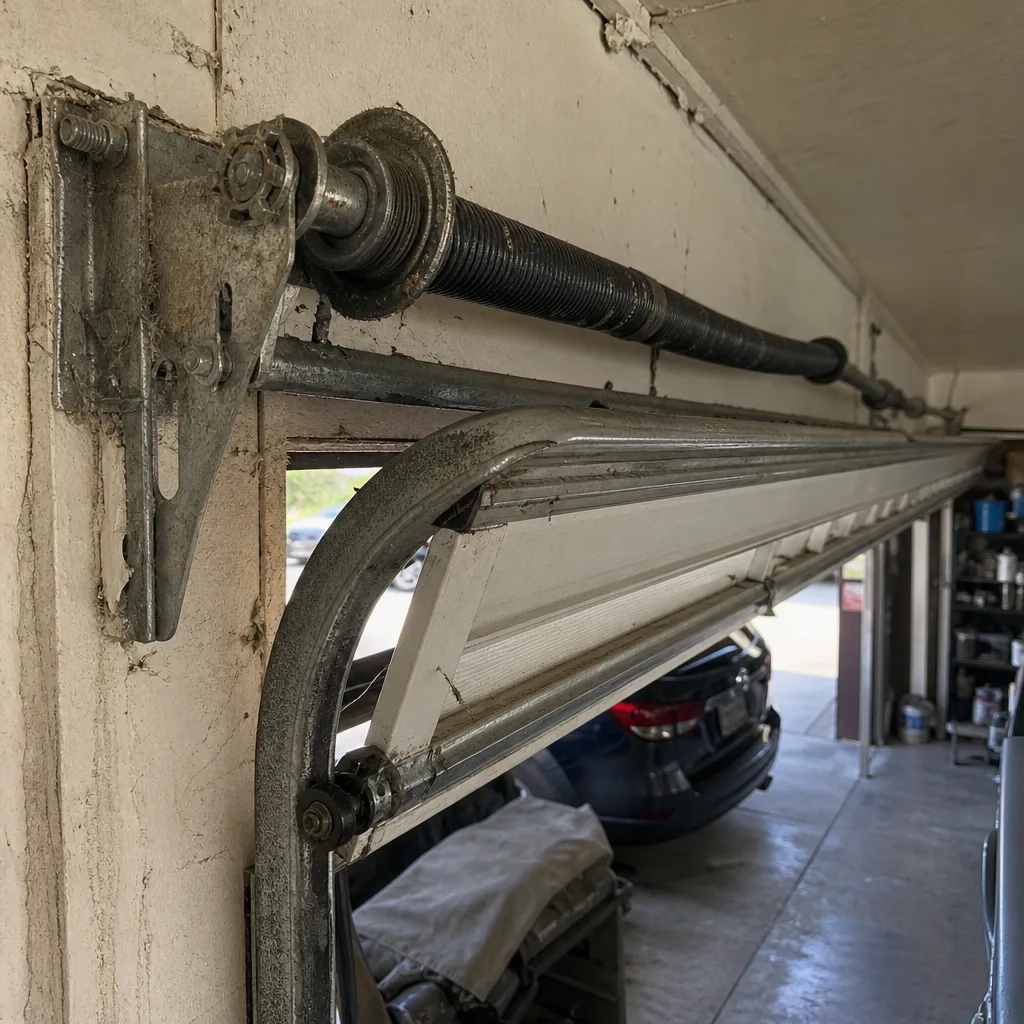
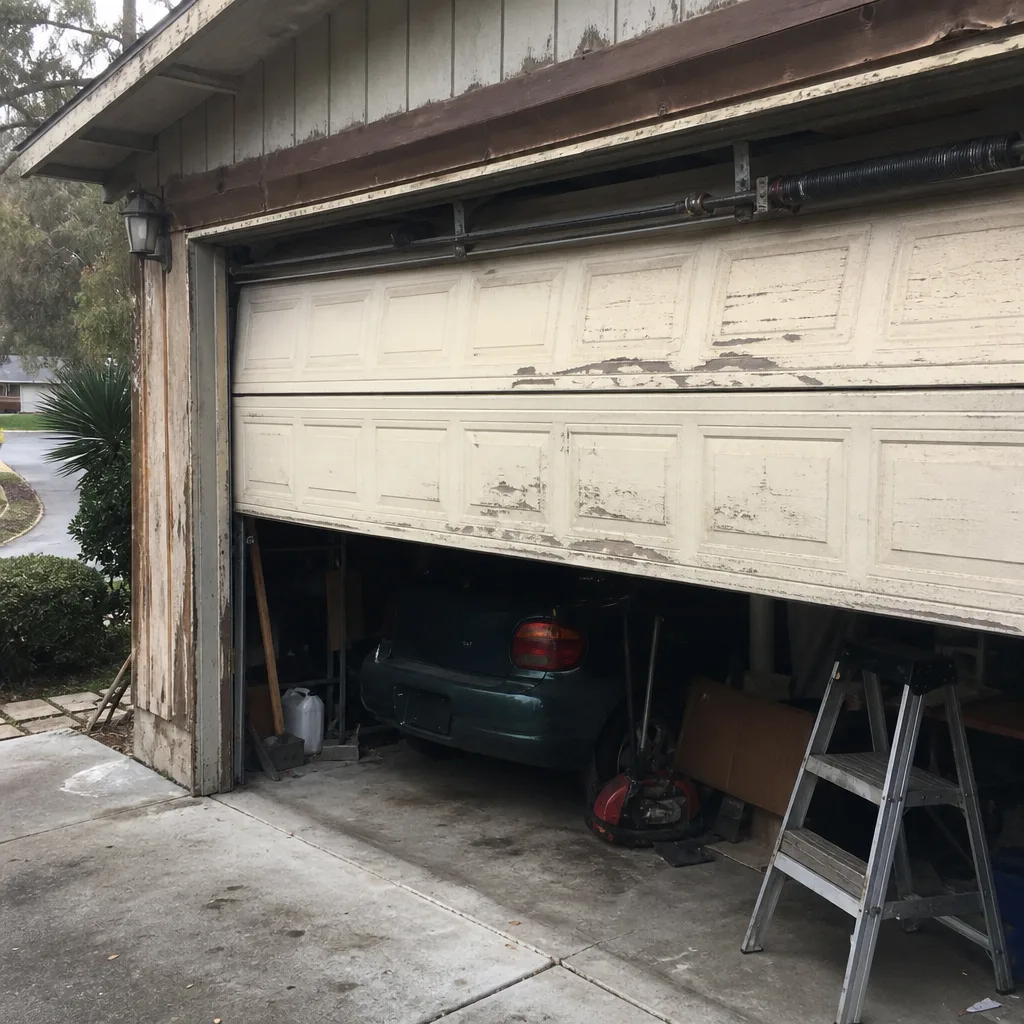
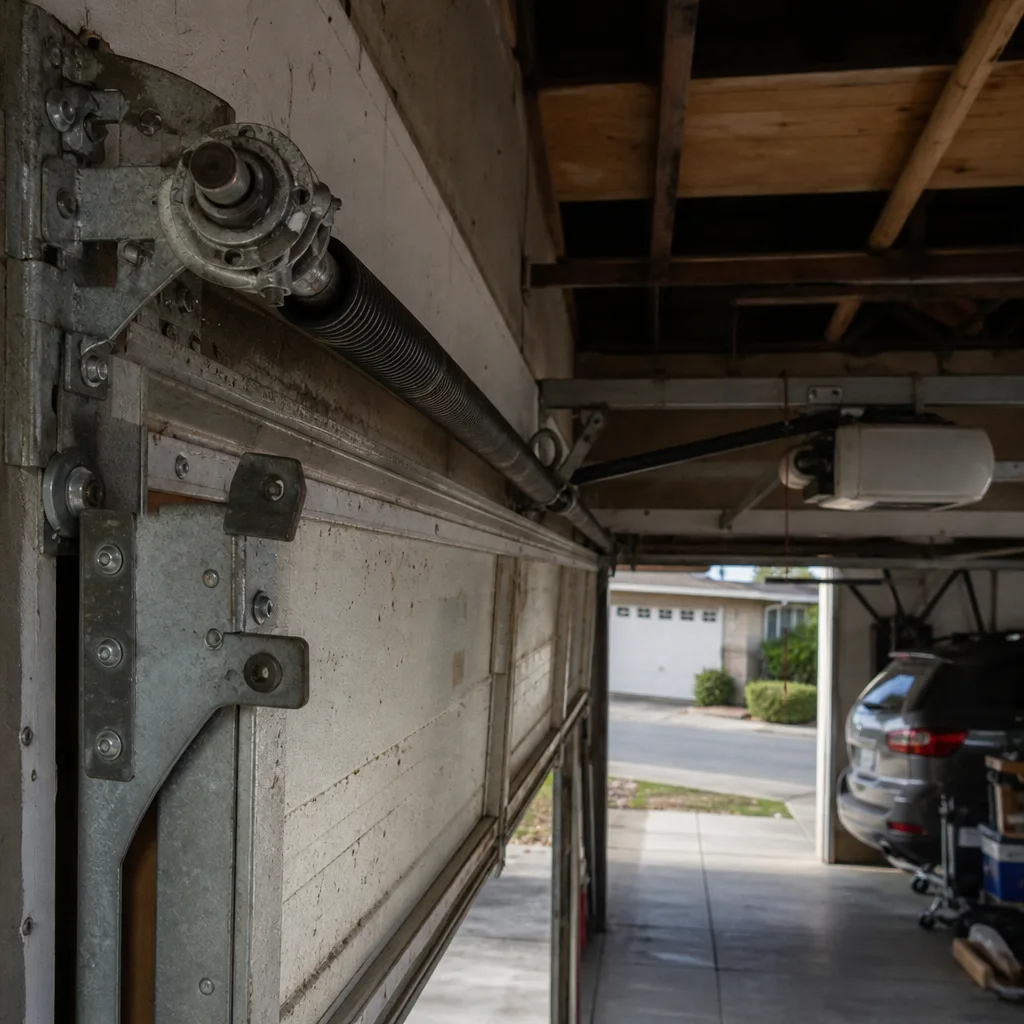 Before
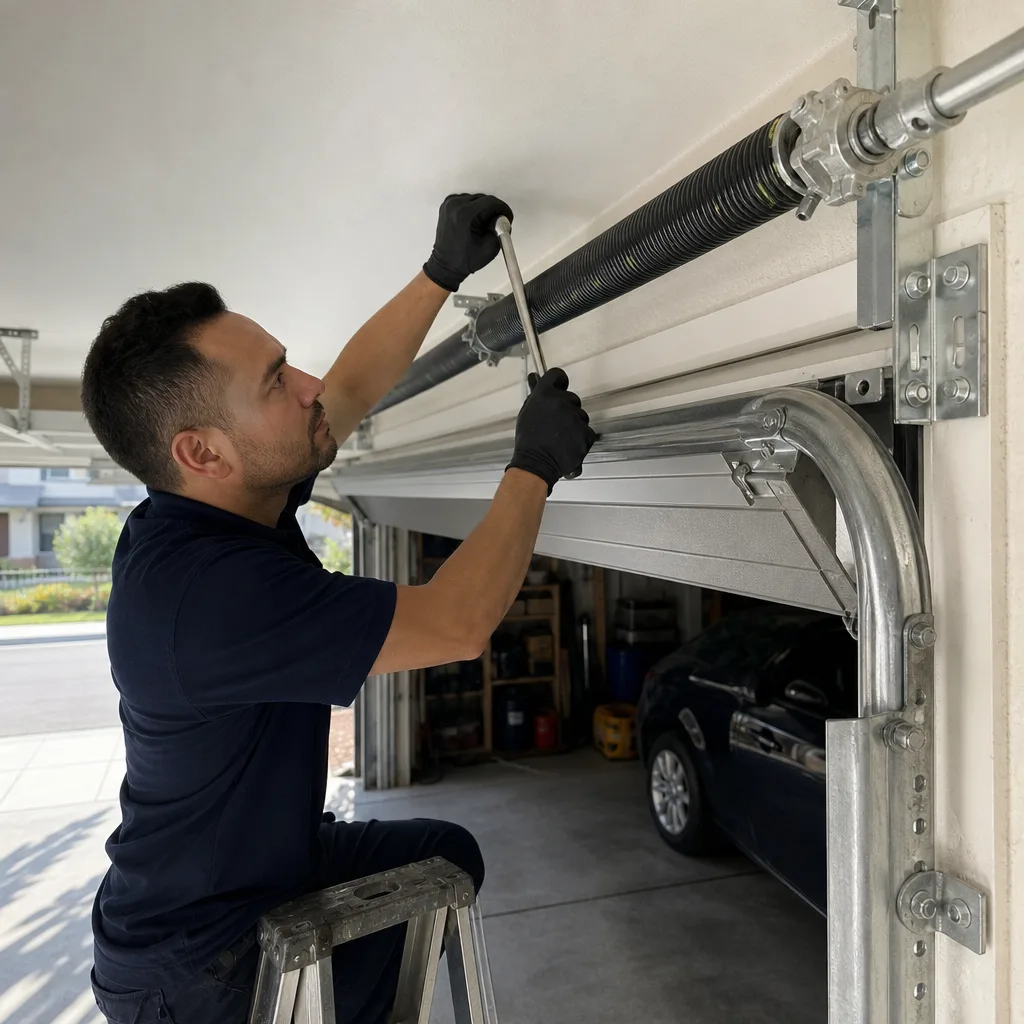
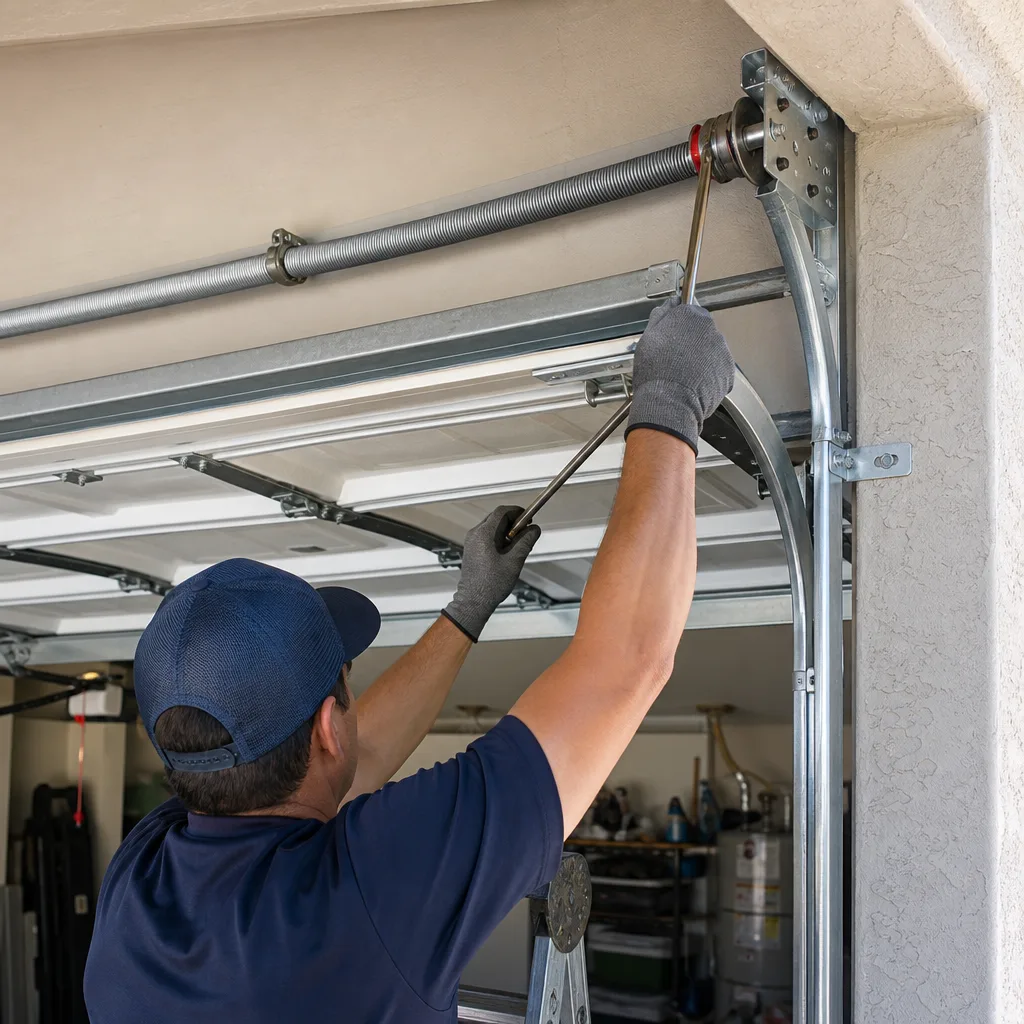
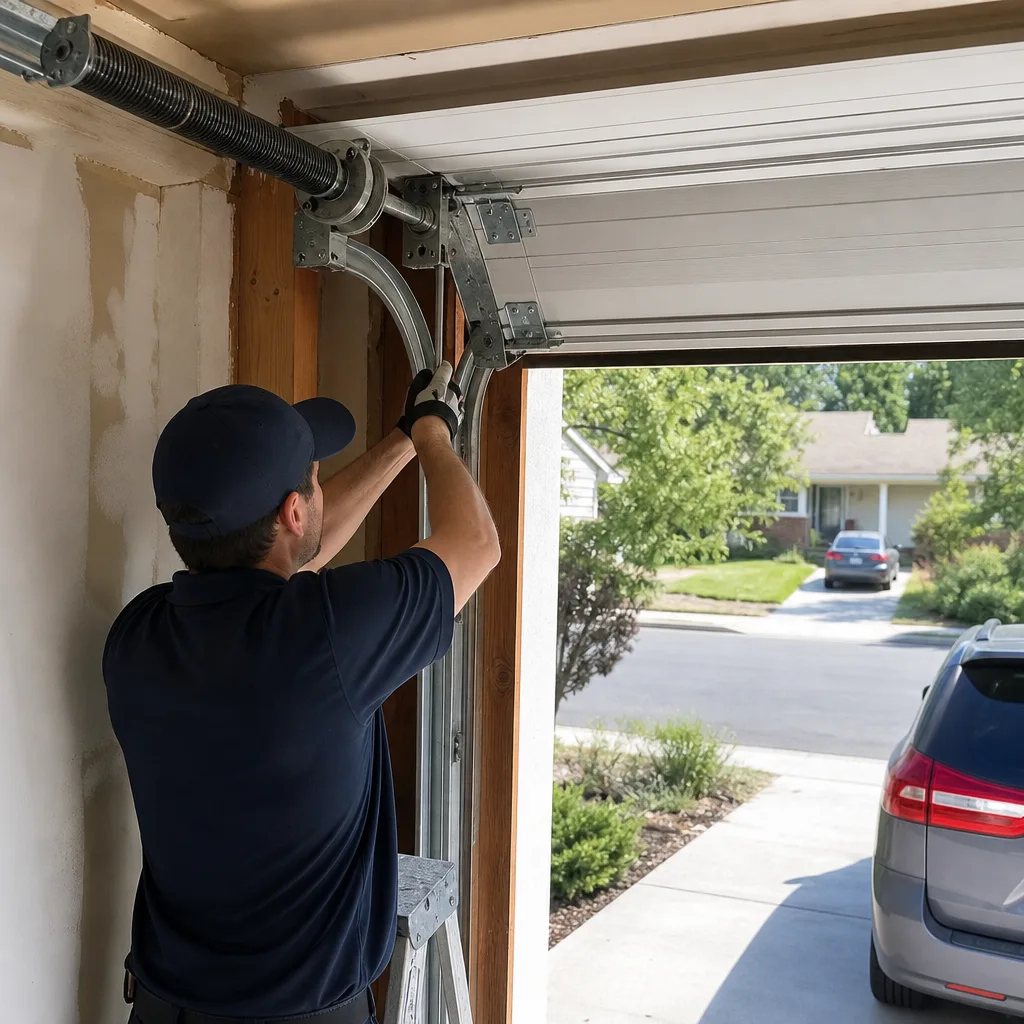 After
 Before
 After
 Before
 After